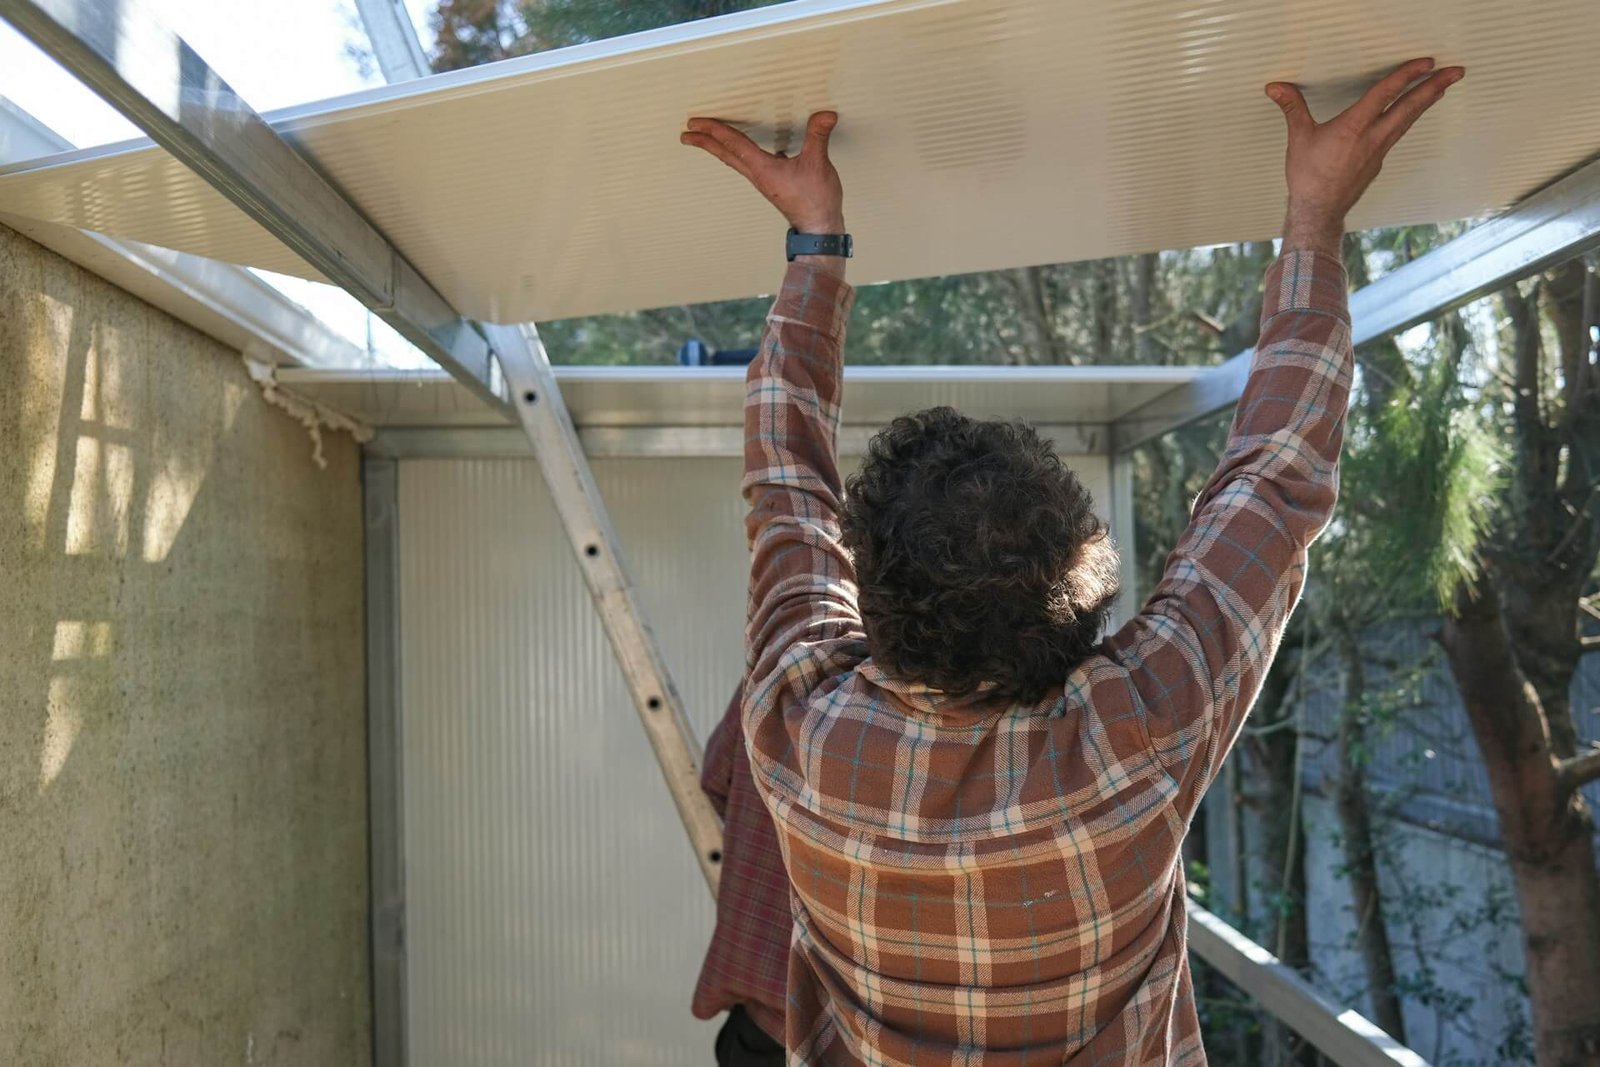
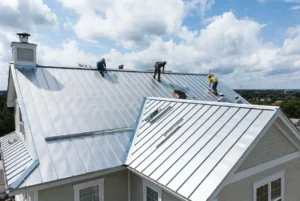
Steel roofing panel installation instructions require careful planning, proper tools, and systematic execution to ensure professional results. The steel roof panel installation process begins with safety preparation and material staging, followed by starting panel placement at the roof’s low point and working upward.
Most homeowners can complete steel roof panel installation on simple roof structures within 2-4 days using standard tools and following manufacturer specifications. Success depends on accurate measurements, weather-appropriate timing, and adherence to local building codes. This detailed guide provides step-by-step procedures covering everything from initial planning through final inspection, ensuring durable, weather-tight results that meet professional installation standards.
Essential Tools and Materials for Steel Roofing Panel Installation
Required Installation Tools
- Cutting equipment: Metal snips, circular saw with metal blade, nibbler
- Measuring tools: Tape measure, chalk line, framing square, level
- Fastening tools: Drill/driver with magnetic bit holder, socket wrench set
- Safety equipment: Fall protection harness, non-slip boots, safety glasses
Table 1: Steel Roofing Panel Types and Specifications
| Panel Type | Width | Length Options | Gauge | Best Application |
| Corrugated Steel | 26-36 inches | 8-20 feet | 26-29 gauge | Residential, Agricultural |
| Standing Seam | 12-24 inches | 8-40 feet | 24-26 gauge | Residential, Commercial |
| Ribbed Panels | 36 inches | 8-20 feet | 26-29 gauge | Industrial, Warehouse |
| R-Panel | 36 inches | 8-32 feet | 26-29 gauge | Commercial, Utility |
Steel Panel Materials and Coatings
- Galvanized steel panels with zinc coating protection
- Galvalume coated options for enhanced corrosion resistance
- Pre-painted panels in various architectural colors
- Fasteners and accessories: Self-drilling screws, ridge caps, trim pieces
Underlayment and Accessories
- Synthetic underlayment for moisture protection
- Ice and water shield for critical areas
- Closure strips and foam fillers
- Flashing materials for transitions and penetrations
Pre-Installation Planning and Preparation
Site Assessment and Measurement
Understanding proper steel roofing panel installation instructions begins with thorough site evaluation and accurate measurements. Roof pitch calculation determines appropriate panel types and fastening requirements, while structural assessment ensures adequate support for steel panel loads.
Table 2: Steel Panel Installation Timeline by Roof Size
| Roof Area (sq ft) | Installation Days | Crew Size | Weather Buffer |
| 1,000-1,500 | 2-3 days | 2 people | +1 day |
| 1,500-2,500 | 3-4 days | 2-3 people | +1-2 days |
| 2,500-4,000 | 4-6 days | 3-4 people | +2 days |
| 4,000+ | 6-8 days | 4+ people | +3 days |
Weather and Timing Considerations
- Optimal installation conditions: Dry weather, temperatures 40-85°F, wind under 15 mph
- Seasonal planning: Spring and fall offer best installation windows
- Weather monitoring: Check 5-day forecasts before starting projects
- Emergency protection: Prepare temporary covering materials for unexpected weather
Building Code Compliance
- Permit requirements: Most jurisdictions require permits for roof installations
- Local building codes: Wind load, snow load, and fire resistance specifications
- Inspection scheduling: Arrange required inspections during installation process
- Manufacturer compliance: Follow specific installation requirements for warranty coverage
Material Delivery and Storage
- Panel handling: Proper lifting techniques prevent damage and injury
- Storage requirements: Flat, dry surface with adequate support spacing
- Material protection: Cover panels to prevent moisture and debris accumulation
- Staging areas: Organize tools and materials for efficient workflow
Step-by-Step Steel Roofing Panel Installation Process
Phase 1: Roof Deck Preparation
Following proper steel roofing panel installation instructions starts with thorough deck preparation ensuring optimal panel performance and longevity.
- Structural inspection: Check for damaged or weak decking requiring repair
- Surface cleaning: Remove debris, nails, and old roofing materials completely
- Deck repair: Replace damaged sections and secure loose boards properly
- Ventilation planning: Install intake and exhaust vents per building codes
Phase 2: Underlayment Installation
- Synthetic underlayment application: Roll horizontally with 6-inch overlaps minimum
- Fastening pattern: Use plastic cap nails every 12 inches along edges
- Ice and water shield: Install in valleys, eaves, and penetration areas
- Seam sealing: Ensure weather-tight connections between underlayment sections
Phase 3: Panel Layout and Starting Point
- Layout planning: Establish square reference lines from multiple roof points
- Panel orientation: Determine proper panel direction for water shedding
- Starting edge selection: Begin installation at roof’s lowest drainage point
- Overhang calculations: Ensure proper eave and rake overhangs per specifications
Phase 4: Panel Installation Sequence
Professional instructions emphasize systematic panel placement and secure fastening throughout the installation process.
- First panel placement: Position carefully using established reference lines
- Fastening pattern: Follow manufacturer’s specifications for screw placement and spacing
- Panel overlap: Maintain proper side and end lap dimensions throughout installation
- Alignment verification: Check panel alignment frequently to prevent cumulative errors
Table 3: Steel Panel Fastening Requirements
| Panel Type | Fastener Spacing | Penetration Depth | Washer Type |
| Corrugated | Every other rib | 3/4 inch minimum | EPDM washer |
| Standing Seam | Hidden clips | N/A | Thermal clips |
| Ribbed Panel | 12″ on center | 3/4 inch minimum | EPDM washer |
| R-Panel | 12″ on center | 3/4 inch minimum | EPDM washer |
Phase 5: Ridge and Trim Installation
- Ridge cap preparation: Ensure adequate ventilation gap maintenance
- Trim piece fabrication: Custom cut pieces for unique roof configurations
- Flashing installation: Critical waterproofing at valleys and penetrations
- Sealant application: Apply appropriate sealants per manufacturer recommendations
Phase 6: Final Inspection and Cleanup
- Installation verification: Check all fasteners and panel connections
- Drainage testing: Verify proper water flow and drainage patterns
- Cleanup procedures: Remove all debris and unused materials safely
- Documentation: Photograph completed installation for warranty records
Common Installation Mistakes to Avoid
Critical Installation Errors
Understanding these instructions prevents costly mistakes and ensures professional results.
Fastening Mistakes
- Over-tightening fasteners: Compresses washers and creates leak points
- Under-driving screws: Insufficient penetration compromises holding power
- Wrong fastener placement: Missing structural members reduces wind resistance
- Inadequate fastener quantity: Insufficient attachment points cause panel failure
Panel Alignment Issues
- Poor initial layout: Cumulative errors affect entire installation appearance
- Inadequate overlap: Insufficient panel overlap allows water infiltration
- Thermal expansion ignorance: Failure to accommodate expansion causes buckling
- Improper cutting: Rough cuts create sharp edges and fitting problems
Weather Sealing Problems
- Inadequate flashing: Poor flashing installation causes most roof leaks
- Sealant application errors: Wrong sealant type or improper application fails prematurely
- Ventilation oversights: Inadequate ventilation causes condensation and ice dams
- Drainage planning failures: Poor drainage design leads to standing water issues
Safety Violations
- Fall protection negligence: Most roofing accidents result from inadequate safety measures
- Weather condition risks: Installing during inappropriate weather increases accident potential
- Tool safety oversights: Improper tool use causes injuries and installation defects
Maintenance and Longevity Tips
Preventive Maintenance Schedule
Proper steel roofing panel installation instructions include long-term maintenance planning for optimal performance and warranty compliance.
Annual Maintenance Tasks
- Visual inspection: Check for loose fasteners, damaged panels, or flashing issues
- Gutter cleaning: Maintain proper drainage and prevent ice dam formation
- Debris removal: Clear leaves, branches, and accumulated materials regularly
- Sealant inspection: Monitor caulk and sealant condition around penetrations
Seasonal Considerations
- Spring maintenance: Inspect for winter damage and prepare for storm season
- Summer preparation: Check thermal expansion accommodation and ventilation
- Fall preparation: Clean gutters and inspect fastener tightness before winter
- Winter monitoring: Watch for ice dam formation and snow load issues
Professional Service Intervals
- Five-year inspections: Comprehensive evaluation by qualified roofing professionals
- Fastener tightening: Check and adjust fastener tension as panels settle
- Coating refresh: Touch up paint or apply protective coatings as needed
- Warranty maintenance: Follow manufacturer requirements to maintain coverage
Conclusion
Successful steel roofing panel installation requires careful attention to steel roofing panel installation instructions, proper tool selection, and systematic execution of each installation phase. From initial planning and material preparation through final inspection and cleanup, following manufacturer specifications and building codes ensures professional results that provide decades of reliable protection.
Remember that steel roofing installation is a significant investment in your property’s protection and value. Taking time to understand and follow proper installation procedures ensures optimal performance, warranty compliance, and long-term satisfaction with your roofing investment.
Frequently Asked Questions
Q1: How difficult is steel roofing panel installation for DIY homeowners?
Steel roofing panel installation instructions are manageable for homeowners with basic construction skills and proper tools. Simple gabled roofs present fewer challenges than complex rooflines with multiple penetrations. Success depends on careful planning, adequate safety preparation, and strict adherence to manufacturer specifications. Consider professional installation for steep pitches, complex designs, or if you lack construction experience.
Q2: What’s the most critical aspect of steel roofing panel installation?
Proper flashing installation around penetrations, valleys, and roof transitions represents the most critical aspect of following installation guidelines. Most roof leaks originate from inadequate flashing rather than panel failures. Correct fastener placement and thermal expansion accommodation also rank as essential elements for long-term performance and warranty compliance.
Q3: How long do properly installed steel roofing panels last?
When installed following proper procedures, quality steel roofing panels typically last 40-70+ years depending on coating type, climate conditions, and maintenance quality. Galvalume coated panels often provide 50+ years of service, while premium painted finishes can maintain appearance for 30-40 years with proper care.
Q4: What weather conditions are ideal for steel panel installation?
Optimal conditions for steel panel installation include dry weather, temperatures between 40-85°F, and wind speeds below 15 mph. Avoid installation during rain, snow, or high winds. Spring and fall typically offer the most favorable installation windows, though summer installation is possible with proper heat precautions.
