You’ve got metal roofing panels. You’ve got a general idea of what needs to happen. But now you’re staring at expensive materials wondering: How do I cut this without ruining it?
Fair question. Metal roofing isn’t forgiving. Cut wrong and you’ve got wasted panels, jagged edges, and potential rust problems down the road.
I’ve watched countless DIYers make the same mistakes at Rainy Roofers. Let me show you how to cut metal roofing the right way—the same techniques professionals use every day.
Essential Tools for Cutting Metal Roofing
Before you touch a single panel, get your tools sorted. The right equipment makes the difference between clean cuts and mangled metal.
Basic cutting tool kit:
- Tape measure (25-foot minimum)
- Speed square for marking angles
- Permanent markers (Sharpies work great)
- Tin snips/aviation snips
- Reciprocating saw with metal blade
- Safety glasses
- Heavy gloves
- Dust mask
One critical note: Never use graphite pencils on bare metal. Graphite is corrosive and will degrade your panels over time. Stick with permanent markers.
Understanding Your Cutting Tool Options
Different cuts require different tools. Here’s what professionals reach for depending on the job.
Tin Snips (Aviation Snips)
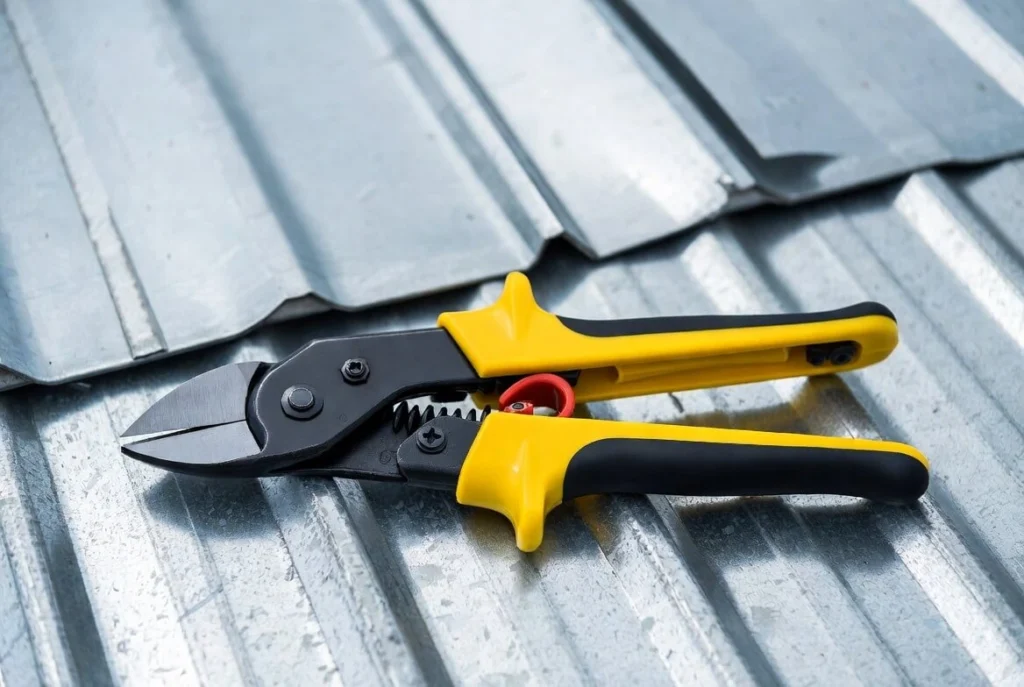
These are your go-to for hand cutting. They work like heavy-duty scissors designed specifically for sheet metal.
Color coding matters:
- Yellow handles – straight cuts
- Green handles – cuts curving right
- Red handles – cuts curving left
Tin snips work best on thinner metal (29 gauge or lighter). You can cut up to 18 gauge with quality compound-leverage snips, but it takes serious hand strength.
Pro tip: Make small, consistent cuts rather than long aggressive ones. Practice on scrap pieces first to get the feel.
Metal Shears
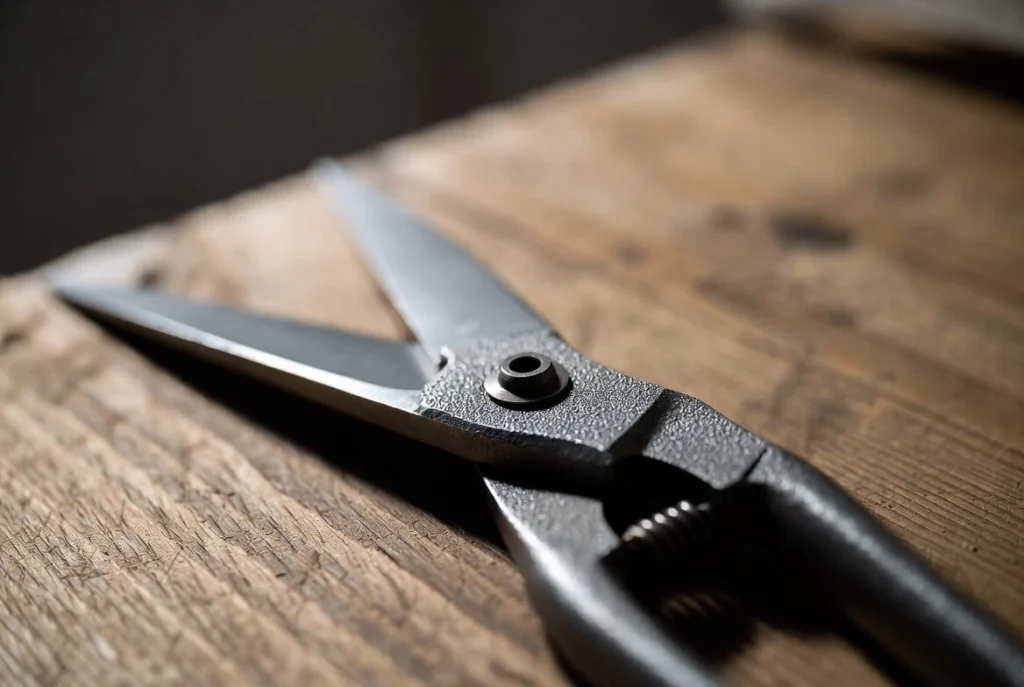
Power shears are basically motorized tin snips. They cut faster with less fatigue and handle thicker gauges more easily.
If you’re cutting more than a few panels, shears are worth the investment. They produce cleaner cuts than most power saws.
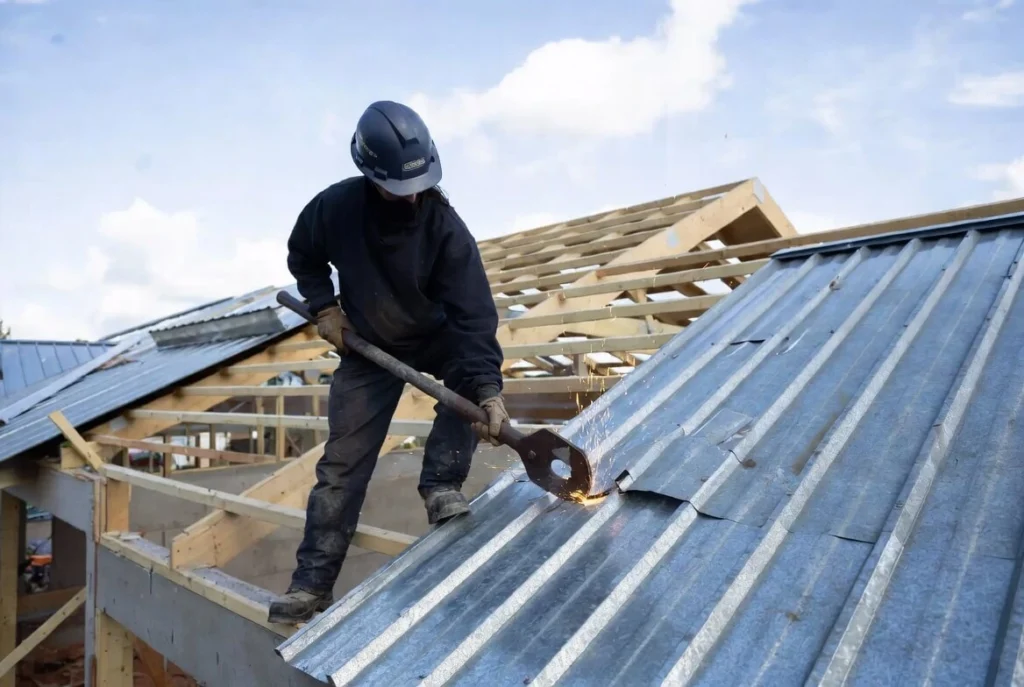
Angle Grinder
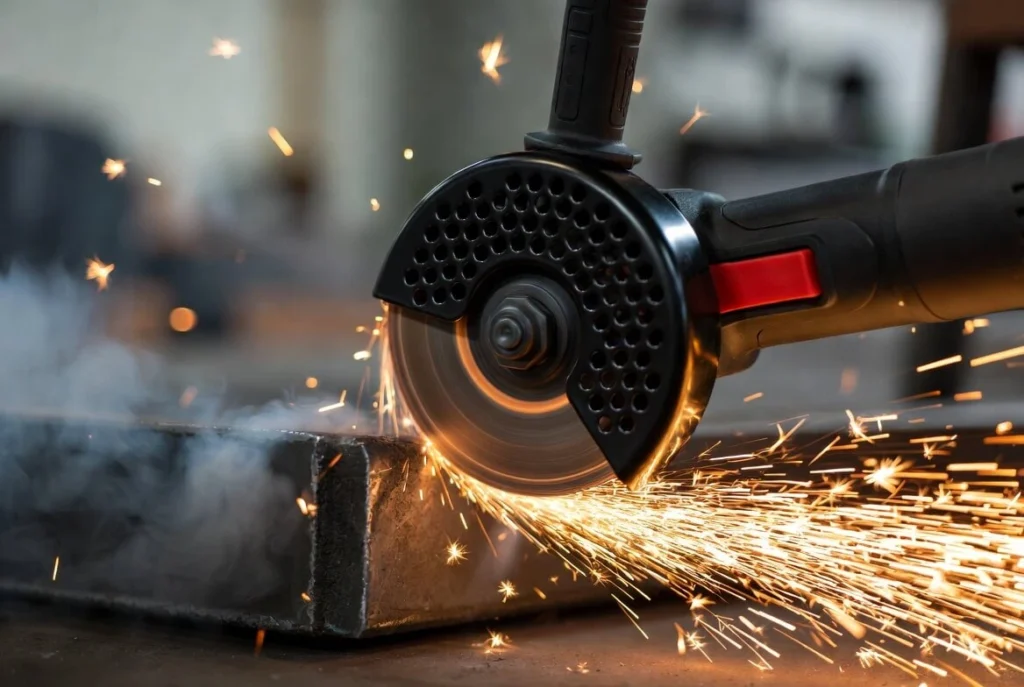
For thick metal and long straight cuts, angle grinders with metal cutting discs get the job done fast.
The catch: They generate heat and sparks.
Your metal roofing has a Galvalume coating (zinc and aluminum) that protects against rust. Excessive heat melts this coating away. Make quick passes rather than slow grinding to minimize heat damage.
Always clean up metal shavings afterward. Those tiny fragments cause rust spots on surrounding panels.
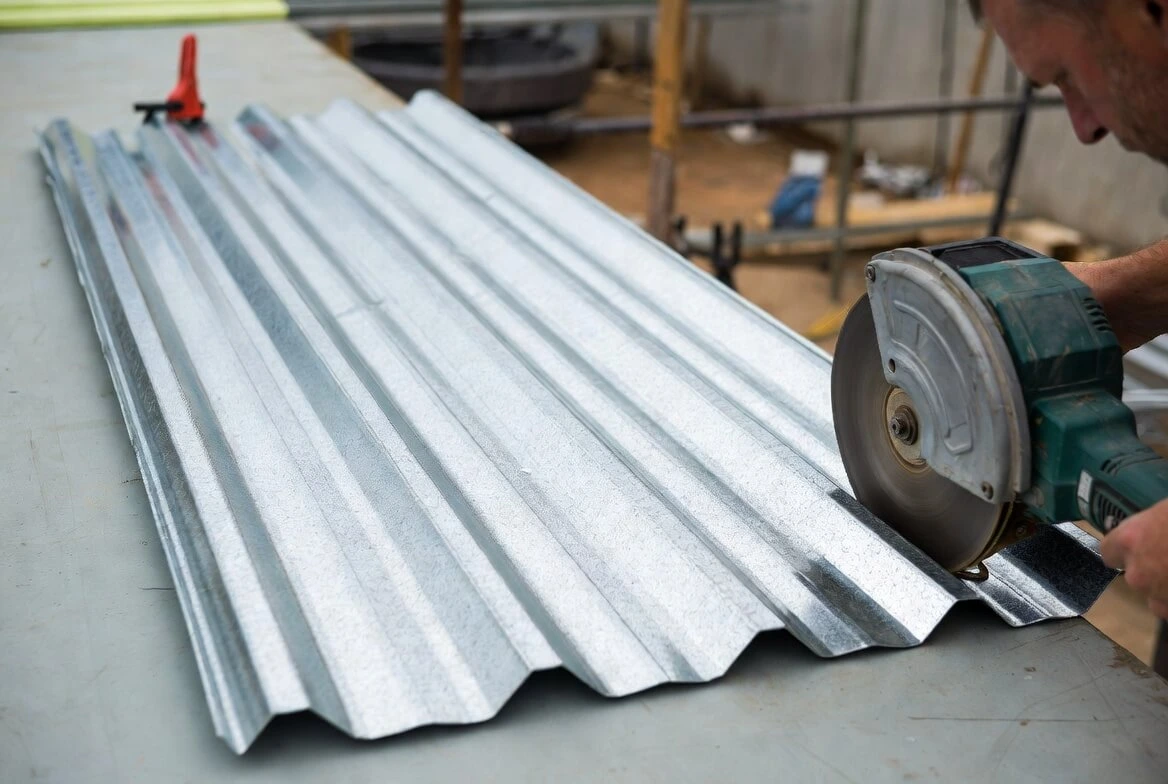
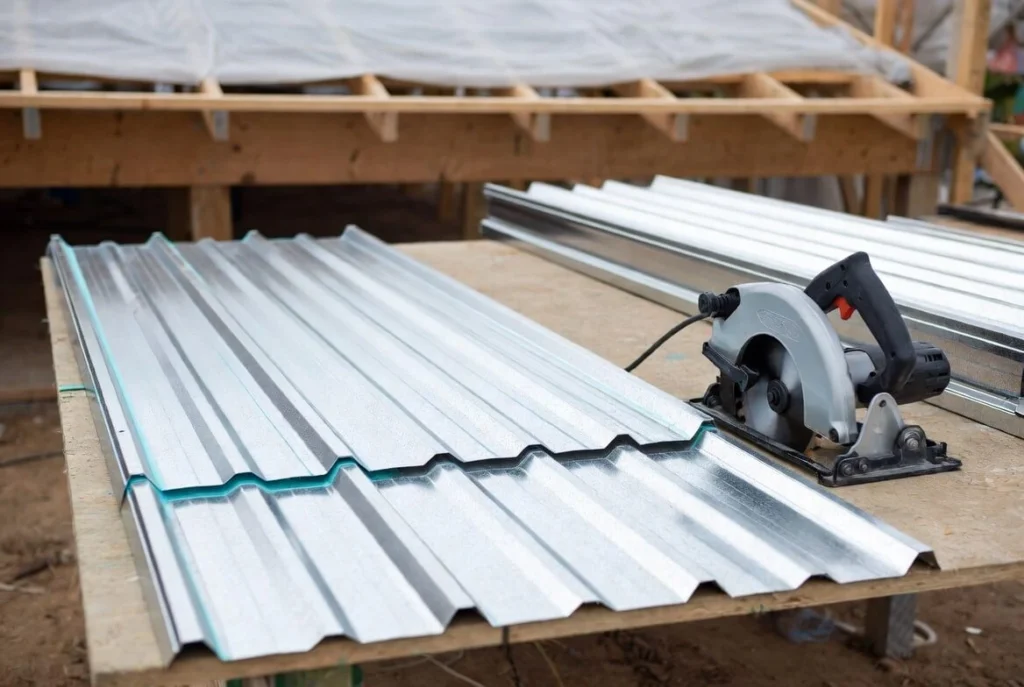
Circular Saw
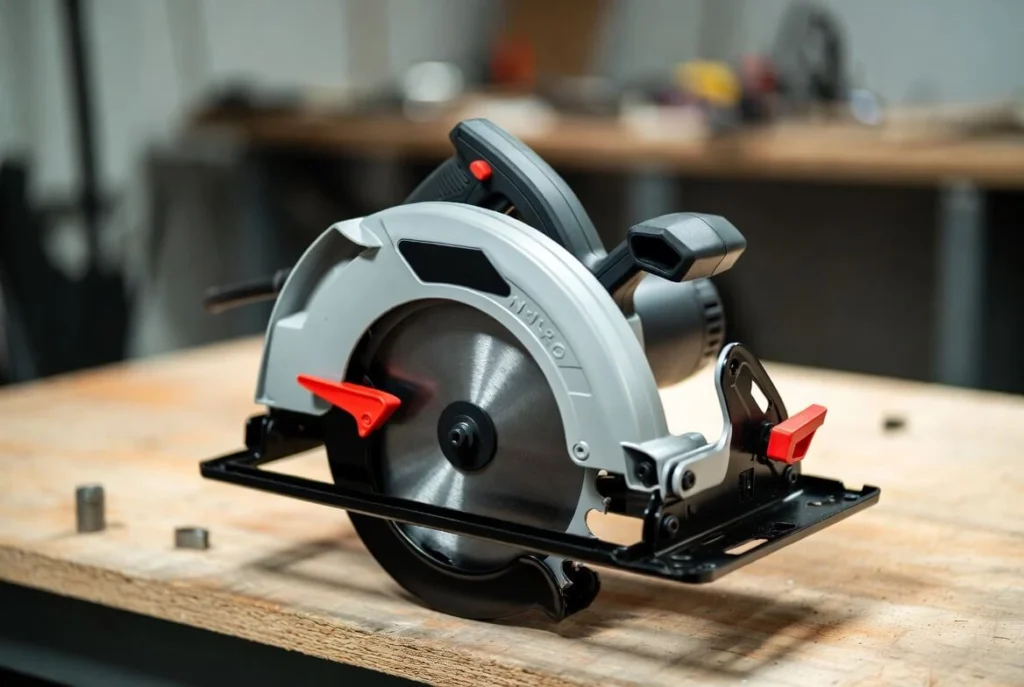
A circular saw with a carbide-tipped metal cutting blade handles long straight cuts efficiently. Use a clamped guide for accuracy.
The same heat warning applies. Keep the blade moving and don’t force it.
Nibbler
Nibblers punch out small pieces of metal in a continuous process. They create clean, burr-free edges with minimal distortion.
Perfect for curves and intricate cuts. More expensive than snips but worth it for complex work.
How to Cut Metal Roofing: Step-by-Step Process
Here’s the professional approach to cutting metal roofing panels.
Step 1: Calculate Your Materials
Before cutting anything, figure out how many panels you need.
Measure your roof’s length and width. Multiply to get square footage. Divide by individual panel coverage to determine quantity.
Example: 1,000 sq ft roof ÷ 100 sq ft per panel = 10 panels
Add 10% for waste and mistakes. Better to have extra than run short mid-project.
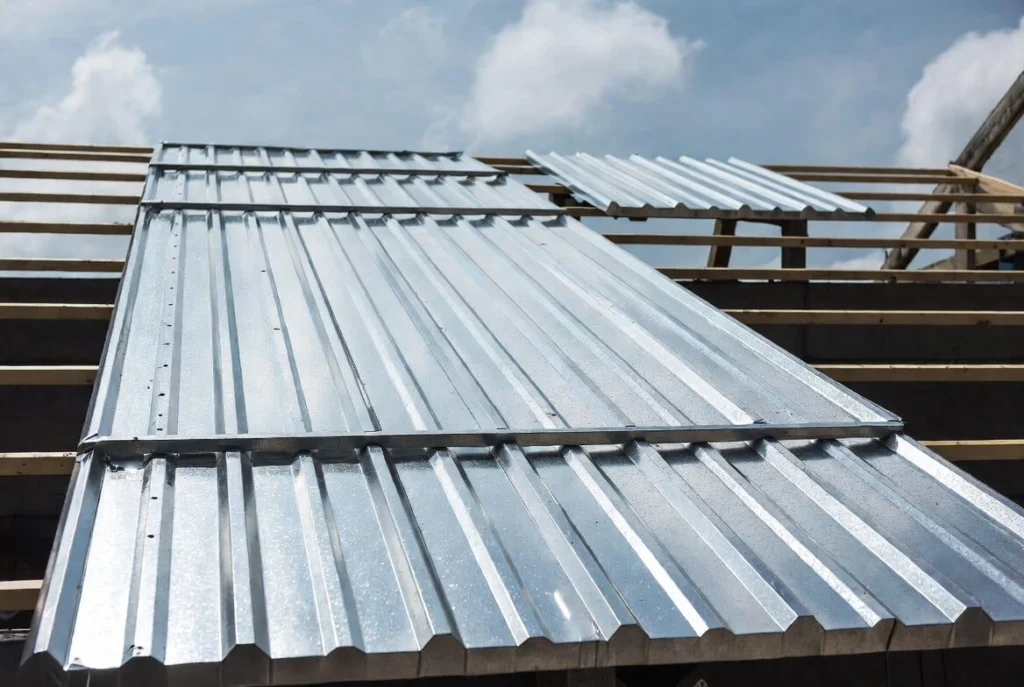
Step 2: Set Up Your Workspace
You need a flat, stable surface. A workbench or sawhorses work well.
Important: Place corrugated panels with the flat underside facing up. Marks show better and cutting goes smoother.
Make sure you’ve got good lighting. Precision matters here.
Step 3: Measure and Mark
This is where most DIYers mess up. Rushing measurements creates gaps that cause leaks.
- Use your tape measure carefully
- Double-check every measurement before marking
- Use a speed square or straight edge for marking lines
- Mark with permanent marker (not pencil)
The old saying applies: measure twice, cut once.
Step 4: Secure the Panel
Unsecured panels shift during cutting. That means crooked cuts and potential injury.
Use adjustable clamps to lock panels down. If you don’t have clamps, weights on the edges work in a pinch.
Step 5: Make Your Cut
Choose the appropriate tool based on the cut type and metal gauge.
For hand cutting with snips:
- Start at the edge
- Make small, steady cuts
- Pull the waste strip to the side to prevent binding
- Follow your marked line precisely
For power tools:
- Align blade with marked line
- Let the tool do the work—don’t force it
- Maintain steady speed
- Keep both hands on the tool
With angle grinders, make multiple shallow passes rather than one deep cut. Better control, less heat.
Step 6: Finish the Edges
Raw cut edges are sharp and prone to rust. Don’t skip this step.
- Use a file or sandpaper to remove burrs
- Smooth any jagged spots
- Apply touch-up paint or sealant to exposed metal
This prevents rust from starting at cut edges and spreading across panels.
Step 7: Clean Up
Metal shavings left on panels cause corrosion. Sweep everything off before installation.
Also check your clothing and shoes. Those fragments get everywhere.
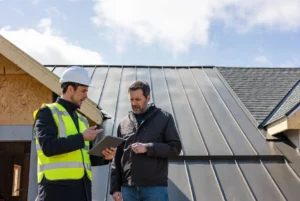
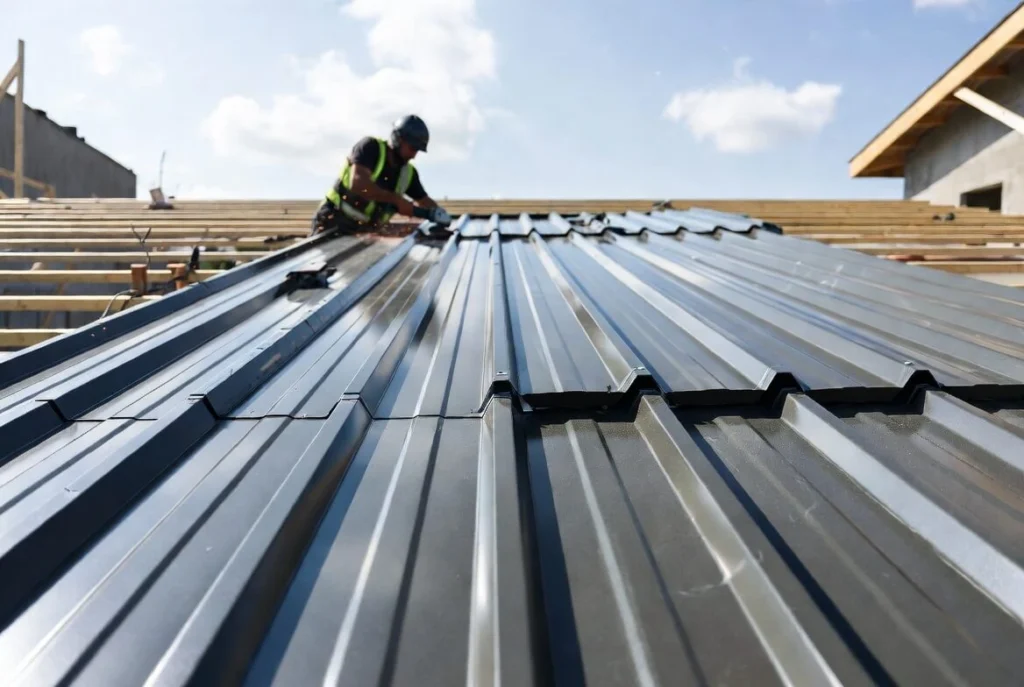
How Do Professionals Cut Metal Roofing Differently?
Professionals follow the same basic process but with better equipment and refined technique.
Key differences:
- Nibblers over snips for most cuts (faster, cleaner results)
- On-site fabrication tools from manufacturers like Swenson Shear
- Production workflow that minimizes handling and repositioning
- Immediate edge treatment to prevent any rust opportunity
Pros also know which tool matches which situation instinctively. That comes from repetition.
The biggest professional advantage? They’ve made every mistake already. They know exactly how much pressure to apply, when heat becomes problematic, and how to recover from errors.
For detailed guidance on how do professionals cut metal roofing, check out our metal roofing installation guide.
Safety Precautions You Cannot Skip
Metal roofing edges are razor sharp. Cutting creates fragments that fly everywhere. Power tools add noise and spark hazards.
Non-negotiable safety gear:
- Safety glasses or goggles
- Heavy work gloves
- Long sleeves
- Dust mask (respirator for extended cutting)
- Hearing protection with power tools
If you have kids or pets, cordon off your work area completely. Metal fragments puncture skin and paws easily.
After finishing, unplug all power tools and store them safely. Sweep thoroughly to remove all debris.
Common Cutting Mistakes to Avoid
Using the wrong snip color – Yellow for straight, green for right curves, red for left curves. Mix them up and you’ll fight the tool the entire cut.
Cutting too fast with power tools – Heat destroys the protective coating. Slow down.
Skipping edge treatment – Bare cut metal rusts. Always seal or paint exposed edges.
Not securing panels – Movement during cutting ruins accuracy and creates safety hazards.
Ignoring cleanup – Metal shavings cause rust spots on finished panels.
Frequently Asked Questions
What is the best tool for cutting metal roofing?
It depends on the job. Tin snips work for small cuts and thin metal. Nibblers handle curves and intricate work. Circular saws and angle grinders tackle long straight cuts on thicker material. Professionals typically use nibblers for most applications.
Can I cut metal roofing with tin snips?
Yes, for thinner gauges (29 gauge and lighter). Use yellow-handled snips for straight cuts, green for right curves, red for left curves. Thicker metal requires power shears or saws.
How do I prevent rust on cut edges?
Apply touch-up paint or sealant immediately after cutting. File or sand any burrs first to ensure good adhesion. Never leave raw cut edges exposed.
Why shouldn’t I use a pencil to mark metal roofing?
Graphite is corrosive to bare metal and degrades the protective coating over time. Always use permanent markers instead.
Do I need special blades for power tools?
Yes. Use carbide-tipped metal cutting blades for circular saws and metal cutting discs for angle grinders. Standard wood blades will not work and create safety hazards.
The Bottom Line on Cutting Metal Roofing
Cutting metal roofing isn’t complicated, but it requires the right tools, proper technique, and attention to detail.
Measure carefully. Mark precisely. Choose the appropriate cutting tool. Secure your panels. Finish and protect every cut edge.
Skip any of these steps and you’re asking for problems—wasted materials, rust issues, or a roof that doesn’t fit properly.
At Rainy Roofers, we handle metal roofing projects from measurement through final installation. If you’d rather leave the cutting to professionals, contact us for a consultation. We’ll make sure every panel fits perfectly.