Your contractor just quoted you two metal roofing options. One’s $3,800. The other’s $4,000. He says they’re “basically the same” and recommends the cheaper one to save you money.
Fast forward two years. Your low-slope roof is leaking. The fix costs $5,200 because they have to tear off panels, add proper sealing, and reinstall everything.
That $200 savings just became a $5,000 nightmare. Here’s what nobody tells you about R-Panel metal roofing until you’re already dealing with problems.
What Is R-Panel Metal Roofing?
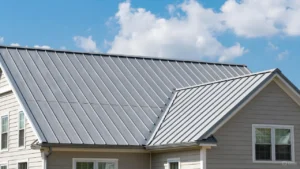
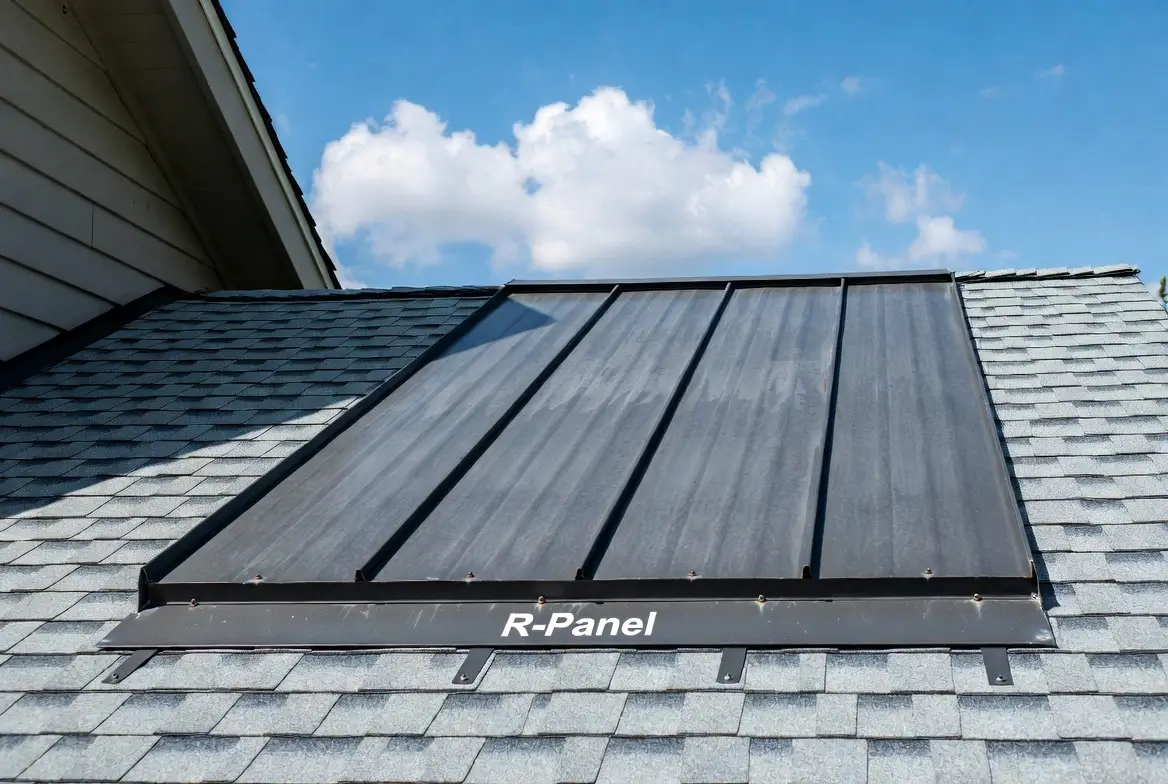
R-Panel is an exposed fastener metal panel with 1¼-inch tall ribs spaced 12 inches apart. The “R” stands for “Ribbed,” referring to its trapezoidal profile.
Think of it like corrugated metal’s more sophisticated cousin.
You’ll see this on commercial buildings, warehouses, barns, and increasingly on modern residential projects where people want that clean industrial look without the industrial price tag.
Here’s what you’re getting:
- 36-inch coverage width (standard)
- 26 gauge thickness (most common, with 24 and 22 gauge options)
- Exposed fastener system (screws visible on the surface)
- Works on slopes as low as 1:12 with sealant
- Available in steel or aluminum
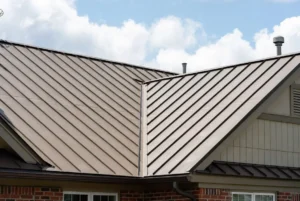
The panels overlap at the seams, creating a stronger connection than you’d get with basic corrugated metal. Screws go through the panel directly into your roof structure.
It’s straightforward. No hidden fasteners. No complicated clips. Just metal, screws, and proper overlap.
Read our related guide about R Panel vs PBR Panel: What You Actually Need to Know.
R-Panel vs PBR Panel: The Difference That Matters
Most people think these are the same thing.
They’re not.
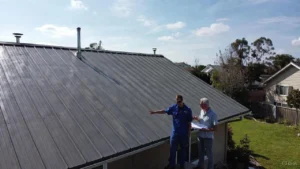
I walked through a commercial project last year where the building owner insisted on the standard R-Panel to save $600 on a 5,000 square foot roof.
His roof pitch was 1.5:12 (pretty flat). We recommended PBR Panel (Purlin Bearing R-Panel) instead.
He went with a basic R-Panel anyway.
Eighteen months later, he called about leaks at the seams during heavy rain. The overlap wasn’t enough for that low slope. Cost to fix it: $4,800.
Here’s the difference:
Standard R-Panel:
- Basic ribbed design
- Standard overlap at seams
- More common for walls and steeper roofs
- Slightly lower cost
PBR Panel (Purlin Bearing R-Panel):
- Extended “bearing leg” that sits on purlins
- Superior overlap and support
- Better for low-slope roofs and demanding applications
- Extra $0.15-$0.25 per square foot
The bearing leg creates more metal-to-metal contact where panels meet. This matters when water sits on your roof longer (low slopes) or when wind tries to push rain up through seams.
At Rainy Roofers, we install both. But we’re honest about when you need the upgraded version. Low slopes (under 3:12)? Go with PBR. Steeper roofs or wall applications? Standard R-Panel works fine.
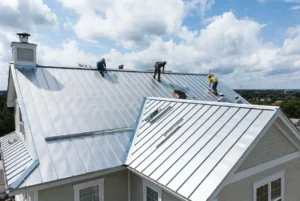
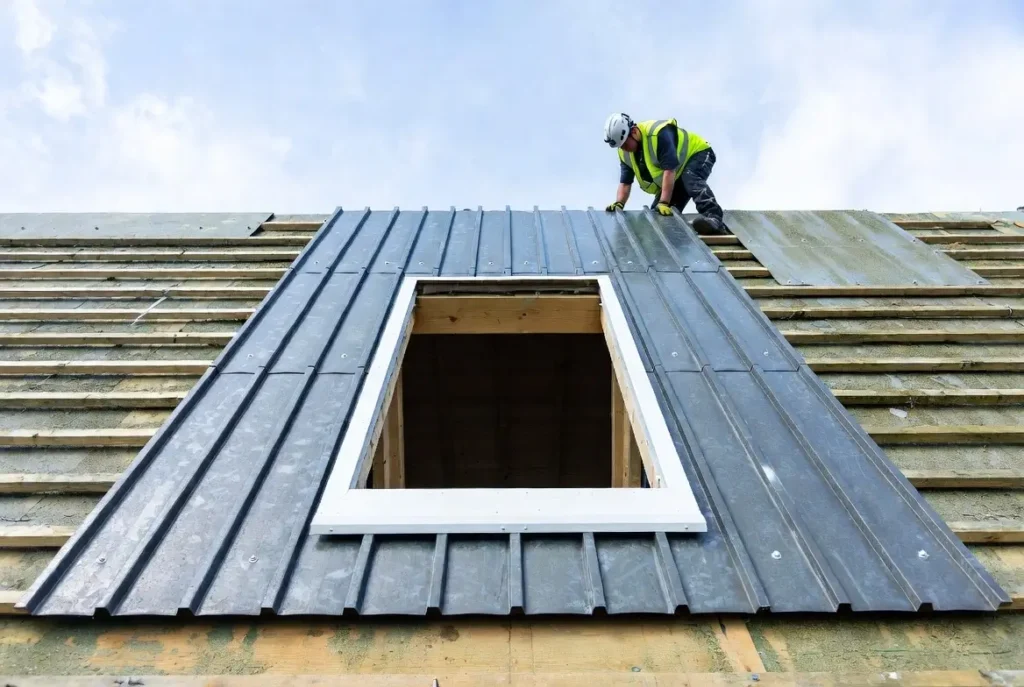
Installation: Open Framing vs Solid Substrate
You can install R-Panel two ways, and the choice affects both cost and performance.
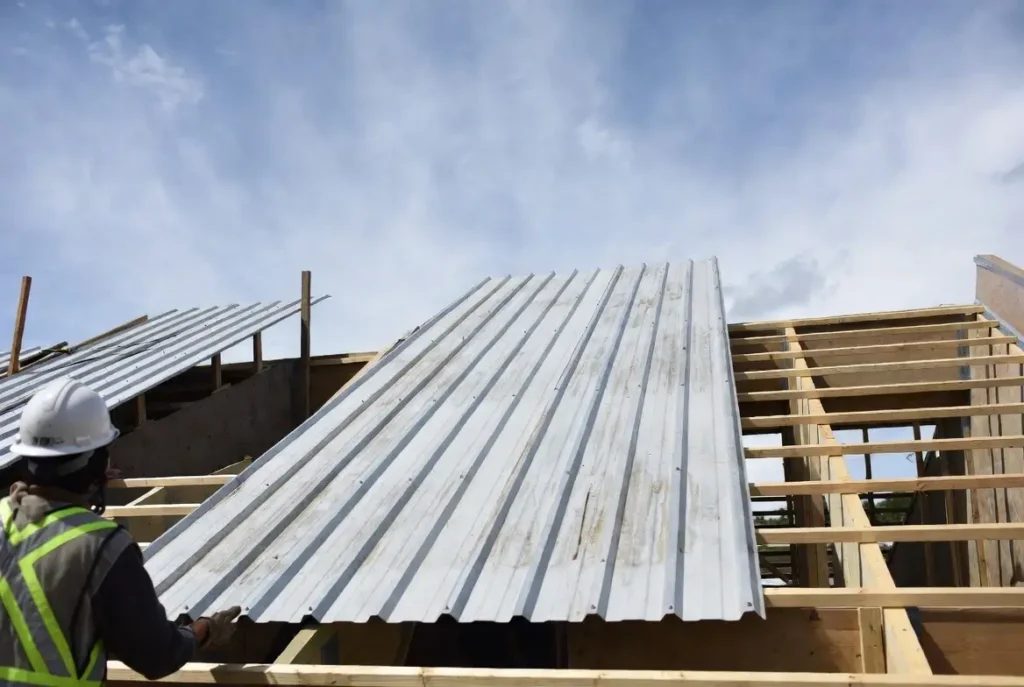
Open Framing (most common for commercial):
- Screws go directly into metal purlins or wood support beams
- No plywood underneath
- Faster installation, lower material cost
- Purlins typically spaced 5-7 feet apart
Solid Substrate (more common for residential):
- Panels attach over plywood or OSB sheathing
- Extra layer of protection
- Higher material cost but more forgiving if you mess up screw placement
The exposed fastener system is dead simple. Screws penetrate through the flat part of the panel (not the ribs) with rubber washers that seal around each screw.
Key installation requirements:
- Minimum slope: 1:12 with butyl sealant in the laps
- Without sealant: 3:12 minimum
- Panel lengths: 3 to 45 feet (custom cut to your specs)
- Can install over existing shingles (saves tear-off costs)
A guy I know tried to save money by skipping the sealant on a 2:12 roof. He figured “it’s metal, water runs off.”
Water found every seam within six months. He spent $3,200 on leak repairs that could’ve been prevented with $150 worth of sealant.
Don’t be that guy.
Cost Reality: What You’re Actually Paying For
Let’s talk numbers.
Material costs for R-Panel:
- 26 gauge: $1.80-$2.50 per square foot
- 24 gauge: $2.20-$3.00 per square foot
- 22 gauge: $2.60-$3.50 per square foot
Installed costs (material + labor):
- $3.50-$5.50 per square foot depending on complexity, location, and roof pitch
For a 2,000 square foot roof, you’re looking at $7,000-$11,000 installed.
Compare that to:
- Asphalt shingles: $5,000-$8,000 (replace in 15-20 years)
- Standing seam metal: $14,000-$22,000 (hidden fasteners, premium look)
The value isn’t just the upfront price. It’s what you’re not spending over the next 30 years.
Coating options affect longevity:
- Galvalume (unpainted): 25-year warranty, popular for barns and commercial
- SMP paint (Silicone Modified Polyester): 30-year warranty
- Kynar 500 (PVDF): 40-year warranty, fade and chalk resistant
We installed Galvalume in a barn five years ago. Still looks great. No rust, no issues. The owner saved $1,800 vs painted panels and doesn’t regret it.
But on residential projects? Most people spring for painted panels. Nobody wants their house looking like a warehouse.
Performance: Fire, Wind, and Energy Efficiency
Metal roofing gets hyped for durability. Here’s what actually matters.
Fire Resistance:
- Class A fire rating under UL 790
- Won’t ignite, won’t spread fire
- Lowers insurance premiums in wildfire-prone areas
Wind and Impact:
- Passes UL 580 Class 90 uplift testing
- UL2218 Class 4 impact resistance (the highest rating)
- Handles hail better than shingles
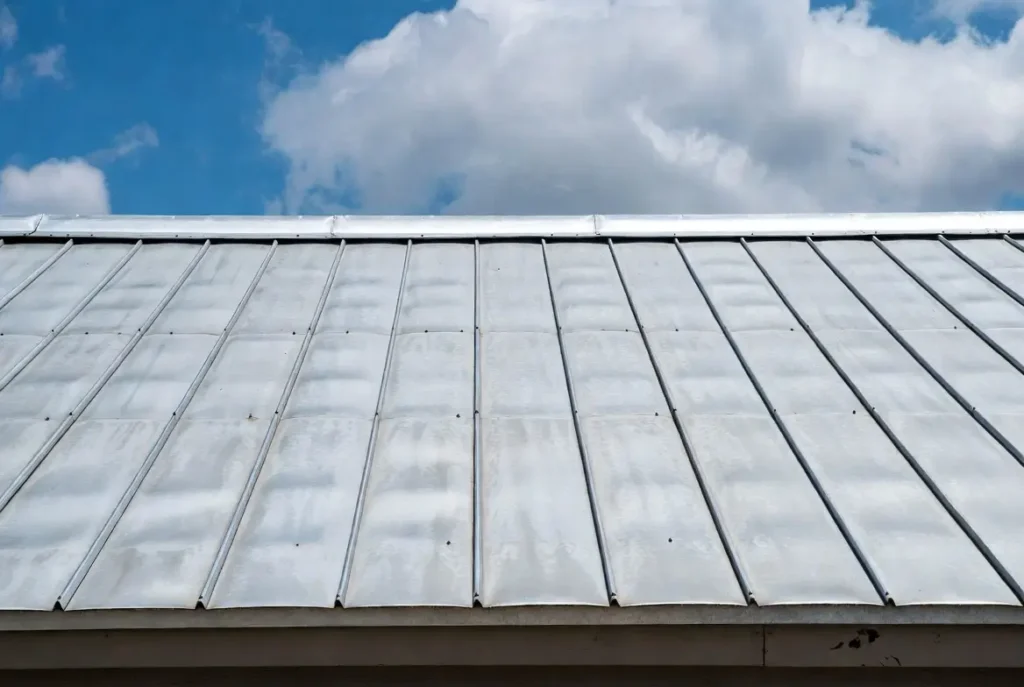
Energy Efficiency:
- Reflective coatings reduce heat absorption
- 25-67% solar reflectivity depending on color
- Can cut cooling costs 10-25% in hot climates
A commercial client in Texas installed white R-Panel with high reflectivity. His cooling bills dropped $180/month during summer. The roof paid for itself in energy savings within 8 years.
The catch? Dark colors absorb more heat. If you want that charcoal gray look, you’re not getting the same energy benefits as lighter colors.
Applications: Where R-Panel Actually Makes Sense
Commercial and Industrial Buildings: Low-slope roofs, large square footage, open framing. This is where R-Panel dominates. It’s cost-effective, durable, and handles the structural demands.
Agricultural Buildings: Barns, equipment storage, livestock buildings. You need weather protection without premium pricing. R-Panel delivers both.
Residential Projects: Modern farmhouse aesthetic, shop buildings, garage upgrades. The ribbed profile gives you that industrial look people are paying architects thousands to design.
Creative Applications:
- Equipment screens (hide HVAC units)
- Decorative fencing
- Interior accent walls
- Textured ceilings
You can install it vertically or horizontally. Walls or roofs. It’s versatile enough to work across different applications.
FAQs About R-Panel Metal Roofing
What’s the minimum slope for R-Panel?
1:12 with proper sealant in the laps. Without sealant, you need at least 3:12. Anything flatter requires different roofing systems or PBR panels with enhanced overlap.
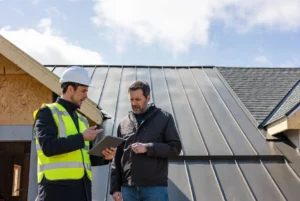
Can I install R-Panel myself?
Yes, if you’re comfortable on a roof. The exposed fastener system is straightforward—no special tools required beyond a screw gun and metal snips. That said, wrong installation voids warranties. For anything larger than a shed, call Rainy Roofers.
Do exposed fasteners leak?
Not if installed correctly. The screws have rubber washers that seal around each penetration. They go in the flat part of the panel where water doesn’t pool. Problems happen when people overtighten or undertighten screws.
How long does an R-Panel last?
30-50+ years with proper installation and coating selection. The metal won’t rot, bugs won’t eat it, and it won’t curl up like shingles. Your coating determines how long it looks good.
What gauge should I choose?
26 gauge for most applications. Go 24 gauge if you’re in high-wind or heavy snow areas. 22 gauge is overkill unless you’re building something that needs extreme durability.
The Real Decision Point
Here’s what it comes down to.
R-Panel is the practical choice when you need metal roofing that performs without the premium price tag of standing seam systems. It’s not the fanciest option. The exposed fasteners aren’t as “clean” looking as hidden fastener systems.
But it works. It lasts. And it saves you money both upfront and over the decades. The people who get it wrong are the ones who either cheap out on installation (skipping sealant, using wrong fasteners) or choose the wrong system for their application (standard R-Panel on a flat roof that needs PBR).
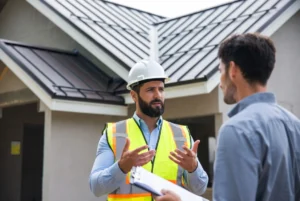
At Rainy Roofers, we’re transparent about what you actually need versus what looks good on paper. Sometimes that means spending an extra $200 on PBR panels. Sometimes it means going with unpainted Galvalume when you don’t need the aesthetic premium.
Choose based on your roof pitch, your budget, and realistic expectations about maintenance. Not on what’s cheapest today or what your neighbor installed five years ago. Your roof should solve problems for 40 years, not create them in year three.