You’re standing in your driveway, looking up at your flat roof, and wondering if there’s a better option than what you’ve got. Maybe you’ve heard about rubber roofing from a neighbor, or seen it mentioned online, and you’re curious if it’s the real deal or just another roofing fad.
Here’s the truth: rubber roofing has been around since the 1960s, and it’s not going anywhere. Commercial buildings have relied on it for decades, and now more homeowners are catching on. We’ve installed hundreds of rubber roofs at Rainy Roofers, and I’m going to break down everything you need to know about rubber roofing types, materials, costs, and whether it makes sense for your home.
No sales pitch. Just the facts you need to make a smart decision.
What Is Rubber Roofing?
Rubber roofing is a synthetic roofing membrane made from rubber polymers. It’s designed primarily for flat roofs or low-slope roofs where traditional shingles don’t work well.
The technical term is “single-ply roofing membrane” because it’s typically one layer of material that creates a waterproof barrier. Think of it like a giant rubber blanket that covers your roof and keeps water out.
Here’s what makes it different from traditional roofing: it’s flexible, resistant to extreme temperatures, and can expand and contract without cracking. Traditional asphalt shingles would fail quickly on a flat roof because water would pool and seep through. Rubber roofing materials are specifically engineered to handle standing water.
Most rubber roofing membranes come in large rolls that get installed in sheets and sealed at the seams. Some newer products come as tiles or shingles that mimic traditional roofing styles while giving you rubber’s durability.
The three main types you’ll encounter are EPDM, TPO, and PVC. Each has different properties, costs, and ideal applications. We’ll dig into those shortly.
Types of Rubber Roofing Materials
Let’s cut through the alphabet soup and talk about what actually matters with each rubber roofing type.
EPDM Rubber Roofing
EPDM stands for ethylene propylene diene monomer. Nobody calls it that. Everyone just says “EPDM” or “rubber roofing.”
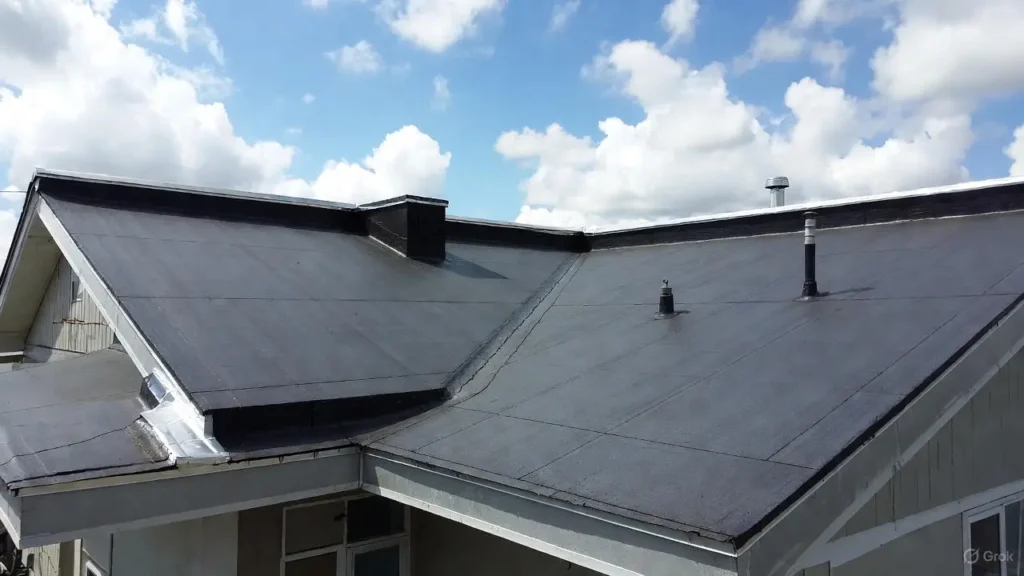
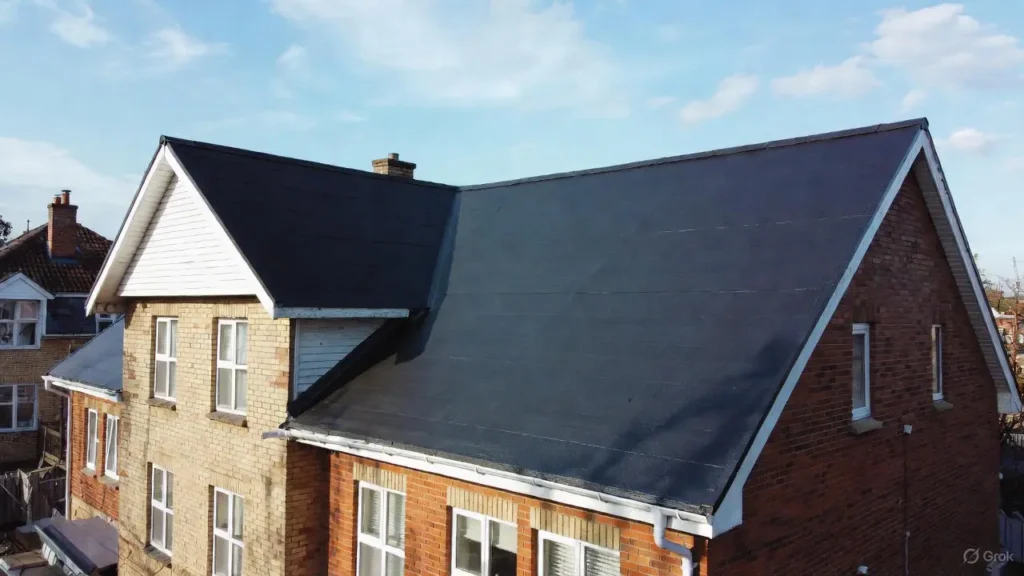
It’s the black rubber material you’ve probably seen on commercial buildings. EPDM has been the workhorse of flat roofing since the 1960s because it’s incredibly durable and relatively affordable.
EPDM typically comes in black, though white versions exist. The black absorbs heat, which can be a drawback in hot climates but helps melt snow in colder regions. It’s made from oil and natural gas, making it one of the more affordable rubber roofing options.
EPDM pros:
- Longest track record (60+ years of proven performance)
- Most affordable rubber roofing membrane option
- Easy to repair if damaged
- Resistant to ozone and UV radiation
- Can last 30-50 years with proper maintenance
EPDM cons:
- Black color absorbs heat and increases cooling costs
- Seams can be vulnerable if not properly installed
- Can puncture more easily than TPO or PVC
- Not as energy efficient as white membranes
We install more EPDM at Rainy Roofers than any other rubber roofing type because it delivers solid performance at a reasonable price point.
TPO Rubber Roofing
TPO (thermoplastic polyolefin) is the newer kid on the block, gaining popularity since the 1990s.
It’s usually white or light gray, making it more energy efficient than black EPDM. The seams are heat-welded together, creating stronger bonds than the adhesive-sealed seams in EPDM systems.
TPO was developed specifically to combine the benefits of EPDM and PVC while eliminating their drawbacks. It’s become the most popular choice for commercial flat roofs over the past decade.
TPO pros:
- White surface reflects heat and lowers cooling costs
- Heat-welded seams are stronger than adhesive seams
- Resistant to mold, algae, and bacterial growth
- Energy Star rated options available
- More puncture-resistant than EPDM
TPO cons:
- Shorter track record than EPDM (quality varies by manufacturer)
- More expensive than EPDM
- Some early formulations had durability issues
- Requires skilled installation for proper seam welding
The key with TPO is choosing a reputable manufacturer. Early TPO products had problems, but today’s formulations from quality manufacturers perform excellently.
PVC Rubber Roofing
PVC (polyvinyl chloride) is technically a plastic rather than true rubber, but it’s grouped with rubber roofing materials because it serves the same purpose.
It’s been used in roofing since the 1960s, primarily on commercial buildings. PVC is the most expensive rubber roofing option but also the most durable against chemicals, fire, and punctures.
PVC pros:
- Most durable against fire, chemicals, and grease
- Excellent for restaurants or industrial buildings
- Heat-welded seams like TPO
- Highly resistant to punctures
- Can last 30+ years
- Available in white for energy efficiency
PVC cons:
- Most expensive rubber roofing membrane option
- Contains plasticizers that can degrade over time
- Heavier than EPDM or TPO
- Environmental concerns about PVC production
For residential applications, PVC is usually overkill unless you have specific needs like frequent roof access or nearby trees dropping debris.
Rubber Roofing Formats: Rolls, Tiles, and Shingles
Most people think of rubber roofing as those big black rolls, but you’ve got options beyond the traditional membrane.
Roll Rubber Roofing
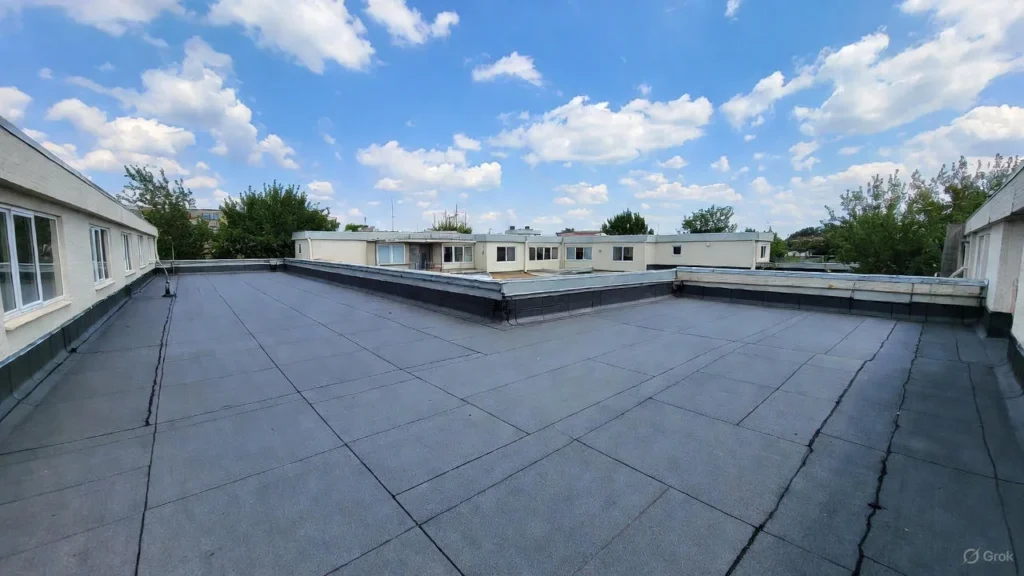
This is the classic format. Rubber roofing materials come in large rolls, typically 10 feet wide and 50-100 feet long. The rolls get laid across your roof deck and seamed together.
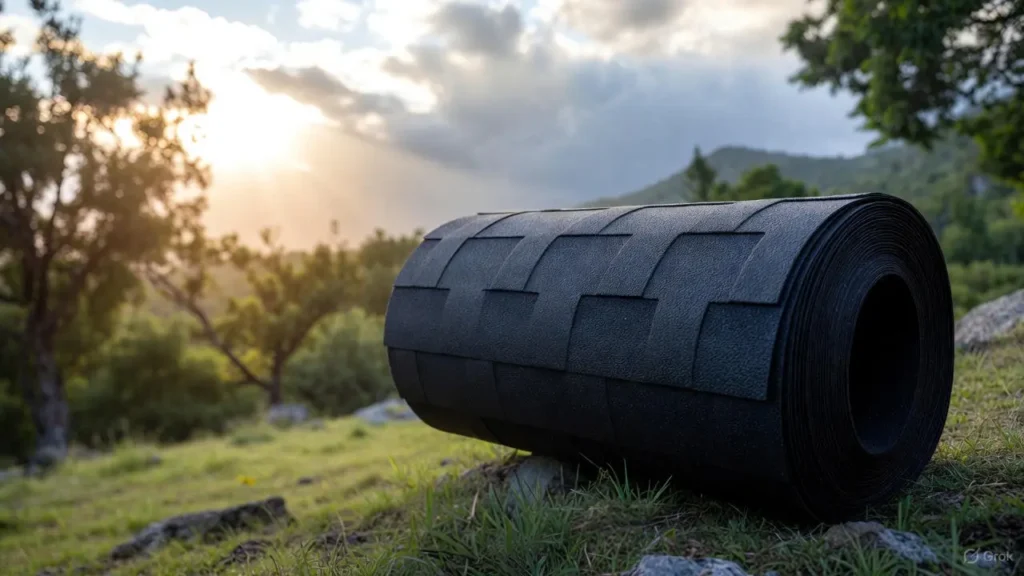
Roll rubber roofing is the most cost-effective option and works best for flat or low-slope roofs. Installation is faster than tiles or shingles because you’re covering large areas at once.
The downside? It doesn’t look particularly attractive, which is why it’s mainly used on flat roofs that aren’t visible from the ground.
Rubber Roofing Tiles
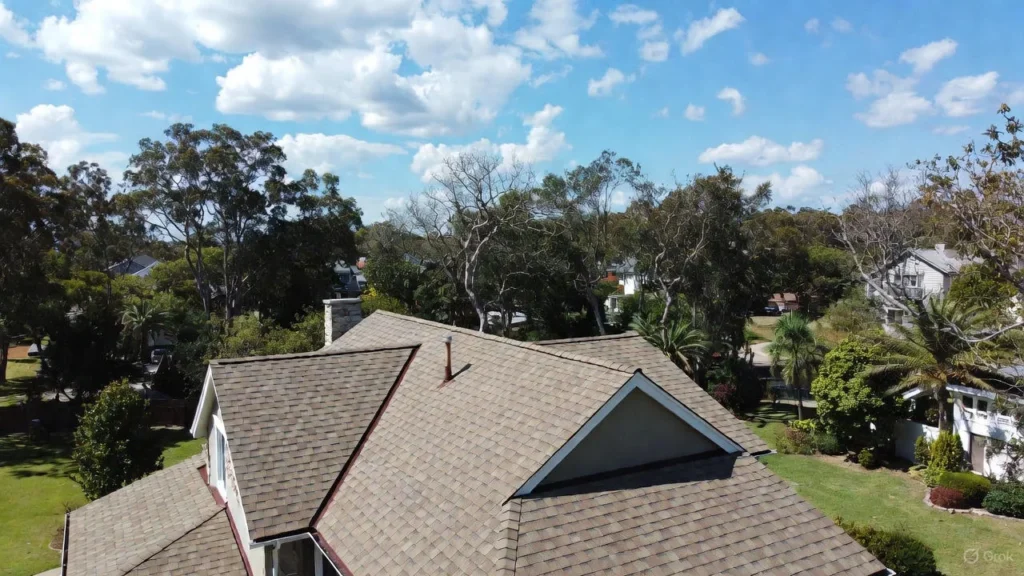
Rubber roof tiles are designed to look like traditional roofing materials while giving you rubber’s durability. They’re typically made from recycled rubber and come in various colors and textures.

These tiles work on pitched roofs and flat roofs. They’re heavier than membrane roofing but lighter than concrete tiles. Installation is similar to traditional tiles, making them accessible for more contractors.
The main advantage is aesthetics. Rubber roofing tiles can mimic slate, wood shake, or clay tiles without the weight or maintenance concerns.
Rubber Roofing Shingles and Rubber Slate Roofing
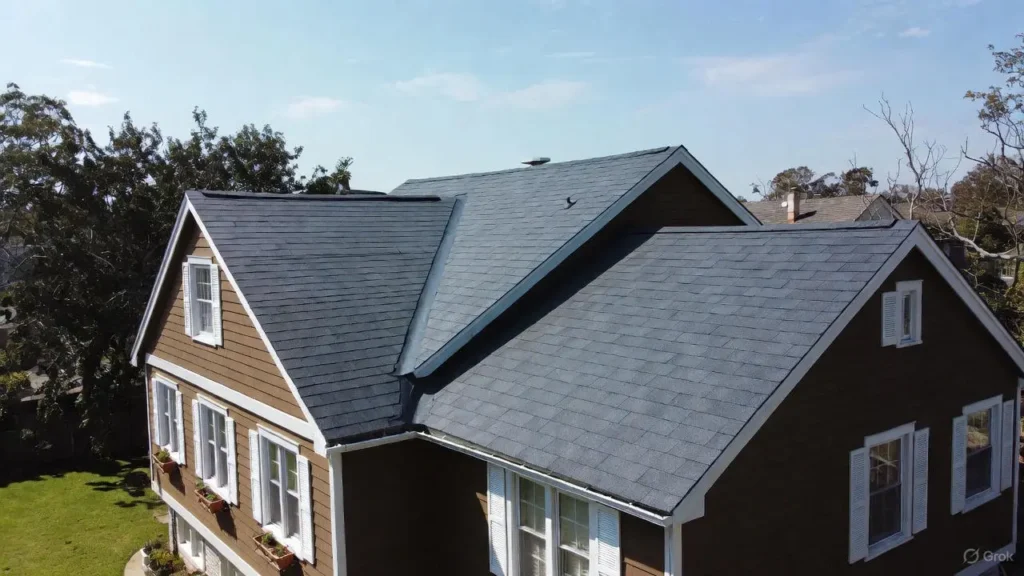
Rubber slate roofing shingles are the premium option for homeowners who want the look of natural slate without the cost or structural concerns.
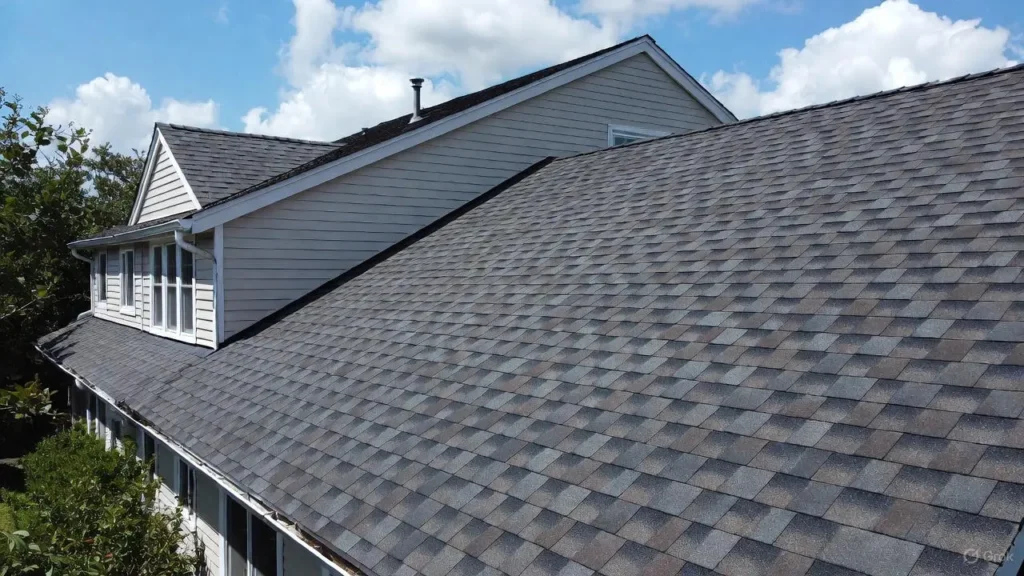
Real slate is beautiful but expensive (often $15-30 per square foot installed) and incredibly heavy. Your roof structure might need reinforcement to support it. Rubber slate roofing shingles deliver a similar appearance at $8-12 per square foot while weighing significantly less.
We’ve installed rubber slate roofing on several historic homes where owners wanted the traditional look but needed a practical solution. Most people can’t tell the difference from the ground.
These shingles are also made from recycled materials, which appeals to environmentally conscious homeowners.
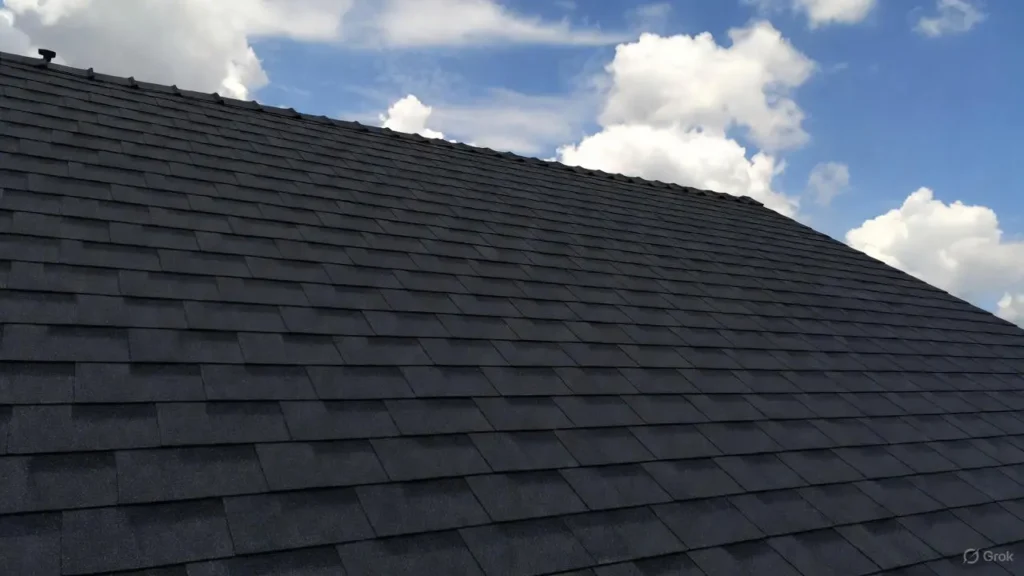
White Rubber Roofing vs Black Rubber Roofing
The color debate matters more than you might think.
Black rubber roofing (primarily EPDM) absorbs heat. In summer, a black EPDM roof can reach 170°F on a 90°F day. That heat transfers into your building, increasing cooling costs by 10-20%.
In northern climates, heat absorption is actually beneficial. It helps melt snow and ice, reducing the load on your roof structure and minimizing ice dam formation.
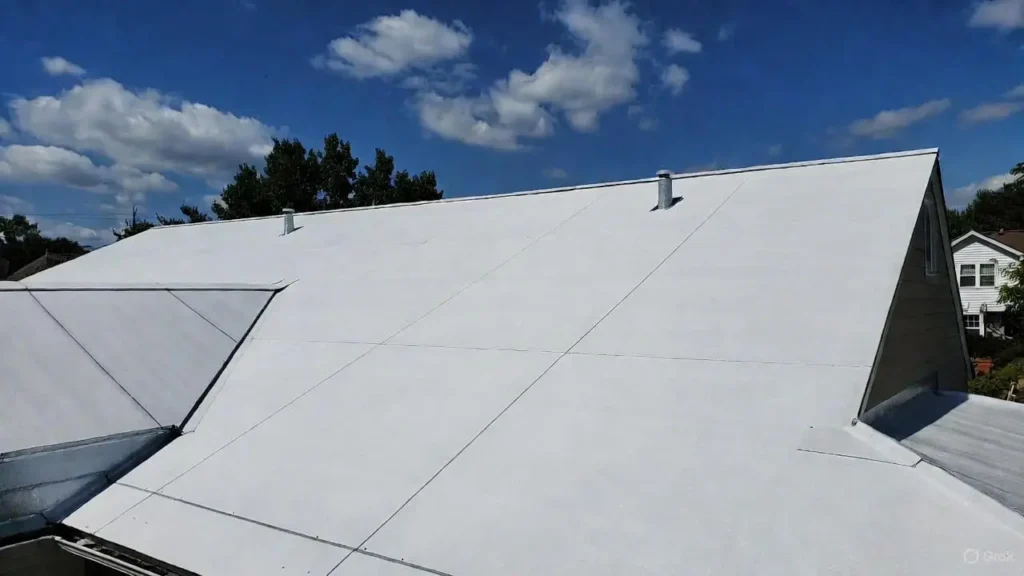
White rubber roofing (TPO or white EPDM) reflects sunlight and stays 50-60°F cooler than black roofing. Energy Star-rated white roofs can reduce cooling costs by 15-25% in hot climates.
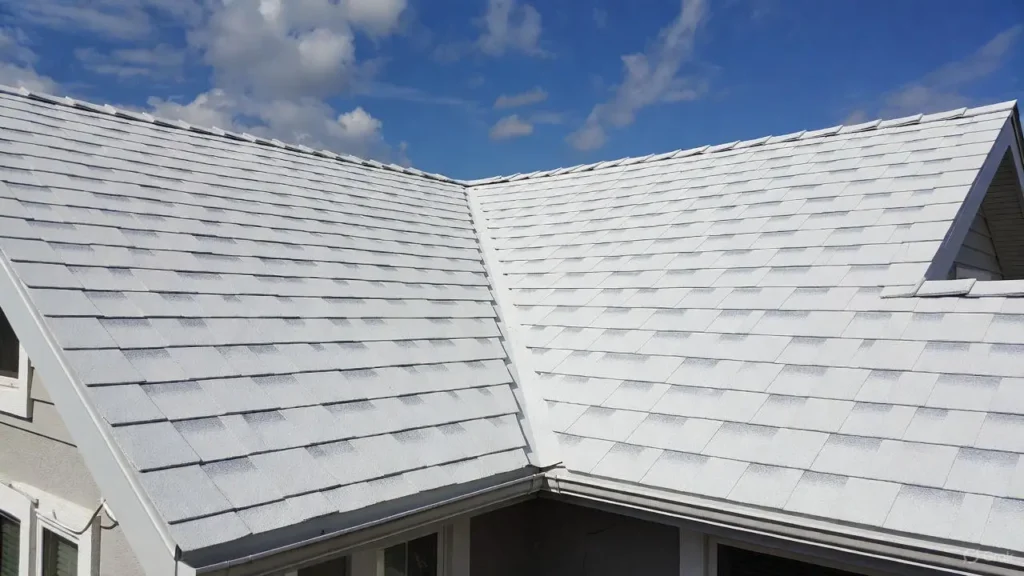
The energy savings from white rubber roofing typically pay for the price difference within 5-7 years in southern states. In northern states, the calculation is more complex because you lose the heating benefits from solar gain.
Choose black rubber roofing if:
- You live in a cold climate with significant snow
- Your building has more heating costs than cooling costs
- Budget is tight and you need the most affordable option
Choose white rubber roofing if:
- You live in a hot climate
- Cooling costs are your primary concern
- You want maximum energy efficiency
- You’re pursuing LEED certification or energy rebates
At Rainy Roofers, we typically recommend TPO (white) for our clients in warmer regions and EPDM (black) for those in colder areas, but we always run the numbers based on your specific situation.
Waterproof Rubber Roofing Performance
Let’s address the obvious question: how waterproof is waterproof rubber roofing?
All properly installed rubber roofing membranes are 100% waterproof when new. The material itself doesn’t absorb water. The vulnerabilities come from seams, penetrations (vents, pipes, HVAC units), and physical damage.
EPDM uses adhesive-sealed seams. When properly installed with the right adhesive and proper overlap, these seams are completely waterproof. The weakness is that adhesive can degrade over time if exposed to UV light or if the installer didn’t apply it correctly.
TPO and PVC use heat-welded seams, which are generally stronger and more reliable long-term. The heat creates a molecular bond between the sheets, essentially making them one continuous piece.
Real-world performance depends heavily on installation quality. I’ve seen 40-year-old EPDM roofs still performing perfectly because they were installed correctly. I’ve also seen 5-year-old TPO roofs leaking because the contractor didn’t properly weld the seams.
Penetrations are the other common leak point. Every time you penetrate a rubber roofing membrane for a vent, pipe, or equipment, you create a potential leak path. Quality installation means properly flashing and sealing every penetration.
At Rainy Roofers, we use a two-person inspection process on every rubber roof installation. One person installs, another person inspects seams and penetrations before we call the job complete. It’s the only way to ensure waterproof rubber roofing performance.
Rubber Roofing Cost Breakdown
Let’s talk numbers. Rubber roofing cost varies based on material type, roof size, complexity, and your location.
EPDM rubber roofing cost:
- Material only: $0.80-$1.50 per square foot
- Professional installation: $4.50-$8.50 per square foot
- Total installed cost: $5.30-$10.00 per square foot
TPO rubber roofing cost:
- Material only: $1.50-$2.50 per square foot
- Professional installation: $5.50-$9.50 per square foot
- Total installed cost: $7.00-$12.00 per square foot
PVC rubber roofing cost:
- Material only: $2.50-$4.00 per square foot
- Professional installation: $7.00-$12.00 per square foot
- Total installed cost: $9.50-$16.00 per square foot
Rubber roofing tiles cost:
- Material and installation: $8.00-$15.00 per square foot
Rubber slate roofing shingles cost:
- Material and installation: $8.00-$12.00 per square foot
For a typical 1,500 square foot flat roof:
- EPDM: $7,950-$15,000
- TPO: $10,500-$18,000
- PVC: $14,250-$24,000
These numbers include tear-off of existing roofing, new rubber roofing membrane, flashings, and basic penetrations. Complex roofs with multiple levels, lots of equipment, or difficult access will cost more.
DIY Rubber Roofing Cost Savings
DIY rubber roofing installation can cut costs by 40-60% if you’re handy and comfortable working on roofs.
EPDM is the most DIY-friendly rubber roofing type. You can buy complete kits with membrane, adhesive, primer, and flashings from roofing suppliers. A 1,500 square foot EPDM kit typically runs $2,000-$3,500.
TPO and PVC require specialized equipment for heat-welding seams, making DIY installation impractical for most homeowners.
DIY rubber roofing pros:
- Significant cost savings
- Complete control over timing and quality
- Learning valuable skills
DIY rubber roofing cons:
- Steep learning curve
- Risk of mistakes that cause leaks
- No warranty on installation
- Time-intensive (3-5 days for most homeowners)
- Safety concerns working on roofs
I’ll be honest: we see plenty of DIY rubber roofing jobs that need professional repair within 2-3 years. The most common issues are improperly sealed seams and inadequate flashing around penetrations.
If you’re considering DIY, stick with EPDM, watch multiple installation videos, read the manufacturer’s instructions carefully, and don’t rush. Take extra time on seams and flashings because that’s where leaks happen.
For TPO or PVC, hiring professionals is worth it. The specialized equipment and training required make DIY impractical.
When Rubber Roofing Makes Sense
Rubber roofing isn’t the right solution for every roof. Here’s when it makes perfect sense and when you should consider alternatives.
Rubber roofing is ideal for:
Flat or low-slope roofs – This is rubber roofing’s wheelhouse. If your roof has less than a 3:12 pitch, rubber roofing materials are probably your best option. Traditional shingles don’t shed water effectively on flat roofs, leading to premature failure.
Commercial buildings – Warehouses, retail stores, and office buildings with flat roofs have relied on rubber roofing for decades. It’s cost-effective, durable, and proven at large scale.
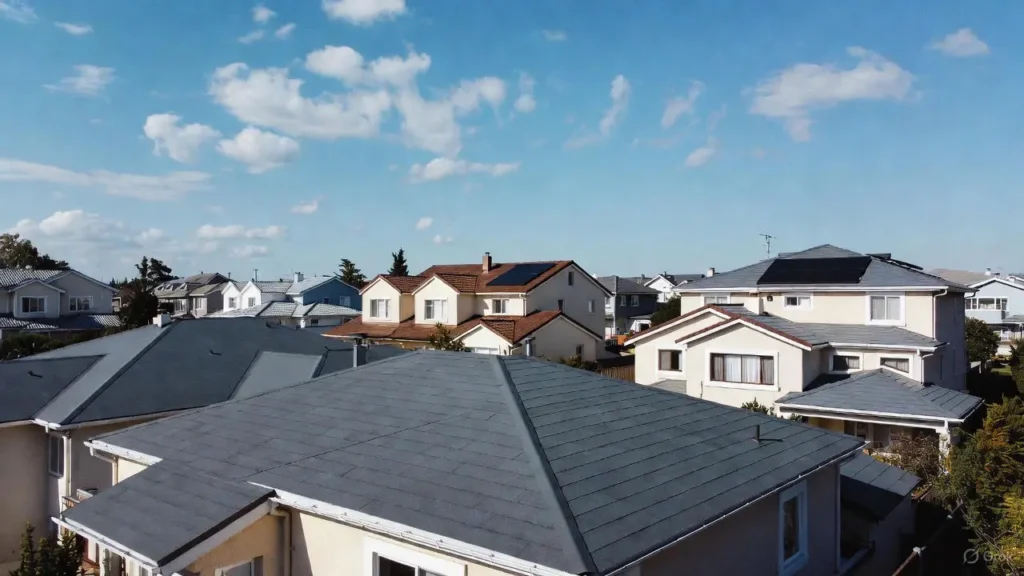
Modern homes with flat or shed roofs – Contemporary architecture often features flat sections or shed roofs. Rubber roofing membrane keeps these sections watertight without compromising the clean lines of modern design.
Additions and garages – Many home additions or detached garages have flat or low-slope roofs where rubber roofing performs better than alternatives.
Budget-conscious projects – EPDM rubber roofing offers excellent value. It’s not the cheapest roofing option, but the cost-to-performance ratio is hard to beat for flat roofs.
Energy efficiency goals – White TPO or PVC can significantly reduce cooling costs, making them attractive for energy-conscious homeowners or commercial buildings pursuing green certification.
Rubber roofing isn’t ideal for:
Steep pitched roofs on traditional homes – While rubber slate roofing shingles work on pitched roofs, traditional asphalt shingles or metal roofing are usually more cost-effective for steep slopes.
High-visibility roofs where aesthetics matter – Standard rubber roofing membrane looks industrial. If your flat roof is visible from the street or neighboring properties, consider the visual impact.
Roofs with frequent foot traffic – While rubber roofing is durable, constant foot traffic accelerates wear. If people regularly access your roof for maintenance or recreation, consider a more robust system or install walkway pads.
DIY projects for inexperienced homeowners – If you’ve never done roofing work, rubber roofing isn’t the place to start. The stakes are too high and mistakes too costly.
Residential vs Commercial Rubber Roofing Applications
The rubber roofing industry started in commercial applications and gradually moved into residential use. Understanding the differences helps you make better decisions.
Commercial rubber roofing typically covers thousands or tens of thousands of square feet. These large expanses make rubber roofing membrane the most practical solution. Commercial projects prioritize durability, longevity, and cost-effectiveness over aesthetics.
Most commercial buildings use EPDM or TPO. Installation is straightforward because there are fewer penetrations and complexity compared to residential roofs. Commercial roofs typically get inspected and maintained regularly, extending their lifespan.
Residential rubber roofing faces different challenges. Homes often have multiple roof levels, numerous penetrations (vents, skylights, chimneys), and architectural features that complicate installation. Aesthetics matter more because neighbors and visitors see your roof.
Residential applications typically fall into two categories:
First, flat or low-slope sections on otherwise traditional homes. Maybe you have a flat roof over a porch, addition, or garage. These sections get rubber roofing while the rest of the house has shingles or tiles.
Second, modern homes specifically designed with flat or low-slope roofs. These homeowners chose contemporary architecture knowing they’d use rubber roofing materials.
At Rainy Roofers, we handle both commercial and residential rubber roofing installations. The installation process is similar, but residential projects require more attention to detail around penetrations and transitions between different roofing materials.
Rubber Roofing Maintenance and Lifespan
One of rubber roofing’s biggest advantages is low maintenance compared to other roofing types.
EPDM rubber roofing typically lasts 30-50 years. TPO and PVC last 20-30 years. Compare that to asphalt shingles (15-25 years) or wood shakes (20-30 years with intensive maintenance).
Annual maintenance checklist:
- Clean debris – Remove leaves, branches, and accumulated dirt twice per year
- Inspect seams – Check for separation or damage, especially after severe weather
- Check penetrations – Verify that flashings around vents and pipes remain sealed
- Clear drains – Ensure roof drains and scuppers aren’t clogged
- Look for punctures – Identify any damage from falling branches or foot traffic
- Check for ponding water – Water that sits more than 48 hours after rain indicates drainage issues
Most rubber roofing problems start small and become expensive if ignored. A small seam separation that leaks slowly can rot the roof deck over several years before you notice interior damage.
We offer maintenance plans at Rainy Roofers that include twice-yearly inspections. Our techs catch small issues before they become major problems. The annual cost ($150-300 depending on roof size) is far less than emergency repairs.
Common repairs and costs:
- Small punctures or tears: $150-400
- Seam repairs: $300-800
- Flashing repairs around penetrations: $200-600
- Drain repair or replacement: $400-1,200
Proper maintenance extends your roof’s lifespan and protects your investment. We’ve seen well-maintained EPDM roofs hit 40+ years, while neglected roofs fail at 15-20 years.
Environmental Considerations and Sustainability
Rubber roofing has environmental pros and cons worth considering.
Environmental benefits:
- Long lifespan means less frequent replacement and less waste
- White rubber roofing reduces urban heat island effect
- Many rubber roofing products contain recycled content
- EPDM is recyclable at end of life (though recycling infrastructure is limited)
- Lower energy consumption during manufacturing compared to some alternatives
Environmental concerns:
- Made from petroleum products (oil and natural gas derivatives)
- PVC contains chemicals that raise environmental concerns
- Limited recycling infrastructure means most old roofing ends up in landfills
- Black EPDM increases cooling costs and energy consumption
Rubber slate roofing shingles and rubber roofing tiles often contain high percentages of recycled rubber from tires and industrial products. Some products are 90-95% recycled content, giving new life to materials that would otherwise sit in landfills.
Cool roof technology in white TPO and PVC has significant environmental benefits. By reducing building cooling loads, these roofs decrease electricity consumption and associated carbon emissions. In hot climates, the energy savings over 30 years can be substantial.
If environmental impact matters to you, prioritize white rubber roofing in hot climates for energy efficiency, look for products with recycled content, and ensure your old roofing gets recycled if possible when replaced.
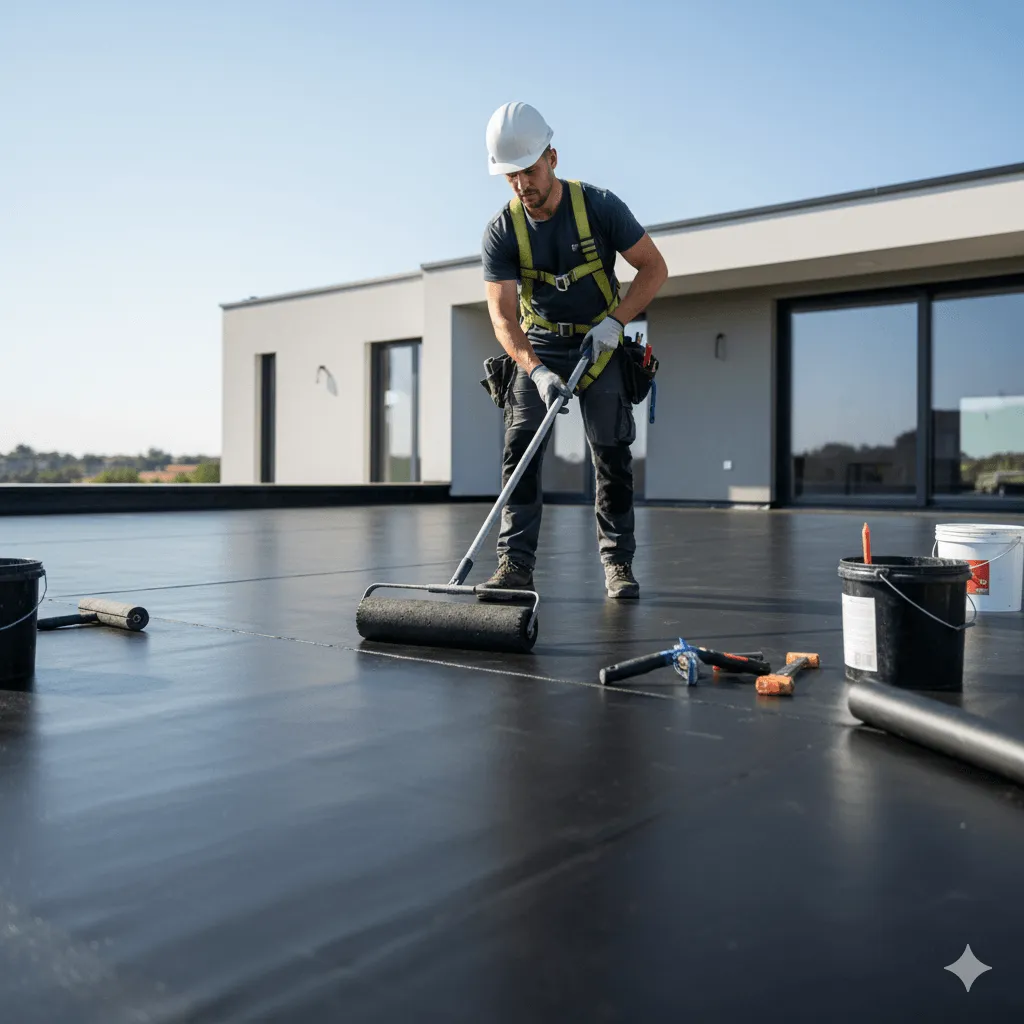
Installation Process: What to Expect
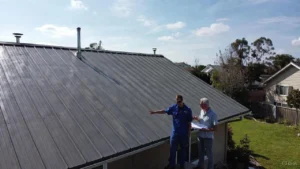
Understanding the installation process helps you know what to expect if you hire Rainy Roofers or another contractor.
Day 1: Preparation and tear-off
We start by protecting your property. Drop cloths go over landscaping, debris chutes channel old roofing material into dumpsters, and we establish safe working zones.
Tear-off removes existing roofing down to the deck. We inspect the deck for damage, replacing any rotten or deteriorated sections. This step can’t be rushed—the rubber roofing membrane is only as good as the substrate underneath.
Day 2: Deck preparation and insulation
The deck gets cleaned thoroughly. Any protruding nails or screws get removed or driven flush. We install insulation board if specified (recommended for energy efficiency).
A coverboard goes over the insulation to protect it from damage during installation and provide a smooth surface for the membrane.
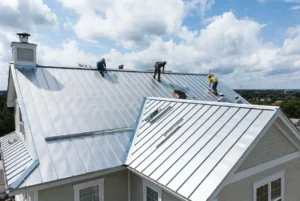
Day 3-4: Membrane installation
For EPDM, we roll out the membrane, let it relax for 30-60 minutes, then pull it back and apply adhesive to the deck. The membrane gets rolled back into place and pressed firmly into the adhesive. Seams overlap by 3-6 inches and get sealed with adhesive and seam tape.
For TPO or PVC, we mechanically attach the membrane to the deck, then heat-weld the seams using specialized equipment. This creates permanent, watertight bonds between sheets.
Day 4-5: Flashing and finishing
All penetrations get flashed and sealed. Vents, pipes, HVAC units, and roof edges receive careful attention because these are common leak points.
Drains and scuppers get installed or rebuilt as needed. Edge metal and termination bars secure the membrane at roof edges and transitions.
Final inspection verifies all seams are properly sealed and all penetrations are flashed correctly.
Total timeline:
- Small residential roof (500-1,000 sq ft): 2-3 days
- Average residential roof (1,000-2,000 sq ft): 3-5 days
- Large or complex roof: 5-10 days
- Weather delays can extend any project
We don’t install rubber roofing in rain or when temperatures drop below 40°F because adhesives and sealants don’t cure properly in cold or wet conditions.
Common Problems and Solutions
Every roofing system has potential issues. Here’s what can go wrong with rubber roofing and how to fix it.
Seam separation – The most common problem in EPDM roofing. Adhesive degrades over time or wasn’t applied correctly initially. Solution: clean the separated seam, apply fresh adhesive and seam tape, then press firmly and let cure.
Punctures and tears – Falling branches, hail, or foot traffic can puncture the membrane. Solution: clean the area, apply primer, then patch with membrane material and sealant. Patches should extend 6 inches beyond the damage in all directions.
Ponding water – Water that sits more than 48 hours indicates inadequate drainage. Over time, standing water degrades the membrane and can leak through. Solution: improve drainage by installing additional drains, tapered insulation to create slope, or cricket diverters around obstacles.
Shrinkage – Older EPDM can shrink slightly, pulling away from edges and penetrations. Solution: install additional termination bars and flashings, or in severe cases, replace the affected sections.
Blistering – Air or moisture trapped under the membrane creates bubbles. Solution: cut the blister, let it dry thoroughly, apply adhesive, and seal with patch material.
Flashing failures – Poorly installed flashings around penetrations eventually fail. Solution: remove old flashing, properly seal the penetration, and install new flashing material with adequate overlap and sealant.
Most problems stem from installation errors rather than material failures. This is why choosing an experienced contractor matters more than saving a few dollars with the low bidder.
At Rainy Roofers, we warranty our rubber roofing installations for 10-15 years on workmanship (separate from manufacturer material warranties). We stand behind our work because we install it right the first time.
Comparing Rubber Roofing to Alternatives
How does rubber roofing stack up against other flat roof options?
Rubber roofing vs Built-up roofing (BUR): Built-up roofing uses multiple layers of tar and gravel. It’s the traditional flat roof system.
- BUR is heavier and requires more structural support
- BUR installation is messier and takes longer
- Rubber roofing is easier to repair
- Similar lifespans (20-30 years)
- BUR is more puncture-resistant
- Rubber roofing costs less to install
Rubber roofing vs Modified bitumen: Modified bitumen is asphalt-based with polymer modifiers.

- Similar installation costs
- Modified bitumen requires torch application (fire risk)
- Rubber roofing is lighter weight
- Similar lifespans
- Rubber roofing has better cold weather performance
- Modified bitumen is more familiar to some contractors
Rubber roofing vs Spray foam: Spray polyurethane foam creates insulation and waterproofing in one system.
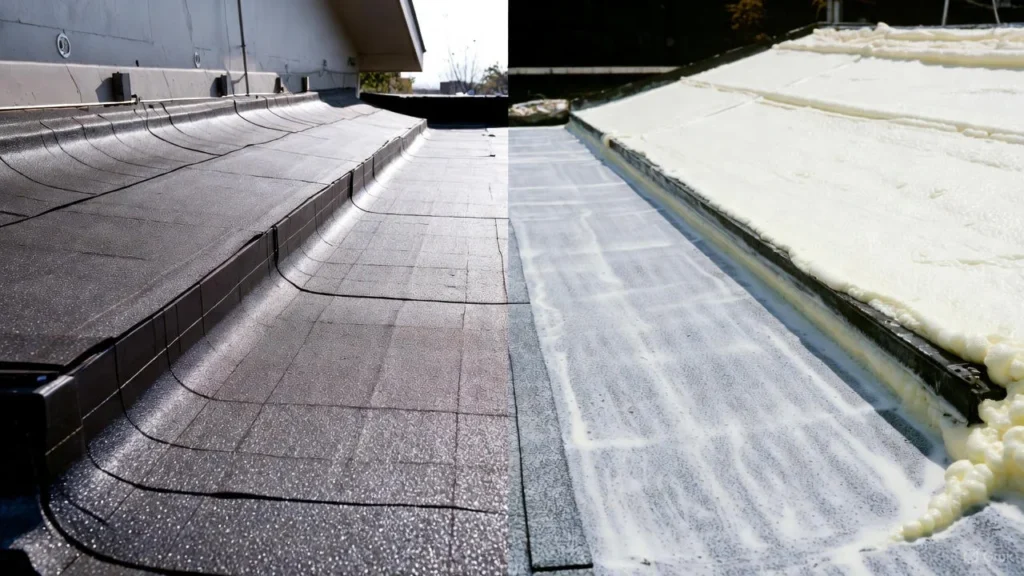
- Spray foam costs more initially ($8-14 per sq ft)
- Superior insulation value with spray foam
- Spray foam fills and seals all gaps
- Requires protective coating that needs reapplication every 10-15 years
- More difficult to repair than rubber roofing
- Spray foam works on any slope
Rubber roofing vs Metal roofing: Standing seam metal can work on low-slope roofs.
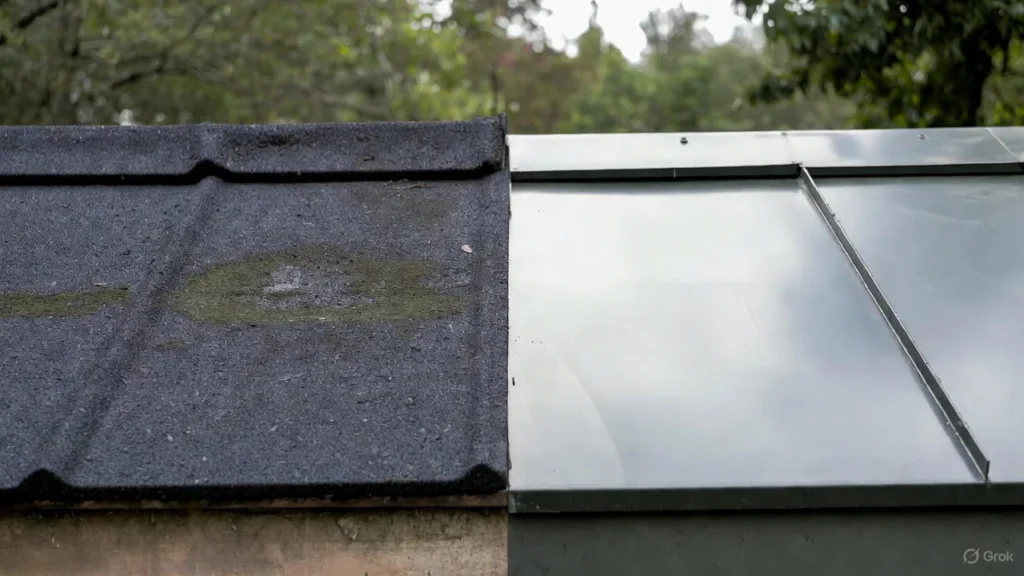
- Metal costs significantly more ($10-18 per sq ft)
- Metal lasts longer (40-70 years)
- Better aesthetics with metal
- Metal makes noise in rain/hail
- Rubber roofing is quieter
- Metal requires specialized installation
For most flat residential roofs, rubber roofing offers the best balance of cost, performance, and longevity. The competition is mainly between EPDM and TPO, with the choice depending on your climate and budget.
Warranties and What They Actually Cover
Understanding rubber roofing warranties prevents disappointment down the road.
Most rubber roofing comes with two separate warranties: material warranty from the manufacturer and workmanship warranty from the contractor.
Material warranties typically cover 10-30 years depending on the product. They guarantee the membrane won’t deteriorate or fail under normal conditions. Read the fine print—most warranties are prorated, meaning coverage decreases over time.
A 20-year prorated warranty might provide 100% coverage for the first 5 years, then decrease by 5% annually. By year 15, you’re only getting 25% coverage even though the warranty is still “active.”
Material warranties specifically exclude damage from:
- Improper installation
- Lack of maintenance
- Acts of nature (hurricanes, hail, falling trees)
- Foot traffic or abuse
- Ponding water lasting more than 48 hours
Workmanship warranties from the contractor typically cover 1-15 years depending on the company. This covers leaks or failures due to installation errors.
At Rainy Roofers, we provide a 10-year workmanship warranty on residential rubber roofing and 15 years on commercial installations. If a leak develops due to our installation, we fix it at no cost. Material failures get handled through manufacturer warranties.
The best warranty is prevention. Choose quality materials, hire experienced installers, and maintain your roof properly. A well-installed rubber roofing system will outlast its warranty period without issues.
Frequently Asked Questions
How long does rubber roofing last?
EPDM typically lasts 30-50 years, TPO lasts 20-30 years, and PVC lasts 25-35 years. Actual lifespan depends on installation quality, climate, and maintenance. Well-maintained rubber roofing regularly exceeds these estimates.
Can you walk on rubber roofing?
Yes, but minimize foot traffic. Rubber roofing can handle occasional walking for maintenance or inspections. Install walkway pads in areas with regular access to protect the membrane. Avoid dragging equipment or sharp objects across the surface.
Is rubber roofing energy efficient?
White rubber roofing (TPO or white EPDM) is highly energy efficient, reducing cooling costs by 15-25% in hot climates. Black EPDM absorbs heat and increases cooling costs but helps with snow melt in cold climates. Energy efficiency depends on your climate and color choice.
Can I install rubber roofing myself?
EPDM is DIY-friendly for experienced homeowners comfortable working on roofs. TPO and PVC require specialized heat-welding equipment, making professional installation necessary. Consider your skill level, safety, and the consequences of mistakes before attempting DIY installation.
What’s better, EPDM or TPO?
EPDM is more affordable and has a longer track record. TPO is more energy efficient and has stronger seams. For cold climates and tight budgets, choose EPDM. For hot climates and energy efficiency, choose TPO. Both perform well when properly installed.
Does rubber roofing leak?
Properly installed rubber roofing doesn’t leak. Leaks occur from installation errors (poor seam sealing, inadequate flashing), physical damage, or lack of maintenance. Choose experienced contractors and maintain your roof to prevent leaks.
How much does rubber roofing cost per square foot?
EPDM costs $5.30-$10.00 per square foot installed. TPO costs $7.00-$12.00 per square foot. PVC costs $9.50-$16.00 per square foot. These ranges include tear-off, materials, and installation. Complex roofs or premium materials cost more.
Can rubber roofing be installed over shingles?
Not recommended. Rubber roofing performs best when installed over a smooth, clean deck. Old shingles create an uneven surface that can damage the membrane. Always remove existing roofing before installing rubber roofing membrane.
What’s the best rubber roofing for flat roofs?
For most residential flat roofs, EPDM offers the best value. For commercial buildings or energy efficiency priorities, TPO is excellent. For maximum durability in harsh conditions, PVC is worth the extra cost. Climate, budget, and specific requirements determine the best choice.
Does rubber roofing work in cold weather?
Yes, rubber roofing performs excellently in cold climates. EPDM remains flexible at temperatures down to -40°F. However, don’t install rubber roofing when temperatures drop below 40°F because adhesives and sealants won’t cure properly.
Making Your Decision
Choosing rubber roofing comes down to matching the right material to your specific situation.
If you’ve got a flat or low-slope roof, rubber roofing types offer proven performance at reasonable costs. EPDM delivers the best value for budget-conscious projects. TPO makes sense when energy efficiency matters. PVC handles special requirements like chemical exposure or maximum durability.
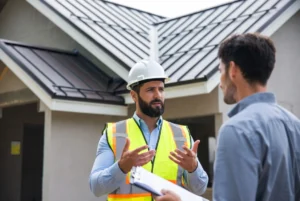
The material is only half the equation. Installation quality determines whether your rubber roofing lasts 15 years or 45 years. Check references, verify insurance, and don’t choose based on price alone.
At Rainy Roofers, we’ve installed enough rubber roofing to know what works and what doesn’t. We take the time to assess your roof structure, discuss your priorities, and recommend the material that makes sense for your situation—not the one that maximizes our profit.
Your roof is too important to rush the decision. Take time to understand your options, get multiple quotes, and ask questions until you’re confident in your choice. Whether you go with rubber roofing materials or another solution, the right roof protects your investment and gives you peace of mind for decades.
Need help deciding if rubber roofing is right for your home or business? Rainy Roofers provides free consultations and detailed estimates. We’ll walk you through your options without pressure or sales tactics—just honest advice from people who’ve been doing this work for years.