
You’re researching rubber roofing and realize it doesn’t just come in one format. There are rolls, tiles, shingles, and membranes—and every contractor seems to recommend something different.
Here’s what’s actually happening: rubber roofing materials come in different formats because different roofs need different solutions. A flat garage roof needs something completely different than a pitched house roof.
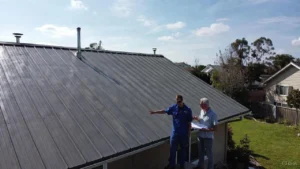
I’ve installed all four formats at Rainy Roofers. Let me break down what each one does, when it makes sense, and which format fits your specific roof situation.
Roll Rubber Roofing: The Flat Roof Workhorse
Roll rubber roofing is exactly what it sounds like—large sheets of rubber that come on rolls, typically 10 feet wide and 50-100 feet long.
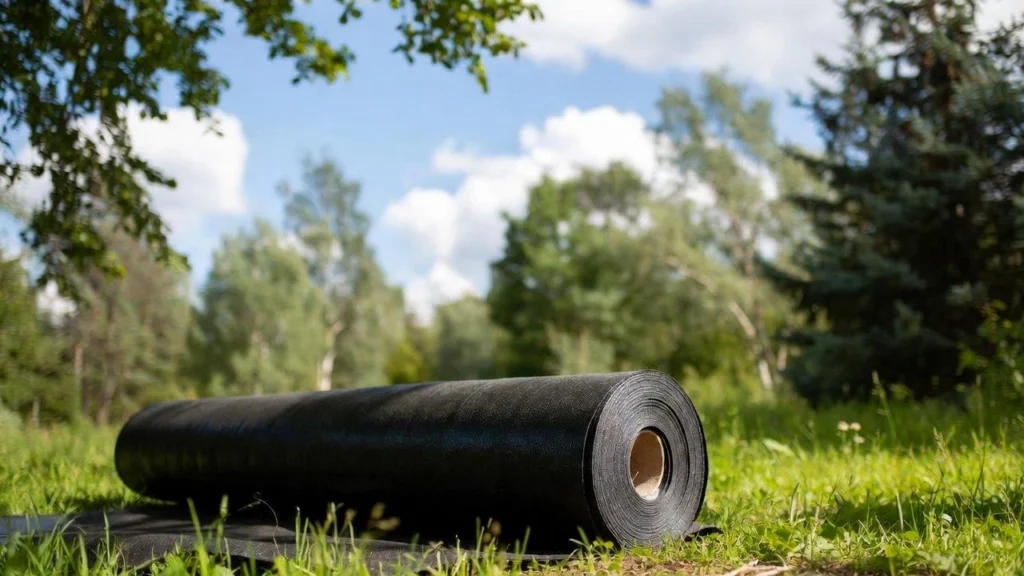
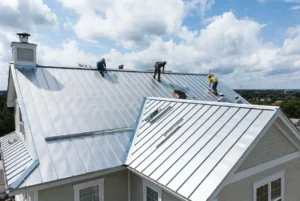
This is what most people picture when they hear “rubber roofing.” It’s the black (or white) membrane you see on flat commercial buildings and residential flat roofs.
The most common type is EPDM (that black rubber), but TPO and PVC also come in rolls. These are single-ply membranes designed specifically for flat or low-slope roofs where traditional shingles won’t work.
When roll rubber roofing makes sense:
- Flat roofs or roofs with less than 3:12 pitch
- Large continuous areas without complex shapes
- Garage roofs, porch roofs, or additions
- Budget-conscious projects
- Areas where appearance doesn’t matter much
We installed roll rubber roofing on a customer’s detached garage last month. The whole job took two days because we could cover the 600 square foot roof with just a few large sheets. Fast, effective, and the customer saved about 40% compared to what tiles would’ve cost.
The installation involves rolling out the membrane, letting it relax, then either gluing it down, mechanically fastening it, or ballasting it with rocks. Seams get sealed with adhesive tape (EPDM) or heat-welded (TPO/PVC).
Roll rubber roofing pros:
- Most cost-effective format ($5-12 per square foot installed)
- Fastest installation for large flat areas
- Fewest seams means fewer leak points
- Proven track record (60+ years for EPDM)
- Easy repairs when needed
Roll rubber roofing cons:
- Industrial appearance (not attractive)
- Only works on flat or low-slope roofs
- Can’t use on pitched residential roofs
- Visible from windows overlooking the roof
Rubber Roofing Tiles: The Durable Alternative
Rubber roof tiles are modular squares (typically 2×2 feet) made from recycled rubber. They’re designed for both flat roofs and some pitched applications.
These aren’t the same as rubber slate tiles that mimic natural slate. Rubber roofing tiles are functional, interlocking squares primarily used for flat roof surfaces, walkways, balconies, and terraces.
Think of them as heavy-duty rubber pavers for your roof. They’re usually made from 100% recycled tire rubber and come in colors like black, red, and green.
Rubber roofing tiles advantages:
- Interlocking design for easy installation
- Can be installed over existing surfaces
- Slip-resistant surface for walkable roofs
- Drainage channels between tiles prevent standing water
- Extremely durable (withstand falls and impacts)
- Eco-friendly (recycled materials)
- Easy to replace individual damaged tiles
Rubber roofing tiles limitations:
- Heavier than membrane (24 lbs per tile)
- More expensive than roll roofing
- Requires flat or very low-slope surface
- Not suitable for living space roofs (more for commercial/industrial)
- Limited aesthetic options
We use rubber roofing tiles mainly for commercial rooftop deck applications where people need to walk regularly. They provide a safe, non-slip surface while protecting the waterproof membrane underneath.
The tiles typically get glued down with rubber adhesive or laid over a waterproof substrate. Installation is DIY-friendly because you’re working with manageable 2×2 sections instead of huge membrane sheets.
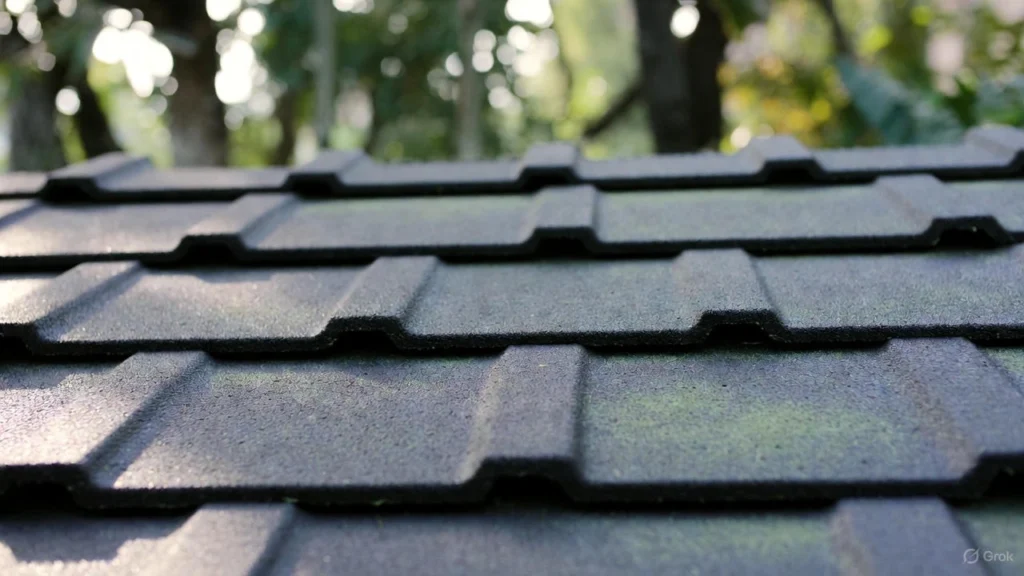
Rubber Roofing Shingles: The Aesthetic Option
Rubber roofing shingles are where rubber roofing gets interesting for homeowners with pitched roofs.
These are designed to look like traditional roofing materials—cedar shake, wood shingles, or slate—while giving you rubber’s durability. They’re made from recycled rubber (mostly old tires) that’s been molded into shingle shapes.
Rubber slate roofing shingles are the most popular style. They mimic natural slate’s appearance at a fraction of the cost and weight.
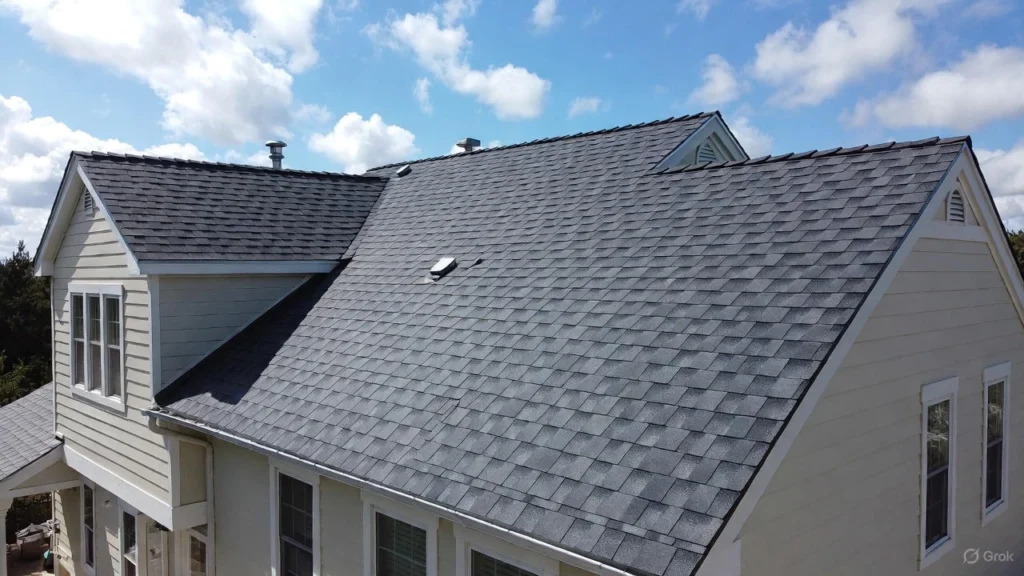
Why homeowners choose rubber roofing shingles:
- Appearance: Looks like expensive slate or cedar shake from the ground
- Weight: 1/4 the weight of natural slate (no structural reinforcement needed)
- Durability: Class 4 impact rating (withstands 2-inch hail)
- Cost: $7-12 per square foot vs $13-30 for natural slate
- Lifespan: 50 years with proper maintenance
- Eco-friendly: Made from 95% recycled materials
Rubber shake shingles install similarly to asphalt shingles—overlapping rows nailed to the roof deck. You need ice and water shield, underlayment, and proper flashing just like traditional roofing.
Rubber roofing shingles drawbacks:
- Initial odor (smells like new tires, fades over time)
- Not as waterproof as membrane (can’t use on flat roofs)
- More expensive than asphalt shingles
- Requires experienced installer for proper appearance
- Can show scuff marks if walked on in hot weather
- May need Class A fire-rated underlayment in some areas
I installed rubber slate roofing shingles on a historic home renovation two years ago. The homeowners wanted the slate look but couldn’t afford real slate ($40,000+ for their roof). We did rubber slate for $15,000 and it looks fantastic. Neighbors can’t tell the difference.
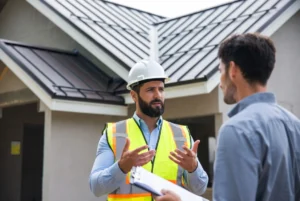
The key with rubber roofing shingles is finding an installer who’s worked with them before. They handle differently than asphalt, and improper installation shows.
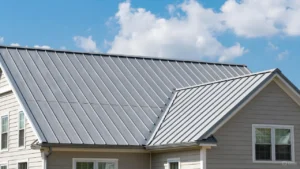
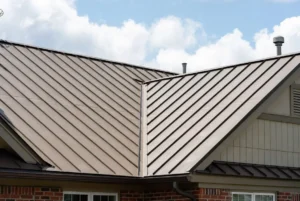
Rubber Roofing Membrane: Understanding the Basics
When people say “rubber roofing membrane,” they’re usually referring to the material itself rather than a specific format.
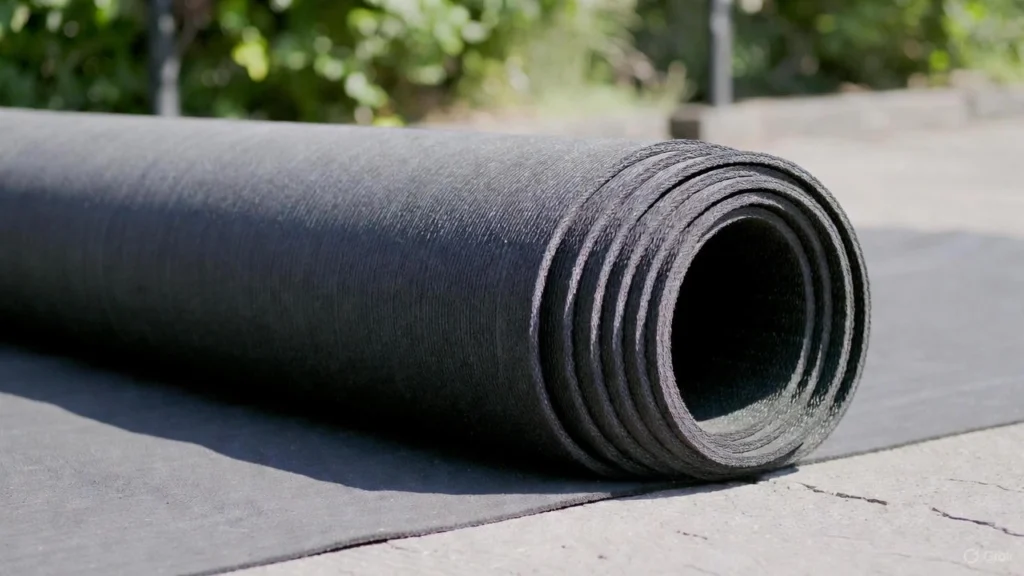
EPDM, TPO, and PVC are all rubber roofing membranes. They come in roll format for installation but get referred to as “membrane roofing” to distinguish them from traditional shingles or tiles.
The membrane can be:
- Fully adhered: Glued directly to the roof deck
- Mechanically fastened: Screwed down with plates and seams overlapped
- Ballasted: Held in place with rocks or pavers
Membrane thickness matters. You’ll see 45 mil, 60 mil, and 80 mil options. Thicker is more durable and puncture-resistant but costs more.
At Rainy Roofers, we typically use 60 mil membrane for residential projects. It’s the sweet spot between cost and durability.
Which Rubber Roofing Material Should You Choose?
Your roof type makes the decision for you in most cases.
Choose roll rubber roofing if:
- You have a flat or low-slope roof
- Budget is a primary concern
- The roof isn’t visible from ground level
- You need fast installation
Choose rubber roofing tiles if:
- You need a walkable flat roof surface
- You’re covering a commercial rooftop area
- You want easy DIY installation
- Individual tile replacement matters
Choose rubber roofing shingles if:
- You have a pitched roof on your house
- You want slate or shake appearance without the cost
- Your roof structure can’t support heavy materials
- Curb appeal matters
The wrong format causes problems. I’ve seen homeowners try to use rubber shingles on flat roofs (they leak) and contractors try to use membrane rolls on steep pitches (doesn’t work).
Match the format to your roof slope, budget, and appearance requirements. That’s the formula.
Frequently Asked Questions
Can rubber roofing tiles be used on pitched roofs?
Standard rubber roofing tiles (the interlocking 2×2 squares) are designed for flat surfaces only. However, rubber slate roofing shingles work perfectly on pitched roofs. Don’t confuse tiles with shingles—they’re completely different products.
How long do rubber roofing materials last?
Roll rubber roofing (EPDM) lasts 30-50 years, TPO lasts 20-30 years. Rubber roofing tiles last 30+ years with minimal maintenance. Rubber slate roofing shingles typically last 40-50 years. Actual lifespan depends on installation quality and maintenance.
Is roll rubber roofing DIY-friendly?
EPDM roll rubber roofing is the most DIY-friendly format for flat roofs. The challenge is properly sealing seams and flashing penetrations. TPO and PVC require heat-welding equipment, making them less suitable for DIY. Most homeowners should hire professionals.
Do rubber roofing shingles really look like slate?
From ground level, quality rubber slate roofing shingles are nearly indistinguishable from natural slate. Up close, experienced roofers can tell the difference, but most people can’t. They lack some of the natural color variation and thickness of real slate but provide 90% of the aesthetic at 40% of the cost.
What’s the cost difference between formats?
Roll rubber roofing costs $5-12 per square foot installed (cheapest). Rubber roofing tiles cost $8-15 per square foot. Rubber slate roofing shingles cost $7-12 per square foot. Natural slate costs $13-30+ per square foot for comparison.
Making Your Decision
You don’t need all four formats—you need the right format for your specific roof.
Flat garage roof? Roll rubber roofing handles it perfectly at the lowest cost.
Pitched house roof where appearance matters? Rubber slate roofing shingles give you the look without the expense.
Commercial rooftop with foot traffic? Rubber roofing tiles provide a safe, durable walking surface.
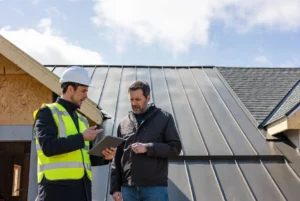
At Rainy Roofers, we assess your roof slope, visibility, budget, and requirements before recommending a format. The material matters less than choosing the right application method for your situation.
Stop trying to force one format onto every roof type. Match the rubber roofing material to what your roof actually needs, and you’ll get decades of reliable performance.