
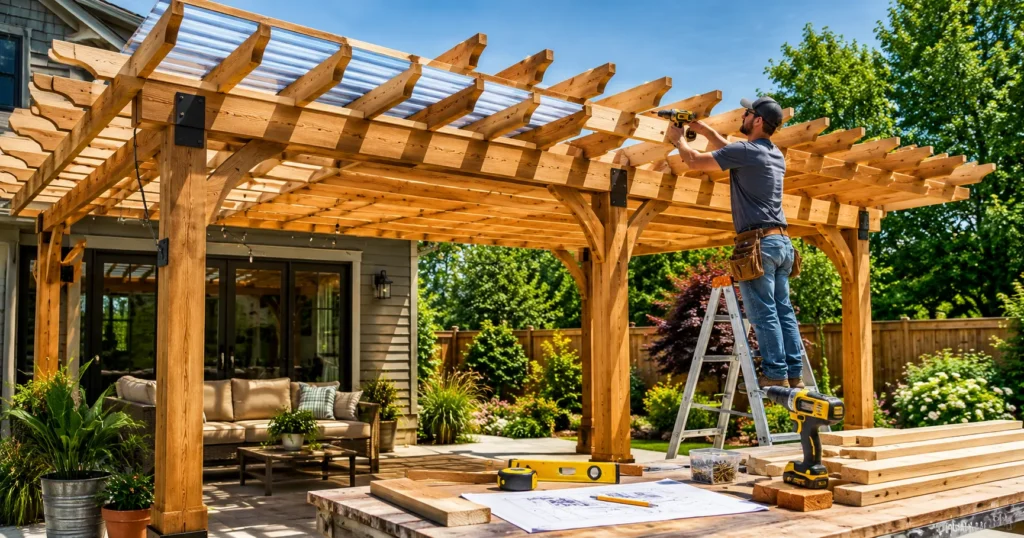
A pergola roof turns a bare patio, deck, or backyard corner into an actual outdoor room. The build itself comes down to installing rafters, purlins, and a covering material across a beam-and-post frame, sized to hold up under the snow, wind, and everyday loads of your particular climate. There are seven stages: planning and permits, choosing a roof style, calculating loads, setting posts and foundations, framing the beams, installing rafters, and finishing with roofing and weatherproofing.
Most backyard pergola failures don’t come from choosing the wrong material. They come from skipping the load calculation.
This guide walks through every stage in construction order, with real spacing numbers, code references, and material comparisons pulled from actual build requirements rather than product marketing. By the end you’ll know what lumber sizes, fasteners, and roofing material fit your climate, your footprint, and the size of pergola you’re picturing.
What a Pergola Roof Actually Is
A pergola roof is horizontal framing, rafters and purlins, attached to a beam-and-post structure and covered with something that controls sun and rain over a patio, deck, or garden seating area. Pergolas break into three broad categories:
- Open lattice — spaced slats, partial shade, good for a garden pathway or a patio dining table
- Solid roofing — shingles, metal panels, or polycarbonate, for full weather protection
- Louvered roofing — adjustable aluminum blades that open and close through the day
Which one you pick decides your entire build sequence, and it shapes how the finished structure actually functions in your yard. A lattice roof needs barely any load engineering and works fine as a light garden accent. A solid roof needs snow-load calculations and real drainage, since it’s effectively becoming a small roofed extension of your house. A louvered system needs precision-machined parts that most DIYers buy prefabricated rather than build from raw lumber, and honestly, that’s the right call for almost everyone.
Tools and Materials
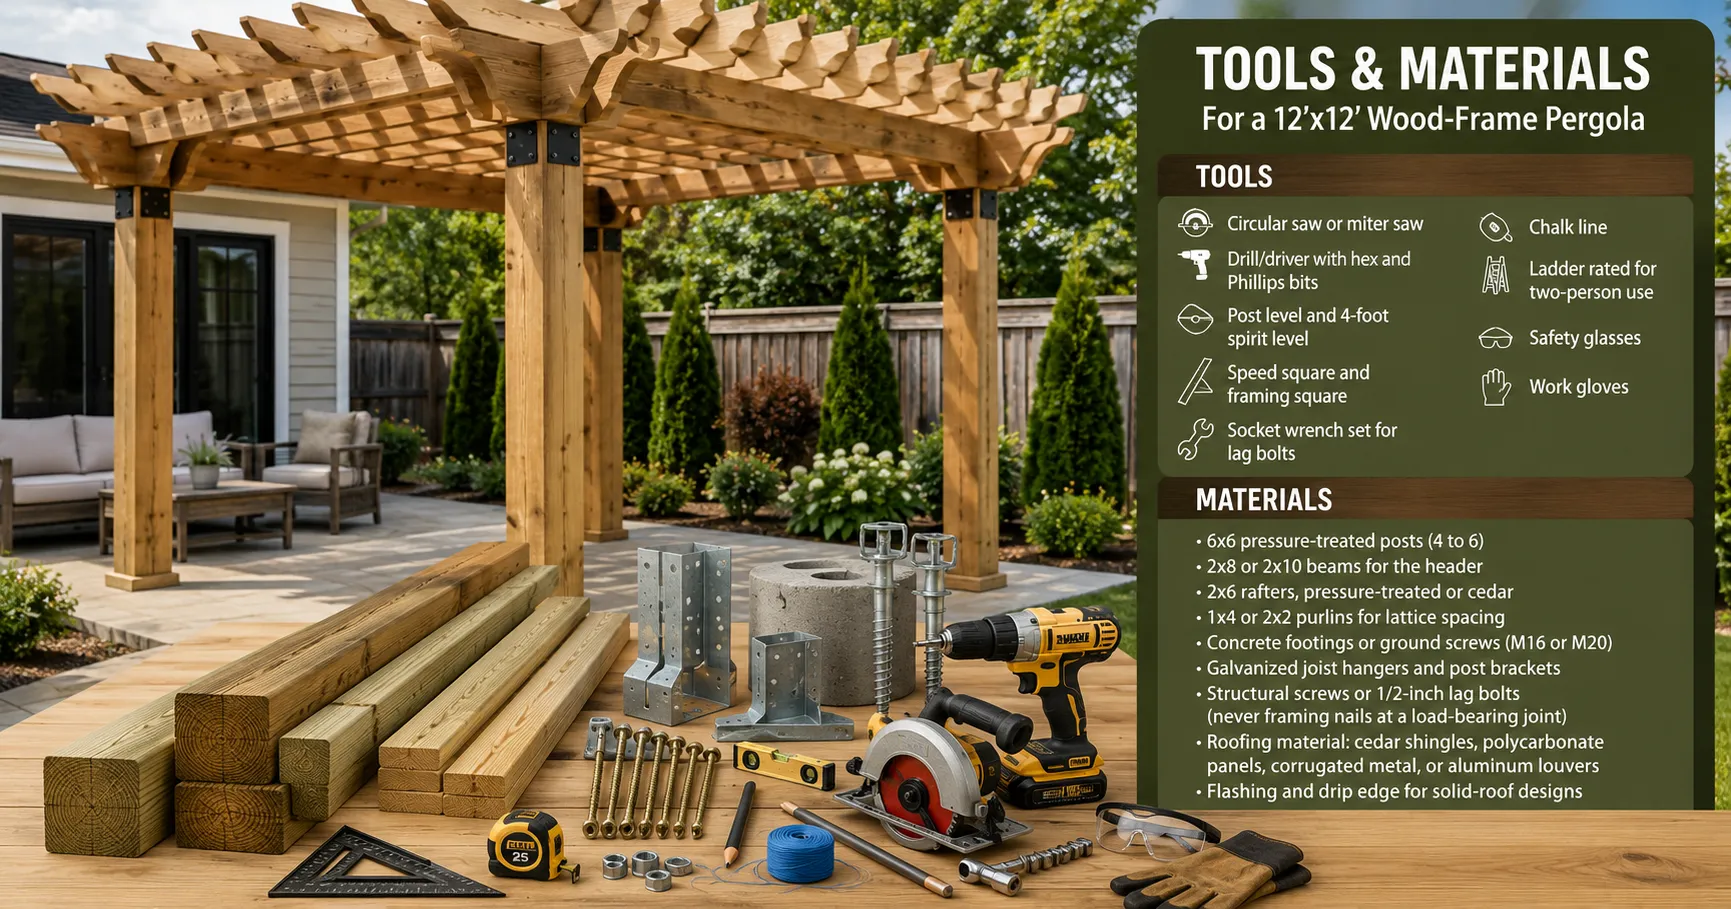
Gather these before you start. A mid-project trip to the hardware store is how you end up with three different brands of fasteners holding up the same beam.
Tools: Circular saw or miter saw, drill/driver with hex and Phillips bits, post level and 4-foot spirit level, speed square and framing square, socket wrench set for lag bolts, chalk line, a ladder rated for two-person use, safety glasses, work gloves.
Materials (for a wood-frame pergola on a 12×12 patio or garden area):
- 6×6 pressure-treated posts (4 to 6, depending on whether it’s attached or freestanding)
- 2×8 or 2×10 beams for the header
- 2×6 rafters, pressure-treated or cedar
- 1×4 or 2×2 purlins for lattice spacing
- Concrete footings or ground screws (M16 or M20 for heavier roofs)
- Galvanized joist hangers and post brackets
- Structural screws or 1/2-inch lag bolts (never framing nails at a load-bearing joint)
- Roofing material: cedar shingles, polycarbonate panels, corrugated metal, or aluminum louvers
- Flashing and drip edge for solid-roof designs
Permits, Codes, and Setback Rules
Yes, most pergola roofs need a permit in the US, especially once the structure clears 200 square feet, attaches to the house, or gets a solid (non-lattice) roof. A pergola counts as an accessory garden structure in most jurisdictions, so the exact rules shift by city and county. Call your local building department before you order materials, not after.
Three code sources tend to govern this kind of build:
- International Residential Code (IRC) — minimum structural requirements for post spacing, beam sizing, and attachment
- ASCE 7 — the wind-load and snow-load formulas your local code references for rafter and beam sizing
- Local zoning and HOA rules — setback distance, maximum height, and sometimes even roofing color or type
HOA covenants restrict solid roofing on pergolas more often than people expect. A lot of associations treat a fully covered structure as an accessory building rather than a landscape feature, so check the covenant before you choose a roof style, not after the panels show up.
Step 1 Choose a Roof Style
Open lattice roofs use evenly spaced 2×2 or 1×4 boards across the rafters, giving you dappled shade over a bench or patio table without blocking rain entirely. This style needs the least engineering, usually stays under the permit threshold, and is the low-commitment choice for most first-time builders. Spacing typically runs 3 to 6 inches between boards, depending on how much shade you actually want.
Solid roofs use plywood decking topped with shingles, standing-seam metal, or corrugated panels, turning the pergola into a genuinely covered patio. This blocks rain completely, but it means sizing rafters for both dead load (the roofing material’s own weight) and live load (snow in your region). Solid roofs also need flashing anywhere they meet a house wall, plus a drainage slope of at least 1/4 inch per foot so water doesn’t pool.
Louvered roofs use motorized or manually adjustable aluminum blades, similar to the Renson Aero and Algarve systems in premium European pergola lines. Building the blades yourself isn’t realistic for most people. Buy a pre-engineered louver kit and build only the post-and-beam frame yourself; it cuts both cost and risk compared to a full manufacturer install.
Step 2 Calculate Load, Span, and Rafter Spacing
Three things drive rafter spacing and beam sizing: the span between supports, the weight of the roofing material, and your region’s snow and wind load as defined in the ASCE 7 tables your local code has adopted.
Rough span guidelines for wood-frame pergolas:
| Beam Size | Max Span (Light Roof) | Max Span (Solid Roof) |
| 2×8 | 8 feet | 6 feet |
| 2×10 | 10 feet | 8 feet |
| 2×12 | 12 feet | 10 feet |
Rafter spacing:
- Lattice roofs: 24 inches on center
- Solid roofs (plywood deck): 16 inches on center
- Heavy snow regions (over 30 lb/sq ft ground snow load): 12 inches on center
Treat these as planning numbers, not final answers. A licensed engineer or your building department has to confirm actual sizing for any solid-roof pergola in a permit-required area, because ground snow load alone can range from 10 pounds per square foot in a mild climate to well over 100 in the mountains. That’s not a small margin of error to guess your way around.
Step 3 Set Posts and Foundations
Two foundation methods dominate residential pergola construction: poured concrete footings and screw piles (ground screws).
Concrete footings go below the frost line (typically 12 to 48 inches, depending on region) with a post base bracket bolted to the cured concrete, keeping the wood off the ground and away from moisture. Screw piles skip the digging and pouring entirely: a handheld or machine-driven impact wrench twists a galvanized steel screw into the soil, and a post bracket goes on top. They work in almost anything from loose sand to stiff clay, and a single post can go in under 10 minutes, which matters if you’re working around existing pavers or garden beds. Concrete, by contrast, needs days to cure before you can build on it.
Set each post plumb using a post level on two adjacent faces, and brace it temporarily with diagonal 2x4s until the beam frame locks everything square.
Step 4 Build and Attach the Beam Frame
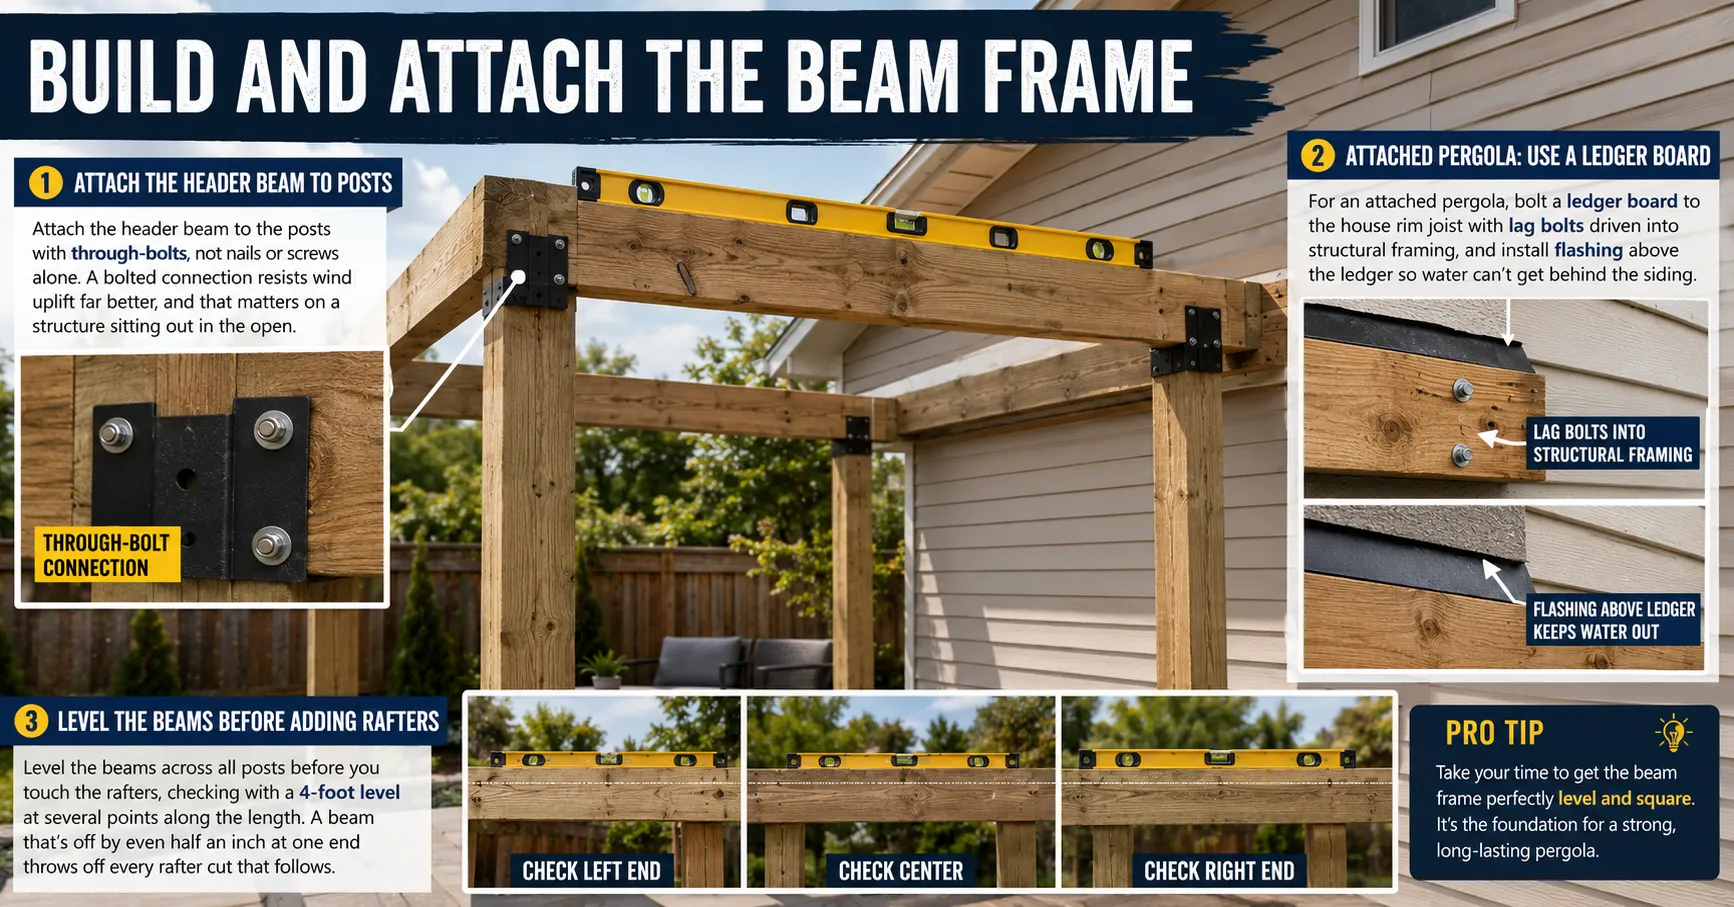
Attach the header beam to the posts with through-bolts, not nails or screws alone. A bolted connection resists wind uplift far better, and that matters on a structure sitting out in the open. For an attached pergola, bolt a ledger board to the house rim joist with lag bolts driven into structural framing, and install flashing above the ledger so water can’t get behind the siding.
Level the beams across all posts before you touch the rafters, checking with a 4-foot level at several points along the length. A beam that’s off by even half an inch at one end throws off every rafter cut that follows.
Step 5 Install Rafters and Purlins
Cut rafters to the spacing you worked out in Step 2, then attach each one to the beam with galvanized joist hangers rather than toe-nailing. Hangers hold up against lateral wind movement far better than angled nails do. Let the rafter ends overhang the beam by 12 to 18 inches for a finished look and a bit of extra shade.
For a lattice roof, install purlins perpendicular to the rafters, spaced for whatever shade density you’re after. For a solid roof, skip the purlins and sheath the rafters directly with 1/2-inch exterior-grade plywood before moving on to the roofing material.
Step 6 Attach the Roofing Material
Cedar or composite shingles: Start from the bottom edge, overlap each course by at least 2 inches, and nail with corrosion-resistant roofing nails driven flush, not countersunk.
Polycarbonate panels: Rubber-washered screws through pre-drilled holes, spaced 12 to 18 inches apart. Use closure strips at the edges to keep insects and water out, which matters more than people expect near plantings.
Corrugated metal: Self-tapping screws through the ridge of the panel, never the valley. Fastening in the valley is a near-guaranteed leak. Space screws every second corrugation along each rafter line.
Aluminum louvers: Follow the manufacturer’s guide exactly. Motorized systems need precise alignment for the drainage channels built into each blade, or the whole point of the louver system is lost.
Step 7 Weatherproof, Finish, and Drain
Flash every point where the roof meets a vertical surface: the house wall on an attached pergola, and any post-to-beam junction that catches direct rain. If the pergola sits near a walkway, add a gutter along the low edge of a solid roof to send runoff away from foot traffic, garden beds, and the foundation.
Seal exposed end grain on wood rafters and beams with an exterior wood sealer right away. Untreated end grain soaks up water faster than any other surface on the structure, and that’s exactly where rot gets started.
Maintenance Schedule by Material
| Material | Frequency | Task |
| Untreated wood | Every 12 months | Re-stain or reseal |
| Pressure-treated wood | Every 24 months | Inspect for cracking; reseal as needed |
| Galvanized steel | Every 5 years | Inspect coating for scratches; touch up |
| Powder-coated aluminum | As needed | Clean with mild detergent, no abrasives |
| Polycarbonate panels | Every 6 months | Clean to prevent yellowing and debris buildup |
Cost Breakdown by Roof Type
Based on typical 2026 US material pricing for a 12×12 pergola:
- Open lattice, pressure-treated wood: $1,800–$3,200 in materials for a DIY build
- Solid roof, cedar shingles: $3,500–$5,500 in materials
- Solid roof, corrugated metal: $2,800–$4,200 in materials
- Louvered aluminum kit (self-built frame, purchased louvers): $6,000–$12,000, depending on size and motorization
Screw-pile foundations usually run 20 to 30 percent cheaper than poured concrete once you factor in labor and the days you’d otherwise lose waiting for concrete to cure.
Common Mistakes to Avoid
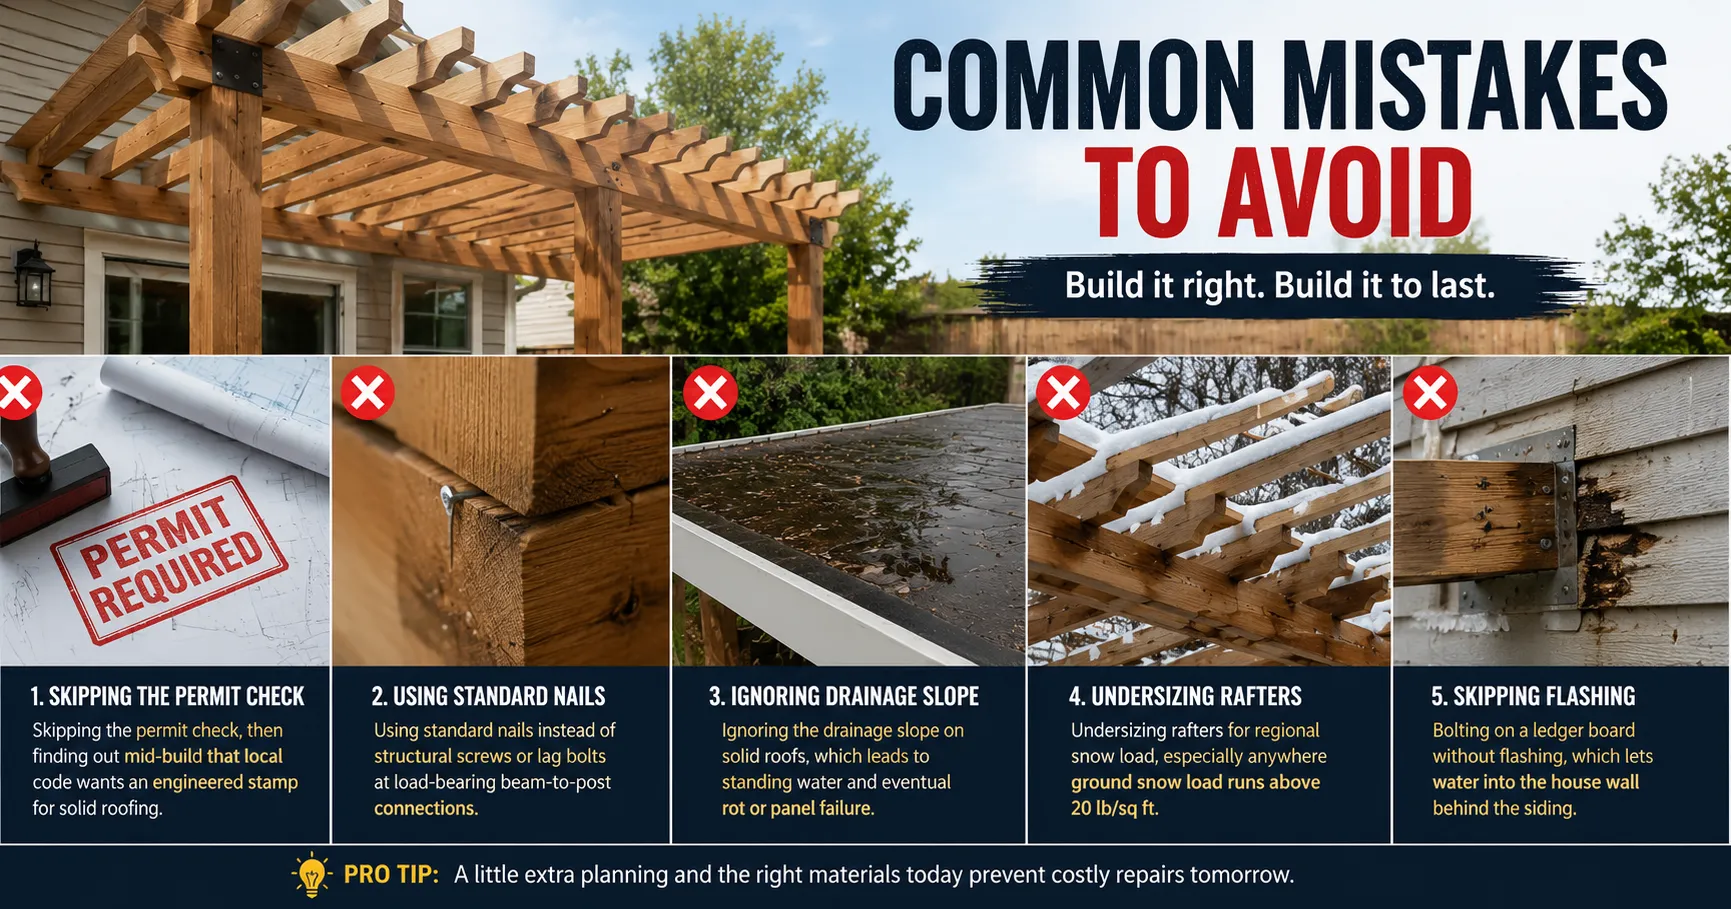
- Skipping the permit check, then finding out mid-build that local code wants an engineered stamp for solid roofing
- Using standard nails instead of structural screws or lag bolts at load-bearing beam-to-post connections
- Ignoring the drainage slope on solid roofs, which leads to standing water and eventual rot or panel failure
- Undersizing rafters for regional snow load, especially anywhere ground snow load runs above 20 lb/sq ft
- Bolting on a ledger board without flashing, which lets water into the house wall behind the siding
Conclusion
A pergola roof lives or dies on three decisions made before the first cut: roof style, load calculation, and foundation method. Lattice roofs need the least engineering and cost the least, and they suit a light garden accent well. Solid roofs need accurate snow-load sizing and real drainage, since they’re turning the structure into a genuine covered extension of the house. Louvered systems reward the homeowners who buy the engineered components instead of trying to fabricate blades themselves.
Confirm permits and HOA rules first; they decide which roof style is even legally on the table. Follow the span tables, bolt instead of nail at every load-bearing joint, and seal exposed wood the moment it goes up. Those three habits are what stand between a pergola that’s still solid in ten years and one that’s rotting at the joints after two winters.




