
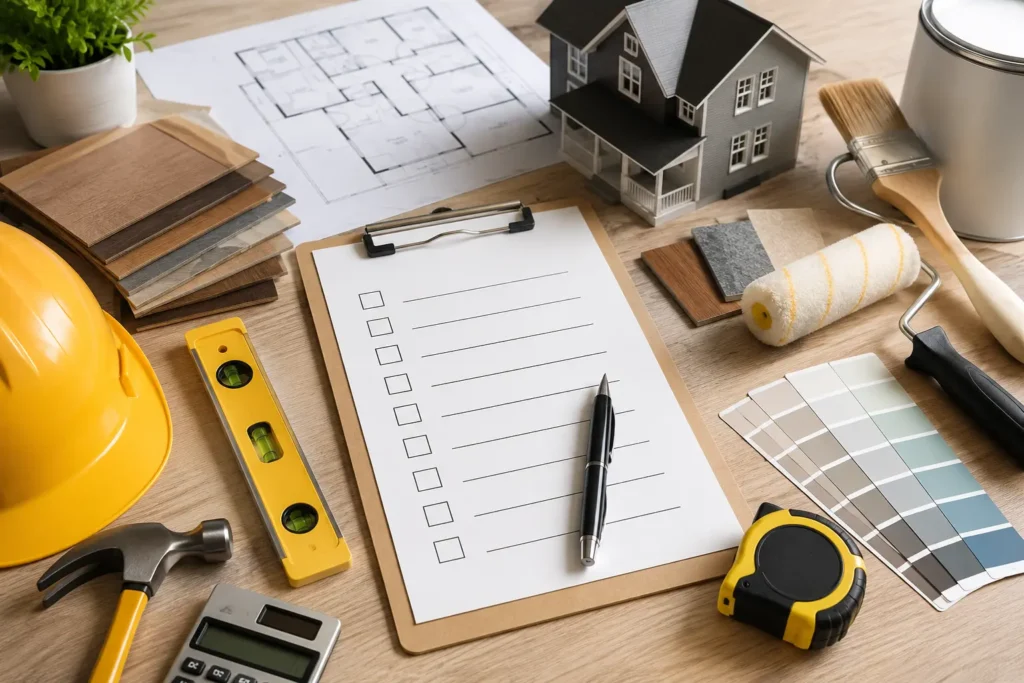
A home renovation checklist is a phase-by-phase plan covering budgeting, structural inspection, permits, contractor selection, and construction sequencing. Homeowners use one to dodge the two most common ways a renovation goes sideways: running out of money mid-project, and starting demolition before the plans are truly final.
The average whole-house renovation in the U.S. runs between $19,500 and $88,500, with most homeowners landing near $52,000 depending on scope and material choices. A structured checklist is what keeps that number from creeping upward.
This guide breaks the process into eight phases, adds a room-by-room checklist, and flags the mistakes that tend to blow budgets. Everything below reflects what licensed contractors, structural engineers, and interior designers recommend, not a generic to-do list recycled from blog to blog.
What Is a Home Renovation Checklist?
It’s a written sequence of tasks, planning, budgeting, inspection, permitting, construction, and finishing, organized in the order a remodel unfolds. Skip that order and you pay for it. A homeowner who picks out flooring before an electrician opens the walls, for instance, often ends up special-ordering replacement material once wiring runs eat into the layout they planned around.
Three things separate a working checklist from a decorative one. It assigns a dollar range to each phase instead of listing bare tasks. It specifies which jobs need a licensed professional and which a homeowner can handle solo. And it accounts for inspection windows: the days a project just sits, waiting on a permit office or a structural engineer’s sign-off.
Phase 1: Define Your Renovation Goals
Renovation goals should name the specific problem being solved, not just the room getting touched. Someone adding a home office has a different goals list than someone repairing water damage, even if both projects happen in the same spare bedroom.
Start by answering three questions on paper:
- Why is the renovation happening: value, repair, or comfort?
- Which areas need the most attention, ranked in order?
- What’s the ideal completion timeline, in weeks or months?
B.J. Werzyn, founder and CEO of West Shore Home, points to measurement errors as the most expensive early mistake, noting that even a small miscalculation can cause costly problems once installation starts, particularly in bathrooms and kitchens where plumbing and fit tolerances are tight. Confirming measurements at two or three separate stages, before design, before ordering materials, and again before installation, catches errors while they’re still cheap to fix.
Phase 2: Set a Realistic Renovation Budget
Build in a 10% to 20% contingency fund on top of the base project cost. Unexpected issues turn up behind nearly every wall that gets opened. Outdated wiring, water damage, or asbestos insulation in homes built before 1980 are common finds that a base budget rarely covers.
One widely used benchmark is the 30% rule: total renovation spending shouldn’t exceed 30% of the home’s current market value. A house worth $350,000 would cap a reasonable renovation budget around $105,000 before returns on investment start to shrink. Apply this rule before falling in love with finishes. It keeps you from over-improving a home relative to what the neighborhood will support.
Budget line items should include:
- Materials and finishes
- Labor and contractor fees
- Permit costs
- Contingency fund (10 to 20% of total)
- Temporary living or storage costs, if the home won’t be livable during construction
Phase 3: Inspect Your Home’s Structure and Systems
A structural inspection should happen before the budget gets finalized, not after. Foundation problems, outdated electrical panels, and aging plumbing can double the scope of a project, so catching them early is what prevents a mid-project budget collapse.
Foundation
Doors and windows that stick or won’t latch properly often signal foundation movement. Cracks and gaps along wall-to-floor joints are a second warning sign. A structural engineer, not a general contractor, should diagnose suspected foundation issues; engineers carry the liability and licensing required to sign off on structural repairs.
Plumbing and Electrical
Homes older than 30 years frequently need upgrades to both. If the walls are already open for another reason, that’s the moment to replace old pipe and wire runs. Reopening finished walls later to fix a system you could’ve addressed the first time around adds thousands in redundant labor.
Roofing
A roof nearing the end of its life shows specific signs: curling or missing shingles, water stains on ceilings, peeling exterior paint caused by trapped moisture. Left unaddressed, a compromised roof can damage a newly finished interior within a single storm season.
Phase 4: Hire the Right Professionals
Who you need depends on scope. Structural engineers handle load-bearing questions, architects handle design and permitting drawings, general contractors run day-to-day construction, and specialty subcontractors (electricians, plumbers, HVAC technicians) handle the system-specific work.
Before signing anything, secure loan pre-approval for the estimated renovation cost. Locking in a firm maximum budget before meeting with contractors protects your savings from scope creep, a pattern renovation lenders see constantly when homeowners negotiate without a hard ceiling in place.
Vet every contractor against four criteria:
- Valid state license and insurance
- References from at least three completed projects
- Written itemized estimate, not a lump-sum quote
- Clear payment schedule tied to project milestones
Phase 5: Secure Permits and Financing
Most renovations involving structural changes, electrical or plumbing work, or room additions and garage conversions need a building permit. Skip that step and you’re gambling: unpermitted work can block a home sale, void an insurance claim, or, if a municipal inspector stumbles on it later, get you ordered to tear it back out.
Timelines vary by project type and municipality. Two to eight weeks is the usual range, but a kitchen remodel with new electrical circuits might clear permitting in three weeks in one county and six in the next town over. Build that lag into your schedule instead of leaning on the average.
Financing options include:
- Home equity line of credit (HELOC)
- Cash-out mortgage refinance
- FHA 203(k) renovation loan
- Personal or contractor-offered financing plans
Rates, repayment terms, and approval speed differ across all four. A cash-out refinance is usually the cheapest option long-term, but it can take 30 to 45 days to close. Contractor financing tends to move faster, but you’ll usually pay for that speed with a higher rate.
Phase 6: Prepare Your Home and Family for Construction
Do this the week before construction starts, not the morning crews pull up. Renters, homeowners staying on-site, and families with pets or young kids all need different prep.
If the home stays occupied during construction, seal off work zones with plastic sheeting and set up temporary dust barriers around HVAC vents so debris doesn’t spread through the ductwork. Move furniture and valuables into a storage unit or a cleared-out garage bay. Take dated “before” photos of every room involved; you’ll want them later for insurance documentation and for tracking scope changes against the original plan.
The emotional side deserves the same planning as the physical side. Living around active construction for three to six months puts real strain on a household. Arranging a temporary kitchen setup, blocking off a quiet workspace, adjusting the family’s routine ahead of time, all of that reduces the toll considerably.
Phase 7: Interior Demolition and Construction
Demolition should proceed room by room, not all at once. That keeps the project manageable and limits how many spaces become unusable at the same time. Someone tackling a whole-house renovation typically starts with the room that has the fewest dependencies on other systems, then works toward the kitchen or primary bathroom last, since those take the longest to finish.
Once a space is cleared, contractors handle framing, wiring, plumbing, and HVAC in that order. Each step usually needs its own inspection before the next can start. An electrician’s rough-in, for example, needs sign-off before drywall goes up and hides the wiring from view.
Construction timelines by project type:
- Kitchen remodel: 8+ weeks
- Bathroom remodel: 6 to 8 weeks
- Two-story addition: 3 to 4 months
- Whole-house renovation: 4 to 6 months
- Exterior projects: 2 to 4 months
Phase 8: Finishing Touches and Final Walkthrough
Finishing touches, paint, hardware, lighting fixtures, furnishings, are the layer that makes a renovated space feel complete instead of just functional. This phase moves fast, usually one to two weeks for a single room, since the heavy structural and systems work is already done.
Before calling the project finished, walk through with the contractor and compile a punch list: the industry term for a written record of small defects or unfinished items (a scuffed baseboard, a sticking cabinet door, an uncaulked seam) that need fixing before final payment goes out. It’s what protects you from paying in full for work that isn’t really finished.
Campfire Collaborative Architecture & Design suggests grounding final design choices in genuine reaction rather than chasing trends, asking what draws you into a space you admire: the volume of the room, the materials, the lighting, the views. That question is a useful filter once you’re choosing between finish options that all fit the budget equally well.
Room-by-Room Renovation Checklist
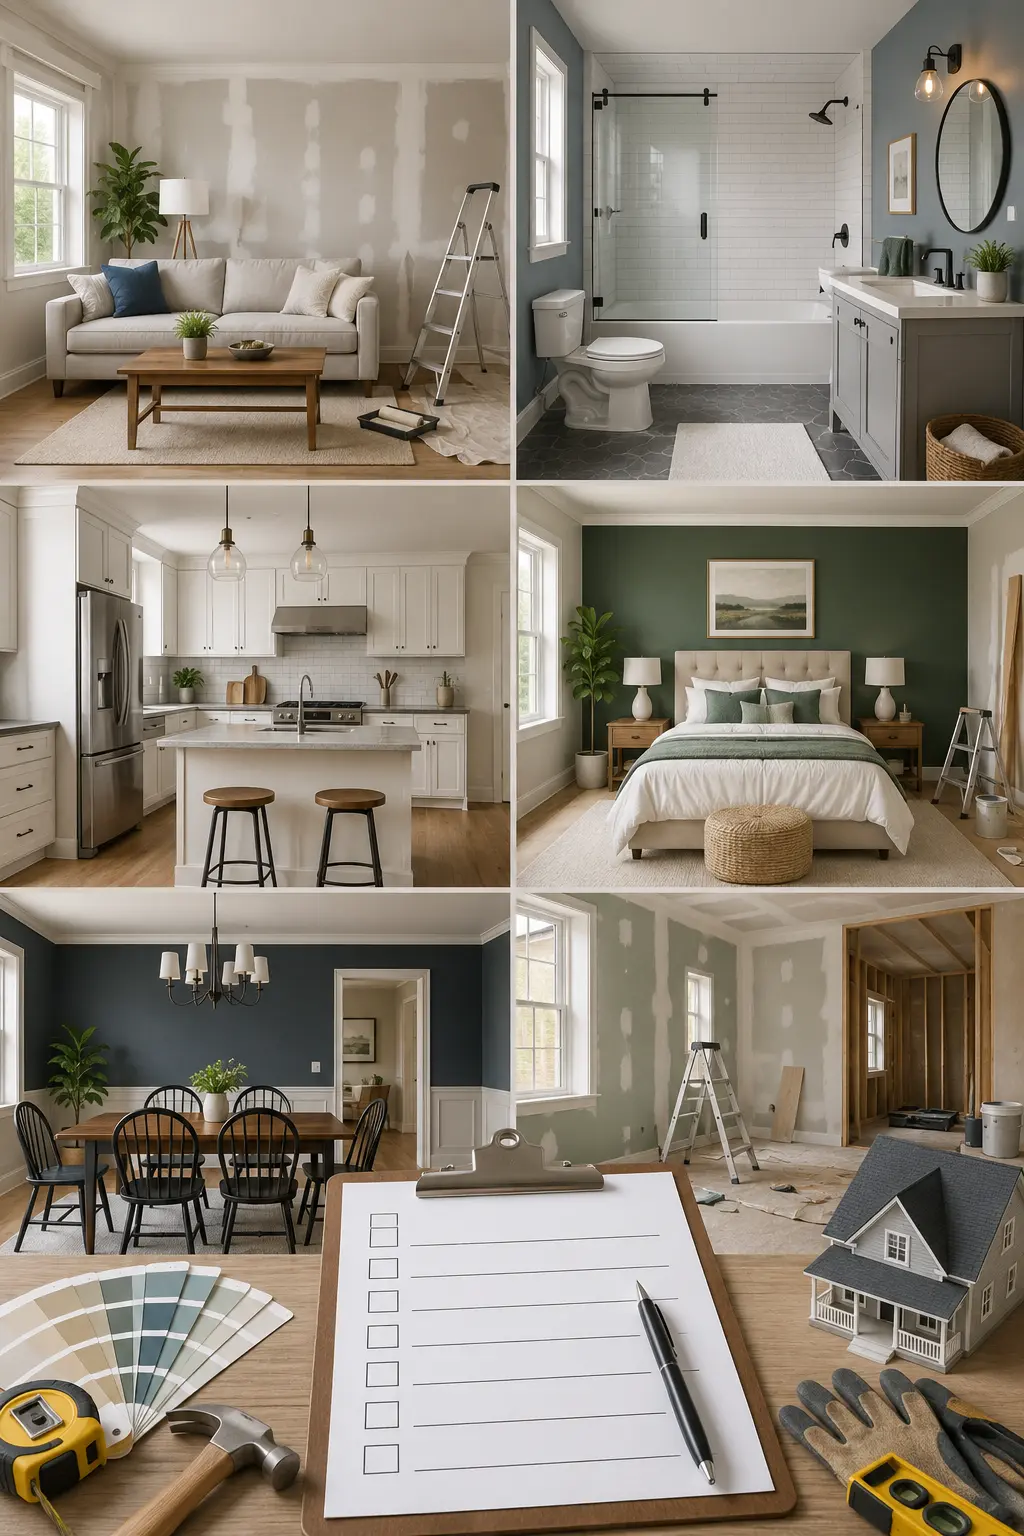
Different rooms carry different priorities. Kitchens and bathrooms involve the most plumbing and electrical complexity; bedrooms and living spaces involve the least.
Kitchen
Confirm appliance dimensions before ordering cabinetry. Verify electrical capacity supports new appliances, especially induction cooktops and built-in ovens, which draw more power than older gas or electric ranges. Plan ventilation for range hoods before finalizing ceiling and cabinet layouts.
Bathroom
Use moisture-resistant materials for floors and walls to keep mold from growing behind fixtures. Install water-saving fixtures, low-flow toilets, faucets, showerheads, to cut utility costs over time. Add adequate ventilation; bathrooms without a proper exhaust fan tend to develop humidity damage within a year or two.
Bedroom
Maximize closet space or add built-in storage where the floor plan allows. Upgrade flooring for comfort, since bedrooms see more barefoot use than any other room in the house. Install blackout shades or dimmable lighting to support better sleep.
Living Areas
Reconsider formal, rarely used spaces for what the household really needs: a home office, a homework area, a hobby space. Built-in shelving and storage tend to add more long-term value here than purely decorative upgrades.
Common Renovation Mistakes That Blow the Budget
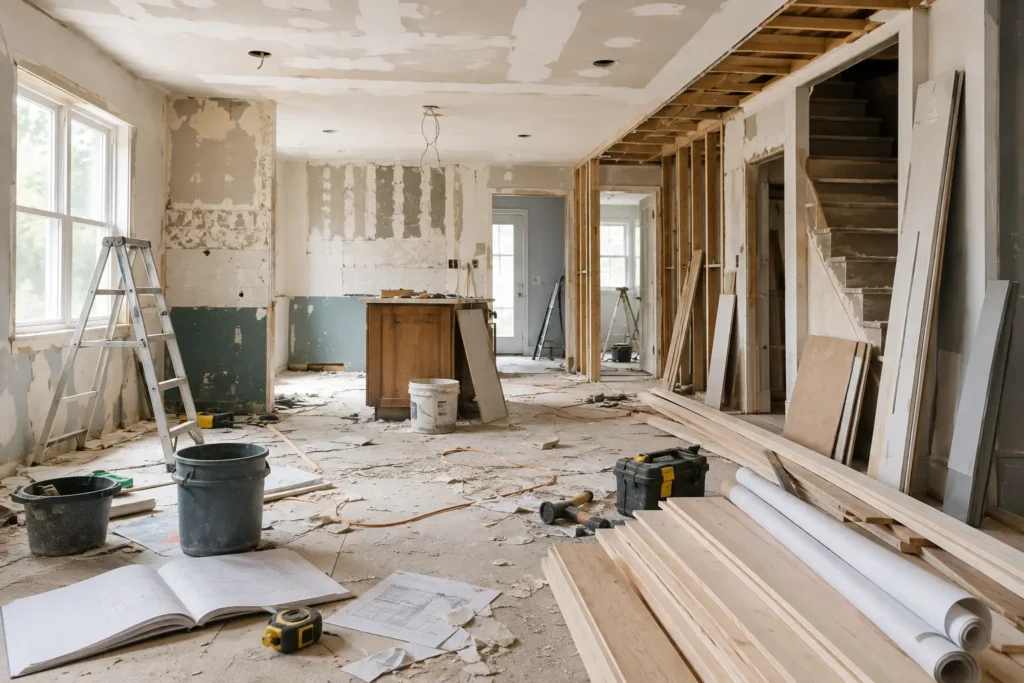
Most renovation budgets fail for the same handful of reasons, and every one is preventable with earlier planning.
Skipping the structural inspection tops the list. A homeowner who demolishes a kitchen before checking the plumbing behind the walls often finds a leak that adds $3,000 to $8,000 in unplanned repairs.
Changing scope mid-project causes the second-most damage. Every scope change triggers what contractors call a “change order,” a written modification to the original contract that resets both cost and timeline. A single mid-project change, like upgrading from laminate to quartz countertops after the cabinets are already installed, can add two to three weeks and several thousand dollars a contingency fund was never built to absorb.
Underestimating permit timelines ranks third. Schedule contractors to start the week you submit permits rather than the week you expect approval, and you’ll end up paying crews for idle time or losing them to another job entirely.
Skipping written contracts and relying on verbal agreements causes disputes that are hard to resolve once work is underway. Scope, cost, timeline, and payment schedule all belong in writing before the first hammer swings.
Conclusion
A home renovation checklist works because it forces decisions into the right order: goals before budget, inspection before demolition, permits before construction, and a punch list before final payment. Homeowners who follow that sequence spend less time firefighting expensive mistakes and more time living in the space they set out to build.
The renovation itself will still bring surprises: a foundation crack, a permit delay, and a supplier backorder. But a checklist built on real cost data and a defined contingency fund absorbs those surprises instead of letting them derail the whole project.




