
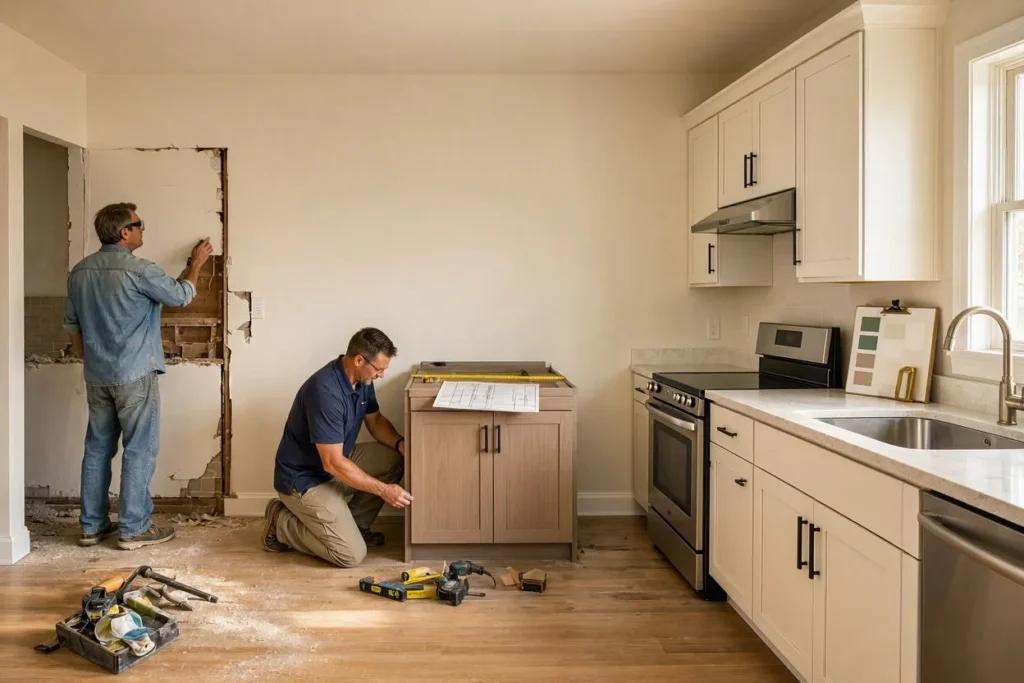
Most homeowners start a kitchen renovation by picking a cabinet color. That’s backward. The home improvement projects that actually stay on budget and finish on schedule start with a number, not a swatch: how much you’re willing to spend, and what happens if the subfloor turns out rotten once the old flooring comes up.
This kitchen remodeling guide walks through the renovation project in the order contractors actually follow, from budget to final walkthrough, with real construction cost ranges and timelines instead of guesswork.
What Does Renovating a Kitchen Actually Involve?
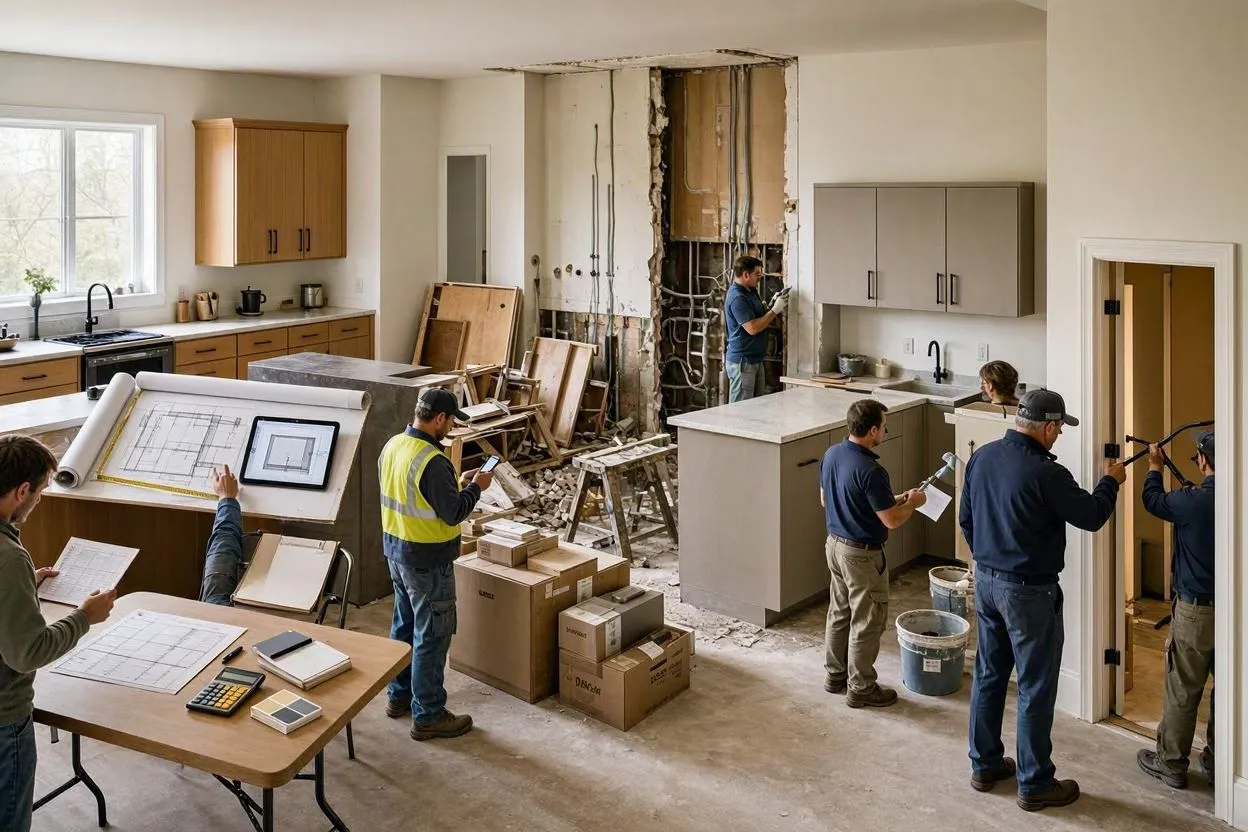
A kitchen remodel breaks down into ten stages, roughly: budgeting, layout planning, permitting, hiring a contractor (or deciding to DIY), ordering materials, demolition, rough-in work, installing cabinets and countertops, finishing touches, and a final walkthrough. Skip the permit step and a building inspector can force you to open up a finished wall months later. Each construction stage depends on the one before it. The order matters more than it looks like it should.
Anyone tackling this home renovation project for the first time should expect to touch five building systems: electrical, plumbing, ventilation, structural framing, and finishes. Just refacing cabinets and swapping a countertop? You’ll skip most of that list. Knocking down a wall between the kitchen and dining room? You won’t, and that scope decision, made in week one, shapes every home improvement choice that follows. Cost. Timeline. Whether you even need a building permit.
How Much Does It Cost to Renovate a Kitchen?
A kitchen renovation in the US runs $13,000 to $42,000 on average. Mid-range remodels land around $27,000, and a high-end custom job can push past $75,000. Square footage drives a lot of that spread, along with whether plumbing or electrical lines have to move and what the cabinets are made of.
Here’s how a typical mid-range budget breaks down, based on National Kitchen and Bath Association (NKBA) planning benchmarks:
- Cabinetry and hardware: 29%
- Installation labor: 17%
- Appliances and ventilation: 14%
- Countertops: 10%
- Flooring: 7%
- Lighting: 5%
- Walls and ceilings: 5%
- Design fees: 4%
- Doors and windows: 4%
- Plumbing fixtures: 4%
- Contingency fund: 1%
Set that contingency fund aside before the first demolition hammer swings. A 10 to 20 percent buffer covers the subfloor rot or outdated wiring that only shows up once walls are open, and honestly, nearly every contractor who’s run more than a handful of these jobs has a story about the surprise that ate someone’s entire cushion.
How Long Does a Kitchen Renovation Take?
Timelines vary a lot depending on how much of the kitchen you’re touching:
- Cabinet-only refacing: 5 to 6 weeks, since there’s no demolition and no rough-in to wait on.
- Mid-size renovation: 6 to 12 weeks from demolition to move-in.
- Full gut renovation with structural changes: 3 to 4 months.
The Home Depot Canada documented that first scenario well in a Whistler condo project. A full cabinet refacing there, new fronts, countertops, and flooring, took 6 weeks start to finish, since the layout stayed untouched and no plumbing moved. A gut renovation is a different animal entirely: moving a sink or range means new plumbing runs, inspection scheduling, and drywall repair, each adding one to three weeks depending on contractor availability and how backed up the permit office happens to be.
Need the kitchen functional again fast? Refacing or a partial remodel keeps you under two months. A full renovation with a new layout rarely wraps before the three-month mark once you count punch-list items, so plan around that, not around the optimistic version.
The Step-by-Step Renovation Process
| Step | What Happens | Typical Timing |
| 1. Set a Budget and Priorities | Set a max spend and rank what matters most before contacting anyone | Before any contact with contractors or showrooms |
| 2. Choose a Layout | Pick a work-triangle-compliant layout (galley, L-shape, U-shape, or island) | Before permitting |
| 3. Get Permits | Pull permits for electrical, plumbing, gas, or structural work | 3 days to 6 weeks for approval |
| 4. Hire a Contractor or Plan DIY | Get quotes, check licenses, or scope out what you can safely DIY | Before ordering materials |
| 5. Order Materials and Appliances | Order cabinets, countertops, and appliances ahead of demo | 6 to 10 weeks before demolition |
| 6. Demolition | Shut off utilities, then remove cabinets, countertops, flooring, and walls | 1 to 3 days |
| 7. Rough-In Work | Install plumbing, electrical, and HVAC behind the walls, then get it inspected | Before drywall goes up |
| 8. Install Flooring, Cabinets, Countertops | Flooring first, then cabinets, then countertops | 1 to 3 weeks, countertops included |
| 9. Add Backsplash and Fixtures | Backsplash, faucet, lighting, and hardware go in after countertops cure | 48 to 72 hours after countertop install |
| 10. Final Walkthrough and Punch List | Test everything with the contractor present, then hold back final payment | Before releasing final payment |
Step 1: Set a Budget and Define Your Priorities
Decide a maximum spend before you contact a single contractor or browse a single showroom. Homeowners who shop first and budget second consistently overspend. A $9,000 range and a $500 range solve the exact same cooking problem, but they anchor expectations at wildly different price points, and once you’ve fallen for the $9,000 one it’s hard to unsee it.
Priorities come next, and they should be ranked, not listed. A family cooking daily for six people needs a functional layout and durable surfaces more than a decorative backsplash. Planning to sell within two years? Weigh return on investment heavily; kitchen remodels typically recoup 60 to 80 percent of their cost at resale, per Remodeling Magazine’s Cost vs. Value data.
Write your top three priorities down before moving to step two. Storage, durability, and layout topping the list means cabinets and countertops absorb the largest share of the budget. Resale value topping the list means something different: mid-range finishes with broad buyer appeal, not the high-end custom choices that only suit one owner’s taste.
Step 2: Choose a Layout Using the Kitchen Work Triangle
Place the sink, stove, and refrigerator in a triangle. No leg shorter than 4 feet or longer than 9, combined perimeter under 26 feet. The “work triangle” idea isn’t new, it came out of the University of Illinois School of Architecture back in the 1940s, and it still governs how people actually move through a kitchen today.
Four layouts cover most homes:
- Galley kitchens use two parallel counters and work well in narrow spaces under 150 square feet.
- L-shaped kitchens wrap two walls and suit open-concept homes with a dining area attached.
- U-shaped kitchens use three walls and maximize counter space in kitchens over 200 square feet.
- Island layouts add a central prep or seating zone, and you’ll need at least 42 inches of clearance on every side.
Converting a 1990s galley kitchen into an island layout gains you counter space, sure, but it often means relocating plumbing lines, and that pushes the project from a cosmetic update into permit territory fast. Match the layout to your home’s existing plumbing and electrical rough-in locations whenever the budget allows it. Moving those lines runs $500 to $2,000 per fixture, which adds up quicker than most people expect.
Step 3: Get Permits Before Any Work Starts
Yes, most kitchen renovations need a permit: electrical rewiring, plumbing relocation, gas line work, removal of a load-bearing wall. Cosmetic-only projects, painting cabinets or swapping a faucet with no line changes, typically don’t need one.
Rules vary by state and municipality, so check with the local building department before signing anything. Electrical work has to meet National Electrical Code (NEC) standards, GFCI protection on every countertop outlet included. Plumbing falls under the International Plumbing Code or the Uniform Plumbing Code, depending on where you live. Skip this step and you’re courting two risks at once: a stop-work order mid-project, and an inability to sell the home later without disclosing unpermitted work, which both appraisers and buyers’ inspectors are trained to flag.
Permit approval takes anywhere from 3 days to 6 weeks depending on the city. Build that into the schedule from day one. Not as an afterthought once demolition’s already underway, which is where a lot of homeowners get burned.
Step 4: Hire a Contractor or Plan a DIY Approach
Hire a licensed general contractor for anything involving plumbing, electrical, or structural changes. A straightforward cabinet refacing or paint refresh? That suits an experienced DIYer just fine. The dividing line here is code compliance, not skill level, so you can install a backsplash competently and still not be legally allowed to self-permit gas line work in most states.
Get three quotes minimum, and confirm each contractor carries active liability insurance and a state license. Ask for references from projects completed in the last 12 months. Then actually call them, don’t just take the reference sheet at face value. A contractor who takes two weeks to return a phone call before you’ve even signed a contract isn’t going to speed up once the job starts.
DIYers should budget realistically for time, not just materials. One Home Depot-featured DIY remodeler designed “from the top down,” cabinets and appliances first, and only discovered mid-project that appliance lead times ran six to eight weeks longer than expected. Easy fix, in hindsight: order appliances in step 5, before demolition, not after.
Step 5: Order Materials and Appliances Early
Order cabinets, countertops, and appliances 6 to 10 weeks before your planned demolition date. Custom cabinetry alone often carries an 8 to 12 week lead time. Stock cabinets ship faster, typically within 2 to 3 weeks, but you’re stuck with fewer size and finish options.
A kitchen sitting demolished for a month while cabinets are still in production costs real money in takeout meals and lost time, not just inconvenience. Confirm every appliance is in stock and every cabinet order is confirmed in writing before the demolition crew shows up. It’s the single biggest schedule-saver contractors point to, according to project-management data compiled by the National Association of the Remodeling Industry (NARI), and it costs nothing but a phone call.
Step 6: Demolition
Demolition removes existing cabinets, countertops, flooring, and any walls scheduled for removal. Start with utility shutoff, not with swinging a hammer: water off at the main shutoff valve, power off at the breaker panel, before any demo work begins.
Seal the kitchen entrance with plastic sheeting and a zippered doorway to keep dust out of the rest of the home. A gut renovation generates roughly 1 to 3 tons of debris for an average 200-square-foot kitchen, so schedule a dumpster rental or haul-away service before demolition day, not after the pile has already formed in your driveway. Homeowners doing DIY demolition should wear a respirator rated for fine particulates, since drywall dust and old cabinet finishes can contain lead or asbestos in homes built before 1978.
Step 7: Rough-In Work (Plumbing, Electrical, HVAC)
Rough-in installs the plumbing lines, electrical wiring, and ventilation ductwork behind the walls before any finish materials go in. It has to pass a building inspection before drywall closes things back up, which is exactly where the earlier permit work pays off: an unpermitted rough-in can’t legally be inspected or signed off at all.
New kitchens need, at minimum, a dedicated 20-amp circuit for countertop outlets, GFCI protection within 6 feet of any water source, a dedicated circuit for the range or oven, and a vented range hood ducted to the exterior rather than a recirculating filter (several states now require this specifically for gas ranges). Plumbing rough-in includes supply lines for the sink and dishwasher, plus a drain line sized to local code, usually a minimum 1.5-inch diameter for kitchen sink drains.
Schedule the inspection before covering any of this. A single missed inspection can add a week or more to your timeline if drywall already went up and has to come back down.
Step 8: Install Flooring, Cabinets, and Countertops

Flooring goes in first, then cabinets, then countertops, in that order and not because someone made it up arbitrarily. Cabinets need a finished floor beneath them for accurate leveling. Reverse the order and installers end up cutting flooring around cabinet bases, which looks worse and makes any future flooring swap a headache.
Material choice affects both cost and durability. Porcelain tile that mimics wood grain now costs about the same as laminate while outlasting it by 15 to 20 years, per the National Wood Flooring Association’s synthetic-comparison studies. Quartz countertops run $50 to $120 per square foot installed and need no sealing. Granite’s cheaper up front, $40 to $100 per square foot, but it needs resealing every 1 to 2 years to resist staining, so factor that maintenance cost in too.
Cabinet installation typically takes 2 to 4 days for a standard kitchen, plus an extra day if you’re adding custom touches like a built-in wine rack or pull-out pantry shelving. Countertop templating happens after cabinets are fully installed and leveled. Fabrication after that takes 1 to 3 weeks, depending on the material and whether you’ve asked for custom edge profiles.
Step 9: Add Backsplash, Fixtures, and Final Finishes
Backsplash, faucet, and lighting fixtures go in last, after countertops are set and cured, typically 48 to 72 hours after installation for stone or quartz. Rush this step and you risk chipping a countertop edge or shifting a freshly set slab, which is a frustrating way to lose a few days.
A cohesive kitchen often extends the countertop material up the wall as a full-height backsplash. No grout lines to clean, which is the whole appeal, though it does add $15 to $40 per square foot over standard tile. Under-cabinet lighting solves a functional problem more than a decorative one: task lighting at the counter surface cuts down on the shadows overhead fixtures cast during food prep, and LED strip options now draw under 10 watts per linear foot, so you’re not paying for it on the electric bill either.
Hardware selection happens here too. Matte black and brushed brass are the two most requested finishes right now, per Houzz’s 2025 to 2026 Kitchen Trends survey, though satin nickel actually outsells both in total unit volume. Makes sense, it matches whatever’s already in the house.
Step 10: Final Walkthrough and Punch List
Walk through every cabinet door, drawer, outlet, and fixture with the contractor present, then write up a punch list of anything not completed to spec. Test every outlet with a plug-in tester. Open every drawer to check the soft-close function. Run water at every fixture and check for leaks under the sink while you’re at it.
Hold back final payment, typically 10 percent of the contract total, until every punch list item is resolved. It’s standard practice per NARI, and it protects you from a contractor who finishes 95 percent of the work and calls it a day. Take dated photos of the completed kitchen too, for insurance and for whenever you eventually sell.
Common Kitchen Renovation Mistakes to Avoid

Homeowners repeat the same handful of errors across home improvement projects, and most of them trace back to skipped planning rather than bad construction execution.
- Underestimating the timeline. Three months is a realistic minimum for a full renovation, not the two months many homeowners initially budget.
- Skipping the subfloor inspection. Older homes frequently hide water damage or unlevel subflooring that only surfaces once old flooring comes up, and ignoring it undermines everything installed afterward.
- Choosing appliances after cabinet design is finalized. Lock in appliance dimensions before cabinet ordering. A 36-inch range ordered against 30-inch cabinet space forces a costly rework, no way around it.
- Ignoring ventilation requirements. A range hood that recirculates air instead of venting outside fails to remove cooking grease and moisture, and that speeds up cabinet finish degradation over time.
- Underbudgeting the contingency fund. A 10 percent minimum buffer isn’t optional insurance. Older homes reveal hidden problems once the walls open often enough that it’s closer to a certainty.
Conclusion
Renovating a kitchen rewards homeowners who plan before they demolish. Budget first, permit before you swing a hammer, order materials with lead times in mind, and hold your contractor to a written punch list before final payment changes hands. Every step in this home improvement process exists for a reason: skip it and it costs more time and money than just doing the renovation right the first time would have.




