
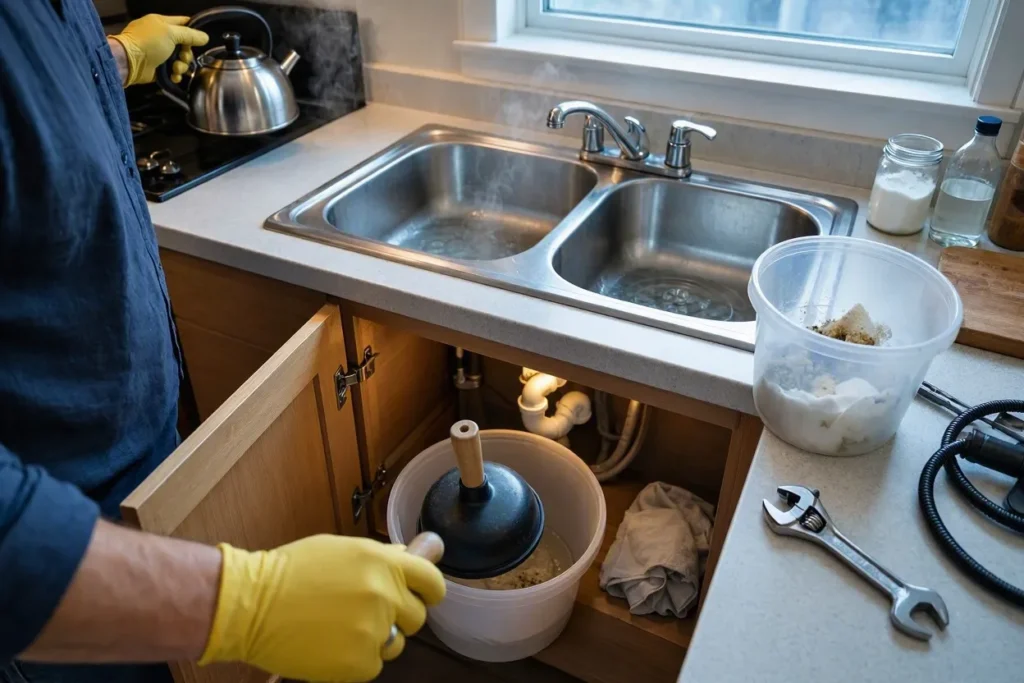
The fastest way to unclog a kitchen sink is to check the garbage disposal, then plunge the drain with a flat-bottomed cup plunger for 15–20 seconds. Most clogs clear within the first two methods. If water still won’t drain, boiling water, a baking soda and vinegar mix, or a drain snake handle the rest.
A sink that won’t drain isn’t rare. It’s one of the most common home plumbing problems in American and Canadian households, right up there with running toilets and leaky faucets. The good news: this is a plumbing repair most homeowners can handle without calling in a licensed plumber. Most kitchen sink clogs sit within the first 3 feet of drainpipe, well within reach of basic plumbing tools already sitting under most sinks.
What Causes a Kitchen Sink to Clog
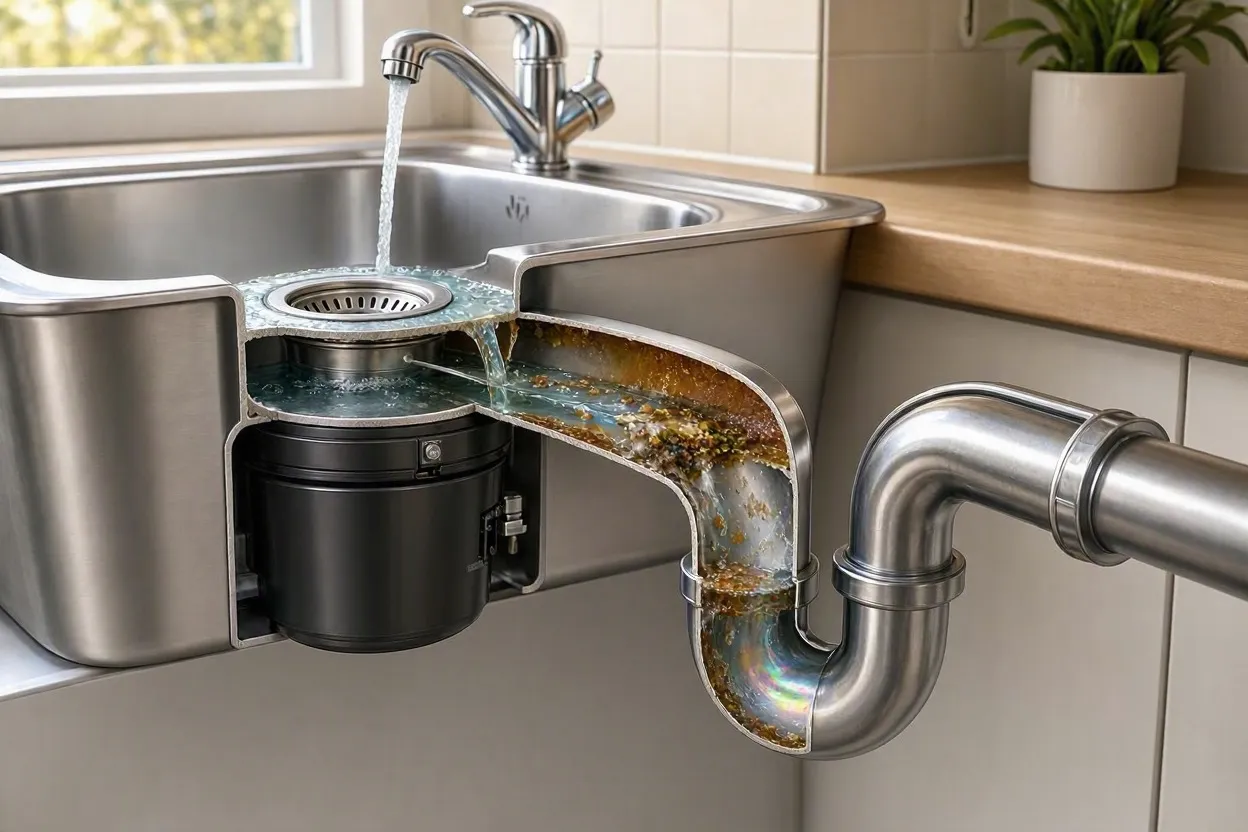
A kitchen sink clogs when grease, food particles, or soap residue build up inside the drainpipe faster than water can wash them through. In plumbing terms, this is a drain obstruction, not a fixture failure: the sink, faucet, and disposal are usually fine, and the actual problem sits downstream in the pipe itself. Grease is the biggest offender: it goes down warm and liquid, then cools and hardens against the pipe walls like wax inside a candle mold. Coffee grounds, eggshells, and starchy foods such as rice or pasta add to the problem, since they swell or clump once wet.
Six materials cause the vast majority of kitchen drain clogs:
- Cooking grease, oil, and fat
- Food scraps and vegetable peels
- Coffee grounds
- Eggshells
- Starchy foods (rice, pasta, potato skins)
- Soap scum and mineral buildup
Grease deserves special blame here because it’s cumulative. One pour down the drain looks harmless. A year of them lines the pipe.
How to Unclog a Kitchen Sink: Step-by-Step Methods
1. Check the Garbage Disposal First
To unclog a kitchen sink with a garbage disposal, run it for 30 seconds with the cold water on before trying anything else. A jammed or overheated disposal mimics a drain clog almost perfectly, and skipping this step wastes time on methods aimed at the wrong problem.
If the disposal hums but won’t spin, it’s likely jammed. Flip the breaker off first, then look for a small hex-shaped hole on the underside of the unit. Most disposals ship with a hex wrench for this; turning it back and forth a few times usually frees the flywheel. If the unit stays silent even after that, look for the reset button (usually a small red button on the side or bottom of the housing). It trips when the motor overheats, and a firm push brings it back in seconds.
If the disposal hums with no jam visible and never resets successfully, that points to a failing motor or capacitor rather than a simple jam. That’s a repair or replacement issue, not a clog.
2. Use a Plunger the Right Way
A plunger clears most minor kitchen sink blockages within 10 to 15 forceful pumps. The tool matters here: a toilet plunger has a flange on the bottom built for a round bowl, and it won’t seal against the flat surface of a sink basin. Use a flat-bottomed cup plunger, sometimes labeled a “sink plunger” at the hardware store.
Fill the basin with 1 to 2 inches (2.5 to 5 cm) of water before starting, enough to cover the plunger’s cup and create suction. Press the cup firmly over the drain opening, then pump up and down without breaking the seal. Ten to fifteen pumps clears the average clog. Pull the plunger away sharply on the last stroke. That quick release often does more work than the pumping itself.
Double sink? Seal the second drain with a wet cloth or stopper before plunging the clogged side. Without that seal, most of the plunging force just travels sideways through the shared trap arm instead of pushing down against the clog.
3. Try Boiling Water
Boiling water dissolves grease-based clogs by melting the fat back into liquid form so it flushes through the pipe. Bring half a gallon (1.9 liters) to a full boil, remove any standing water from the basin first, then pour it directly and steadily into the drain opening.
Skip this method on PVC pipes. Boiling water can soften or warp plastic drainpipes over repeated use. Stainless steel and porcelain-over-steel sinks handle it fine. Fiberglass, acrylic, and granite composite basins are more fragile and can crack under sudden heat, so use hot tap water instead of a full boil for those materials.
4. Baking Soda and Vinegar
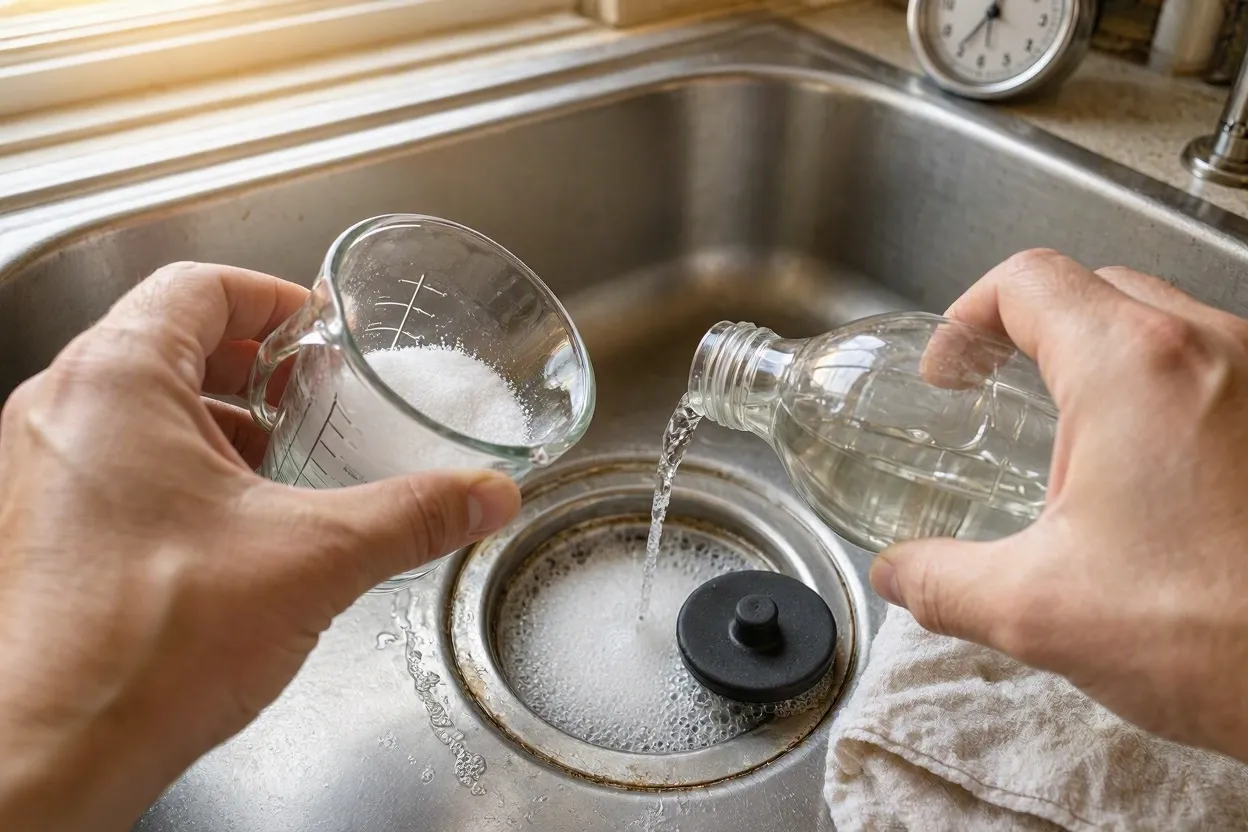
Baking soda and vinegar clear light clogs through a fizzing chemical reaction that loosens grime stuck to pipe walls. Pour 1 cup (240 ml) of baking soda down the drain, follow it with 1 cup (240 ml) of white vinegar, then cap the opening with a stopper or a damp cloth. The fizzing needs somewhere to push against, and capping the drain forces that pressure into the clog rather than back up into the sink.
Let the mixture work for 15 minutes, then flush with hot water. This combination handles soap scum and light food buildup well, though it rarely touches a solid grease clog or anything involving hair. Two to three rounds sometimes get the job done where one falls short.
5. Salt and Baking Soda Scrub
A salt and baking soda mixture works as an abrasive scrub, using the salt’s rough texture to physically scrape buildup off pipe interiors. No bubbling reaction here, just friction. Mix 1 cup (240 ml) of baking soda with a half-cup (120 ml) of table salt, pour the blend down the drain, and let it sit for several hours, ideally overnight. Flush with hot water in the morning, and repeat once if the drain still runs slow.
6. Step Up to a Wet-Dry Vacuum
If the scrub and chemical methods haven’t worked, a wet-dry vacuum clears stubborn clogs with suction stronger than a plunger can produce. Set the vacuum to wet mode first. Running it dry on standing water damages the motor. Press the hose end tightly against the drain opening, sealing the gap with a wet rag if needed, then switch the vacuum on to its highest setting.
Give it 15 to 20 seconds per attempt. On a double sink, seal the second drain with a stopper first, otherwise the vacuum pulls air through the open side instead of suction through the clog.
7. Snake or Auger the Drain
A plumber’s snake, also called an auger, clears clogs that sit deeper in the pipe than a plunger or vacuum can reach. Feed the cable into the drain opening slowly until it meets resistance. That resistance point marks the clog. Crank the handle clockwise to drive the tip through the blockage or hook onto it, then pull the cable back out along with whatever it caught.
Push gently, never with force. Aggressive shoving scratches the inside of a PVC pipe, and a scratched wall collects debris faster next time. One clog turns into a recurring one. A wire coat hanger fails for the same reason: its stiff, unrated wire chews up PVC in a way a proper drain tool doesn’t. Flush with hot water once the cable comes out clean.
8. Clean the P-Trap
Cleaning the P-trap solves clogs that sit in the curved section of pipe directly under the sink, visible once the cabinet doors open. Place a bucket underneath first. The trap holds standing water that spills the moment it’s disconnected. Loosen the slip nuts on both ends of the curved pipe by hand or with pliers, slide the trap free, then clear out whatever debris sits inside.
Reconnect the trap by hand-tightening the nuts only; over-tightening cracks the plastic threading on most residential P-traps. Run the tap for a full minute afterward and check underneath for drips before considering the job finished.
9. Use a Chemical Drain Cleaner as a Last Resort
If everything above fails, a chemical drain cleaner dissolves organic clogs through a caustic reaction. It only works well on buildup sitting near the top of the pipe, though, which is exactly why it belongs last on this list rather than first. Most name-brand cleaners rely on lye-based chemistry that’s safe for standard Schedule 40 PVC piping when used exactly as directed on the label, though they can burn skin and eyes on contact.
Never combine two different drain cleaners in the same attempt. Mixing chemical types risks a reaction that produces damaging heat and fumes that aren’t safe to breathe in an enclosed kitchen. Wear eye protection and gloves, and skip this method entirely on older galvanized steel pipes, since the chemicals accelerate corrosion in metal that’s already showing rust.
When to Call a Plumber
Call a plumber if none of the DIY methods clear the drain after two or three attempts, or if multiple drains in the house back up at the same time. That pattern usually means the problem has moved from a single fixture into the home’s main plumbing line. A single clogged kitchen sink is almost always local to that fixture. Water backing up in a bathtub or another sink whenever the kitchen sink runs points to a blockage in the main sewer line, a job that needs professional plumbing equipment like a motorized drain snake or a hydro-jetting rig.
One related sign to watch for: if the dishwasher backs up or won’t drain at the same time as the kitchen sink, don’t treat it as two separate problems. Check the shared drain line and air gap fitting first, since both fixtures often run into the same trap arm.
Gurgling sounds from other drains, a sewage smell anywhere in the house, or water pooling around a floor drain are signs that go beyond what a plunger or a bottle of vinegar can fix.
How to Prevent Kitchen Sink Clogs
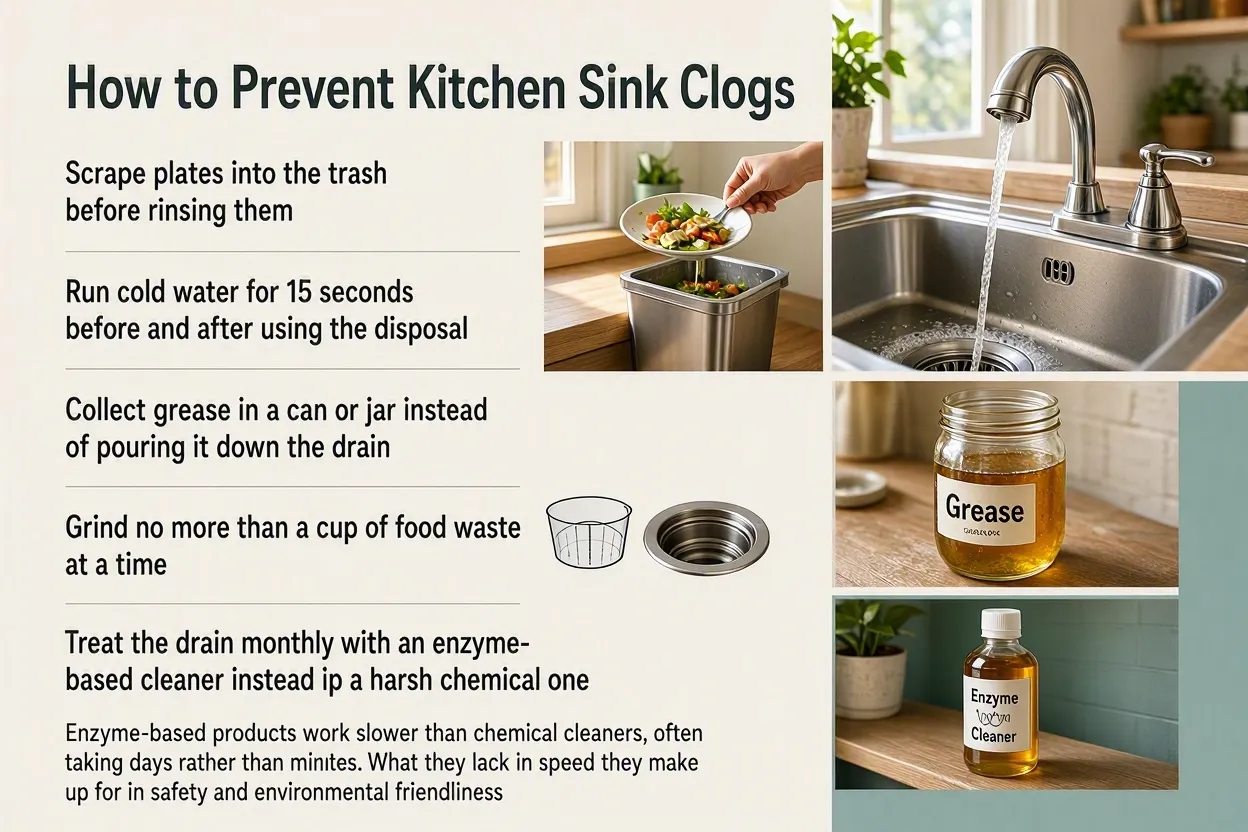
- Scrape plates into the trash before rinsing them
- Run cold water for 15 seconds before and after using the disposal
- Collect grease in a can or jar instead of pouring it down the drain
- Grind no more than a cup of food waste at a time
- Treat the drain monthly with an enzyme-based cleaner instead of a harsh chemical one
Enzyme-based products work slower than chemical cleaners, often taking days rather than minutes. What they lack in speed they make up for in safety: they break down organic buildup gradually without damaging pipe material. Think of them as maintenance, not an emergency fix for a drain that’s already blocked.
DIY Cost vs. Professional Plumber Cost
DIY tools for unclogging a kitchen sink run $10 to $40 total: a cup plunger costs around $8 to $15, a basic hand-crank drain snake runs $15 to $25, and baking soda plus vinegar barely register on a grocery bill.
A professional plumber typically charges $150 to $350 for a standard drain-clearing visit in most U.S. and Canadian metro areas, and past $500 once hydro-jetting or a camera inspection gets added. Those numbers shift by region and by year, so it’s worth checking a local quote before assuming they hold.
That price gap is why it’s worth trying the DIY methods first, in order from least to most invasive, before booking a service call.
Conclusion
A clogged kitchen sink responds to a fairly predictable order of operations: check the disposal, plunge, then move to boiling water or baking soda and vinegar before reaching for a snake, P-trap cleaning, or a chemical cleaner as the last option. Most household clogs clear within the first two or three attempts, no plumber required. The methods that fail usually fail because of the wrong tool for the pipe material, like boiling water against PVC or a wire hanger scratching the inside of a pipe. Match the tool to the clog, respect the plumbing you’re working on, and a five-dollar box of baking soda solves more problems than a $300 plumber visit ever needs to. Like most home plumbing repairs, the fix is less about brute force and more about working through the drain system in the right order.




