
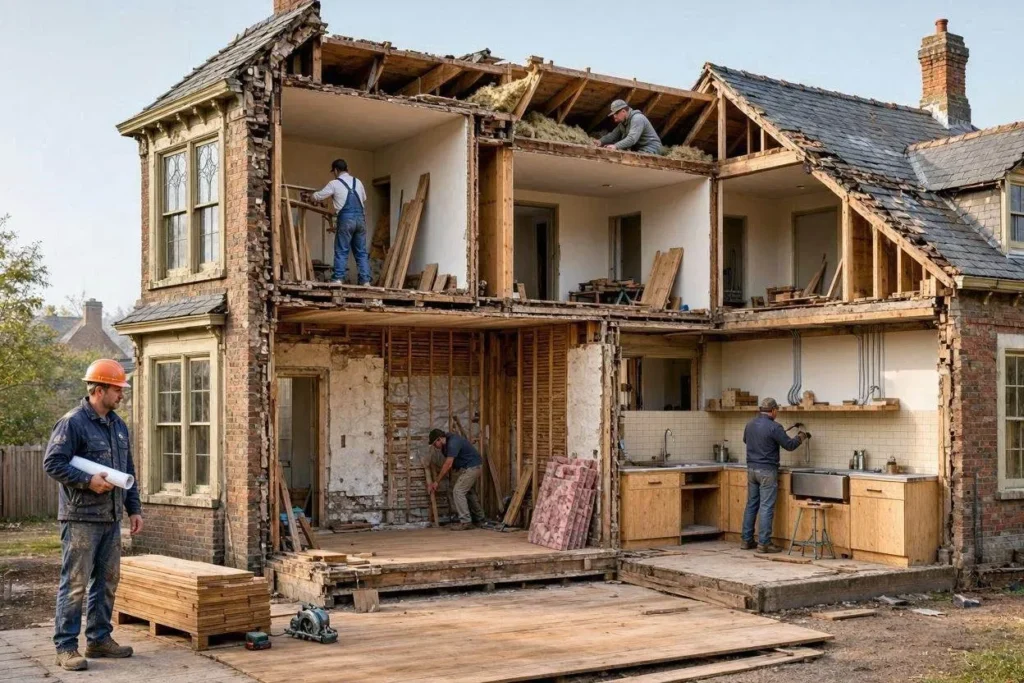
Renovating an old house works best in this order: inspect the structure, test for lead paint and asbestos, set a budget with a built-in cushion, pull permits, replace the major systems, and only then move on to paint and finishes. Skip that order and you’ll likely pay for it twice, once for the finished work and again when a hidden problem forces you to tear it out.
People searching for how to renovate an old house are usually staring down one of two situations: they’ve just bought a fixer-upper and don’t know where to start, or they own an aging home and want to fix it right instead of patching over problems. Either way, the house’s age tells you almost everything about what’s waiting behind the walls.
What Makes a House “Old” for Renovation Purposes
A house counts as “old” for renovation planning if it was built before 1978, the year the U.S. banned lead-based residential paint. That single date matters more than square footage, style, or even the seller’s disclosure form, because it triggers federal rules about how contractors are allowed to disturb painted surfaces.
The risks shift depending on the decade, though. A 1920s foursquare and a 1972 ranch share the “old house” label but not much else structurally:
- Houses from before 1940 often have balloon-frame construction, plaster-and-lath walls, and knob-and-tube wiring
- Houses from 1940 to 1960 tend to have asbestos pipe insulation, cast-iron drain lines, and 60-amp electrical panels
- Houses from 1960 to 1978 more commonly have lead paint on trim and doors, asbestos floor tile, and, in some regions, aluminum branch wiring
A 1930s bungalow buyer needs to budget for a full rewire almost automatically. A 1975 buyer might skip that line item entirely but still needs asbestos testing on the kitchen floor tile before demo day.
Before You Touch a Wall: Inspection, Hazardous Materials, and Permits

Order a structural inspection from a licensed engineer before finalizing any design, and test for lead paint and asbestos before demolition starts. A standard home inspection tells you what’s visibly wrong; it won’t tell you whether a load-bearing wall can be removed or whether the foundation can handle a second-story addition. Only a structural engineer answers that, typically for $500 to $1,500 depending on the house’s size and how much access the attic and crawl space allow.
Lead paint testing runs $300 to $600 through a certified inspector, and federal law presumes any pre-1978 house contains it. Under the Environmental Protection Agency’s (EPA) Renovation, Repair, and Painting (RRP) Rule, contractors disturbing more than 6 square feet of painted surface per room on one of these houses must hold lead-safe certification. Homeowners doing the work themselves can take an eight-hour RRP course instead of hiring it out, but skipping certification altogether and just sanding old trim spreads lead dust through the house’s ductwork and onto surfaces where kids and pets spend time.
Asbestos testing costs $30 to $100 per sample sent to an accredited lab, and results usually come back within a few business days. It shows up most often in floor tile adhesive, pipe wrap, and popcorn ceiling texture from before 1980. If a sample tests positive, hire a licensed abatement contractor. Most states require it by law, and cutting or sanding the material yourself releases fibers linked to serious lung disease.
Permits come next, before a single contractor sets foot on-site. Structural changes, electrical work, plumbing, and additions each need their own permit in most municipalities, and each one comes with its own inspection. Unpermitted work has a way of resurfacing years later during a home sale, when a buyer’s inspector flags it and the seller ends up completing retroactive permits under pressure, usually at a worse price than doing it right the first time.
Building a Budget That Survives Contact With Reality
Set the renovation budget at your contractor’s full estimate, then add 15% to 20% for problems that only show up once the walls are open. Old houses hide things: a rotted sill plate, a pipe that was patched with electrical tape in 1978, wiring that doesn’t match what’s on the panel label. None of it shows up on a quote until demolition starts.
National averages put a full renovation at $100 to $200 per square foot, though old houses with structural or system problems frequently land above that range. For a 2,000-square-foot house, that puts a whole-home renovation somewhere between $200,000 and $400,000. Smaller, room-specific projects break down more predictably:
- Kitchen remodel: $25,000 to $75,000
- Bathroom remodel: $10,000 to $35,000
- Full electrical rewire: $8,000 to $20,000
- Foundation repair: $3,000 for minor crack sealing up to $40,000 for underpinning
- Roof replacement: $8,000 to $25,000, depending on materials and pitch
Foundation issues deserve special attention in a budget because they change everything downstream. A house with a $3,000 crack-sealing fix stays on schedule. A house needing $30,000 in underpinning pushes back the timeline for every other trade waiting to start work.
Financing the Project: Loans and Other Funding Paths
An FHA 203(k) loan lets a buyer roll the purchase price and renovation costs into a single mortgage instead of juggling a separate construction loan. The Limited 203(k) covers up to $75,000 in cosmetic or minor repair work; the Standard 203(k) has no fixed dollar cap and covers structural repairs, subject to the home’s projected after-renovation value.
Current owners aren’t stuck without options either. A home equity line of credit (HELOC), a cash-out refinance, or a Fannie Mae HomeStyle loan all work for owners who already hold the property. The HomeStyle loan differs from a 203(k) in one important way: it isn’t limited to primary residences and covers upgrades like pools or outdoor kitchens that a 203(k) won’t touch. Compare interest rates and draw schedules across all three before signing anything, since a 203(k) requires a HUD consultant and more paperwork than a straightforward HELOC.
Local and state programs add another layer worth checking before ruling out financing altogether. Some states offer low-interest renovation loans specifically for pre-1980 housing stock, aimed at keeping older neighborhoods occupied rather than demolished, and some municipalities pair these with property tax abatements for owners who complete qualifying energy or structural upgrades. A quick call to the local housing authority or community development office often turns up funding that a private lender never mentions.
Systems Come Before Style
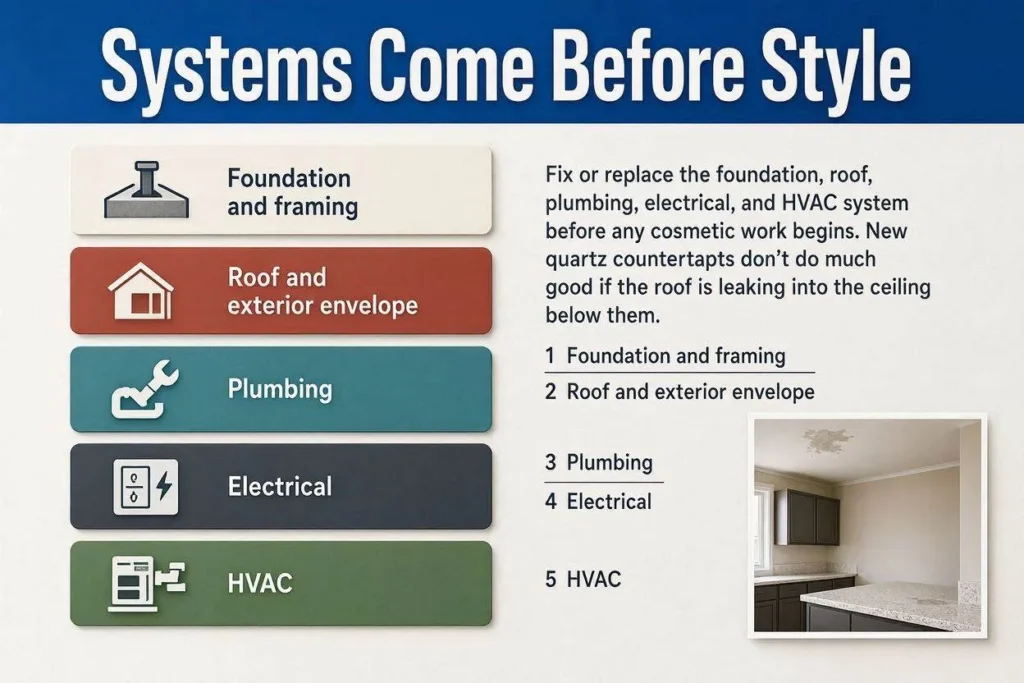
Fix or replace the foundation, roof, plumbing, electrical, and HVAC (heating, ventilation, and air conditioning) system before any cosmetic work begins. New quartz countertops don’t do much good if the roof is leaking into the ceiling below them.
The priority order looks like this:
- Foundation and framing
- Roof and exterior envelope
- Plumbing
- Electrical
- HVAC
Homeowners who remodel a kitchen first, then discover the 60-amp panel can’t handle a new range and dishwasher running at once, end up ripping out brand-new cabinetry to route additional circuits. That’s an expensive way to learn the lesson.
The Room-by-Room Order That Saves Money
Renovate in this sequence: exterior and structural work, then kitchens and bathrooms, then bedrooms and living spaces, then flooring and paint throughout the house. Kitchens and bathrooms carry the heaviest plumbing and electrical load, so finishing them early means contractors don’t have to re-enter completed rooms later to run new lines.
Save floors and paint for the very end. Contractors moving equipment through the house during framing, plumbing, and electrical work will scuff new flooring and mark up fresh paint. There’s no way around it, so don’t finish those surfaces until the heavy work wraps up.
Sourcing Materials That Match an Old House
Match new materials to the house’s original era whenever a room stays visible after renovation, and save exact replication for rooms where mismatched materials would stand out. A kitchen gutted down to the studs gives more freedom to modernize, since none of the original material survives anyway. A living room with original hardwood floors, plaster crown molding, or a fireplace surround, on the other hand, loses value and character fast if a contractor patches it with mismatched modern stock.
Salvage yards, architectural reclamation warehouses, and online marketplaces specializing in period materials solve most of this problem. Original growth heart pine flooring, cast iron radiators, and glass doorknobs from the 1900s to 1930s show up regularly at reclamation dealers in most metro areas, often for less than custom-milled reproductions cost. Plaster repair, rather than full drywall replacement, keeps a room’s acoustics and wall texture consistent with the rest of the house, a detail buyers and historic preservation commissions both notice during a resale.
Demolition debris from an old house also needs more planning than a typical renovation generates. Lath-and-plaster walls produce far more debris by weight than drywall does, and disposal rules change entirely if asbestos or lead paint testing comes back positive. Hazardous debris can’t go in a standard construction dumpster and instead needs a licensed hazardous waste hauler. Confirm disposal requirements with the local waste authority before the first dumpster gets delivered, since violations here carry fines separate from any building code penalty.
Insurance and Historic District Rules
Contact the homeowners insurance carrier before renovation work starts, not after. Insurers price policies on old houses using the age and condition of the roof, wiring, and plumbing, and several major carriers won’t write a policy at all for a house with active knob-and-tube wiring or galvanized steel pipes still in use.
A vacant property mid-gut-renovation typically needs a separate builder’s risk policy, since standard homeowners insurance often excludes damage during extended vacancy. Ask the agent directly whether the current policy covers contractor liability, material theft, and fire damage during construction, and don’t assume it does without confirming.
Houses inside a designated historic district, or listed on the National Register of Historic Places, answer to a local historic preservation commission for exterior changes. These commissions typically regulate window style, siding material, roof pitch, and exterior paint color, while leaving interior work alone. Call the preservation office before ordering replacement windows or new siding if the house sits in a historic district. Commissions can and do reject non-approved materials, sometimes after the work is already installed.
DIY vs. Hiring a Professional
Handle demolition, interior painting, and basic landscaping yourself; leave electrical, plumbing, structural, and gas line work to licensed professionals. Most states require a license for anything touching the electrical panel, gas lines, or load-bearing structure, and unlicensed work on these systems can void a homeowners policy entirely.
Reasonable DIY tasks include:
- Interior painting and trim work
- Non-structural demolition, confirmed with an engineer first
- Flooring installation, apart from tile set near plumbing fixtures
- Yard cleanup and basic landscaping
Tasks that need a license include:
- Electrical panel upgrades and full rewiring
- Water heater installation and plumbing rerouting
- Load-bearing wall removal
- Foundation repair and gas line connections
Getting Bids and Structuring the Contract
Collect at least three written bids from licensed contractors before choosing one, and confirm each bid uses the same scope of work so the numbers actually compare. A bid that’s thousands of dollars cheaper than the others usually means something got left out: a lower-grade material, a shortcut on permits, or a subcontractor who isn’t licensed for the specialty work involved.
Two contract structures dominate residential renovation work. A fixed-price contract sets one total cost upfront and puts the risk of overruns on the contractor, which works well for cosmetic projects with a known scope. A cost-plus-fixed-fee contract charges the actual cost of labor and materials plus a set builder’s fee on top, which suits old-house renovations better since nobody can price hidden foundation or wiring problems accurately before the walls come down. Ask which structure a contractor is proposing before signing anything, since the two carry very different risk profiles for the homeowner.
Payment schedules matter just as much as the contract type. Reasonable schedules tie payments to completed milestones: a deposit at signing, a payment after rough framing and mechanicals pass inspection, another at drywall, and a final payment once the punch list closes out. Avoid any contractor asking for more than a third of the total cost upfront, since large deposits with little work completed are a common warning sign in the renovation industry. Get lien waivers at each payment stage too, which protect a homeowner from a subcontractor filing a claim against the property after the general contractor has already been paid.
How Long the Whole Thing Actually Takes
A full renovation of an old house takes 6 to 18 months from planning through move-in, depending on how much structural and system work the house needs. A single-bathroom refresh wraps up in 3 to 6 weeks. A whole-house renovation involving foundation repair, a full rewire, and re-plumbing routinely stretches past a year once permitting delays and material lead times get factored in.
Three things drive that timeline more than anything else: how fast the local building department approves permits (2 to 8 weeks in most places), how much hazardous material remediation the house needs, and whether the family lives there during construction. Occupied renovations run 20% to 30% longer than vacant ones, simply because contractors have to work around a household’s daily schedule instead of controlling the site outright.
Mistakes That Turn a Renovation Into a Money Pit
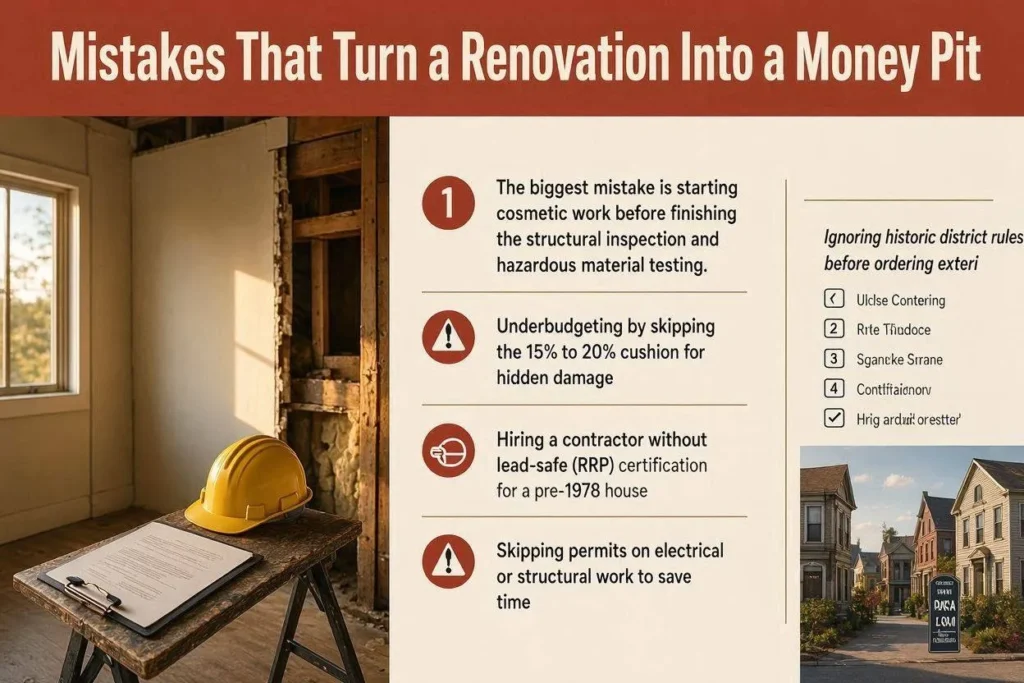
The biggest mistake is starting cosmetic work before finishing the structural inspection and hazardous material testing. A handful of others show up just as often:
- Underbudgeting by skipping the 15% to 20% cushion for hidden damage
- Hiring a contractor without lead-safe (RRP) certification for a pre-1978 house
- Skipping permits on electrical or structural work to save time
- Ignoring historic district rules before ordering exterior materials
- Choosing a contractor on price alone instead of old-house experience
That last one deserves more attention than it usually gets. A contractor who mostly builds new construction may badly underestimate what balloon framing or a failing knob-and-tube system costs to address. Ask for references from at least two old-house renovations completed in the past three years, and ask to see photos before signing anything. A contractor who can’t produce that history has probably spent most of their career on projects where none of these problems existed in the first place.
None of these mistakes require special expertise to avoid. They mostly require patience during the planning phase, when it’s tempting to skip straight to picking cabinets and paint swatches. Homeowners who resist that temptation and work through inspection, budgeting, permitting, and system repairs in order end up with a house that’s genuinely renovated, not one that just looks renovated until the next problem surfaces.
Conclusion
Learning how to renovate an old house comes down to sequence more than skill. Structural inspection first, hazardous materials next, a padded budget after that, permits before contractors show up, and systems repaired before anyone picks a paint color. The house’s decade of construction tells you which risks to expect, but the process for handling them barely changes whether you’re working on a 1920s bungalow or a 1976 split-level. Get the order right, and the renovation stays a renovation instead of turning into a repeated demolition project.




