
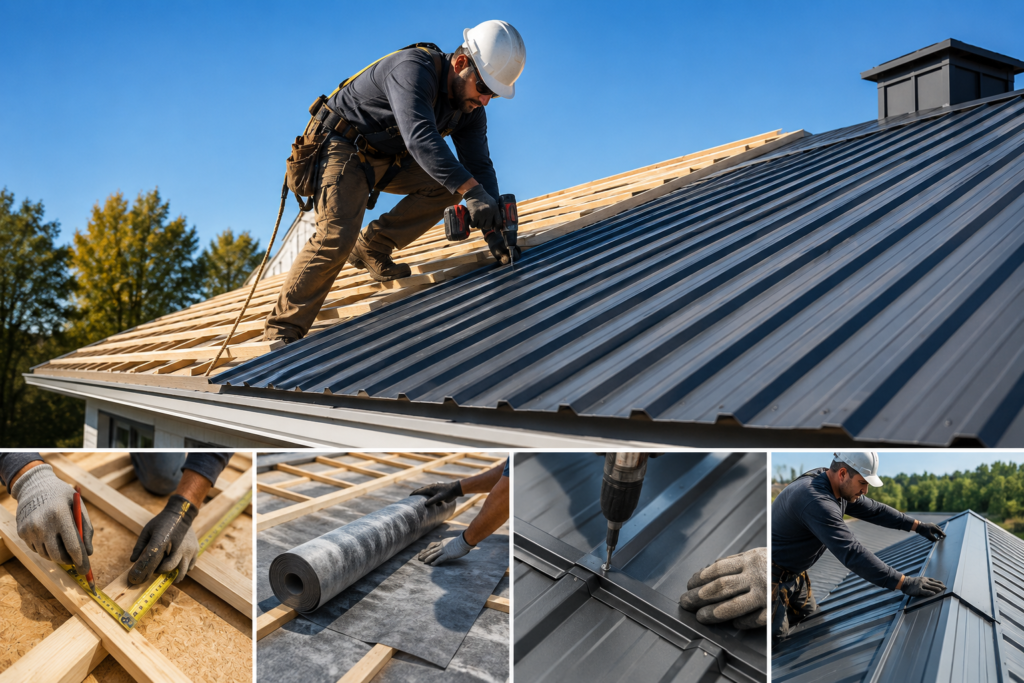
A correctly installed metal roof lasts 40 to 70 years. That lifespan comes down to slope compliance, fastener technique, and trim sequencing, not the panel material itself. Contractors and homeowners who skip a single step in prep or fastening usually see problems within the first heavy rain season, not decades later.
This guide walks through the full installation process, from roof deck inspection to the wind and hail ratings that actually matter for US climates.
What Is Metal Roofing Installation?
Metal roofing installation means attaching formed metal panels to a roof deck or open framing in a specific sequence: substrate inspection, underlayment, panel layout, fastening, and trim. Panels fall into two families. Exposed fastener panels (corrugated and PBR, or purlin-bearing rib) and standing seam panels that use concealed clips. Each family has its own fastening method, slope minimum, and trim order, and getting the sequence wrong at any point creates a leak path that shows up later rather than immediately.
How Long Does Metal Roofing Installation Take?
A standard 2,000-square-foot residential metal roof takes 3 to 5 days with a two- to four-person crew. Standing seam jobs run longer than exposed fastener installs because of clip spacing and seaming work, so add 1 to 2 extra days. Complex rooflines with multiple valleys, dormers, or penetrations can stretch that out to 7 or 8 days.
What Tools Do You Need for Metal Roofing Installation?
Both exposed fastener and standing seam jobs need the following:
- Metal shear or nibbler for panel cutting
- Screw gun with a depth-sensitive nosepiece
- Seamer tool (mechanical or hand-crimp, for standing seam)
- Chalk line for squaring panel layout
- Tape measure and tin snips
- Fall arrest equipment for work above 6 feet
- Safety glasses and cut-resistant gloves
Even a homeowner installing a small shed roof needs the seamer tool if the panel profile is standing seam. Hand-crimping isn’t an option there, and skipping the seamer leaves the joint unsealed.
What Materials Do You Need Before Installation?
Order these together, and add 10% extra panel length for cutting waste and damage:
- Metal panels (measured length plus overhang allowance)
- Roofing underlayment matched to the panel type
- Fasteners rated for the panel gauge and substrate
- Butyl sealant tape for seams and laps
- Trim and flashing pieces (eave, rake, ridge, valley)
- Closures (foam or vent-style) at the ridge and eave
How Do You Prepare a Roof Deck for Metal Roofing?
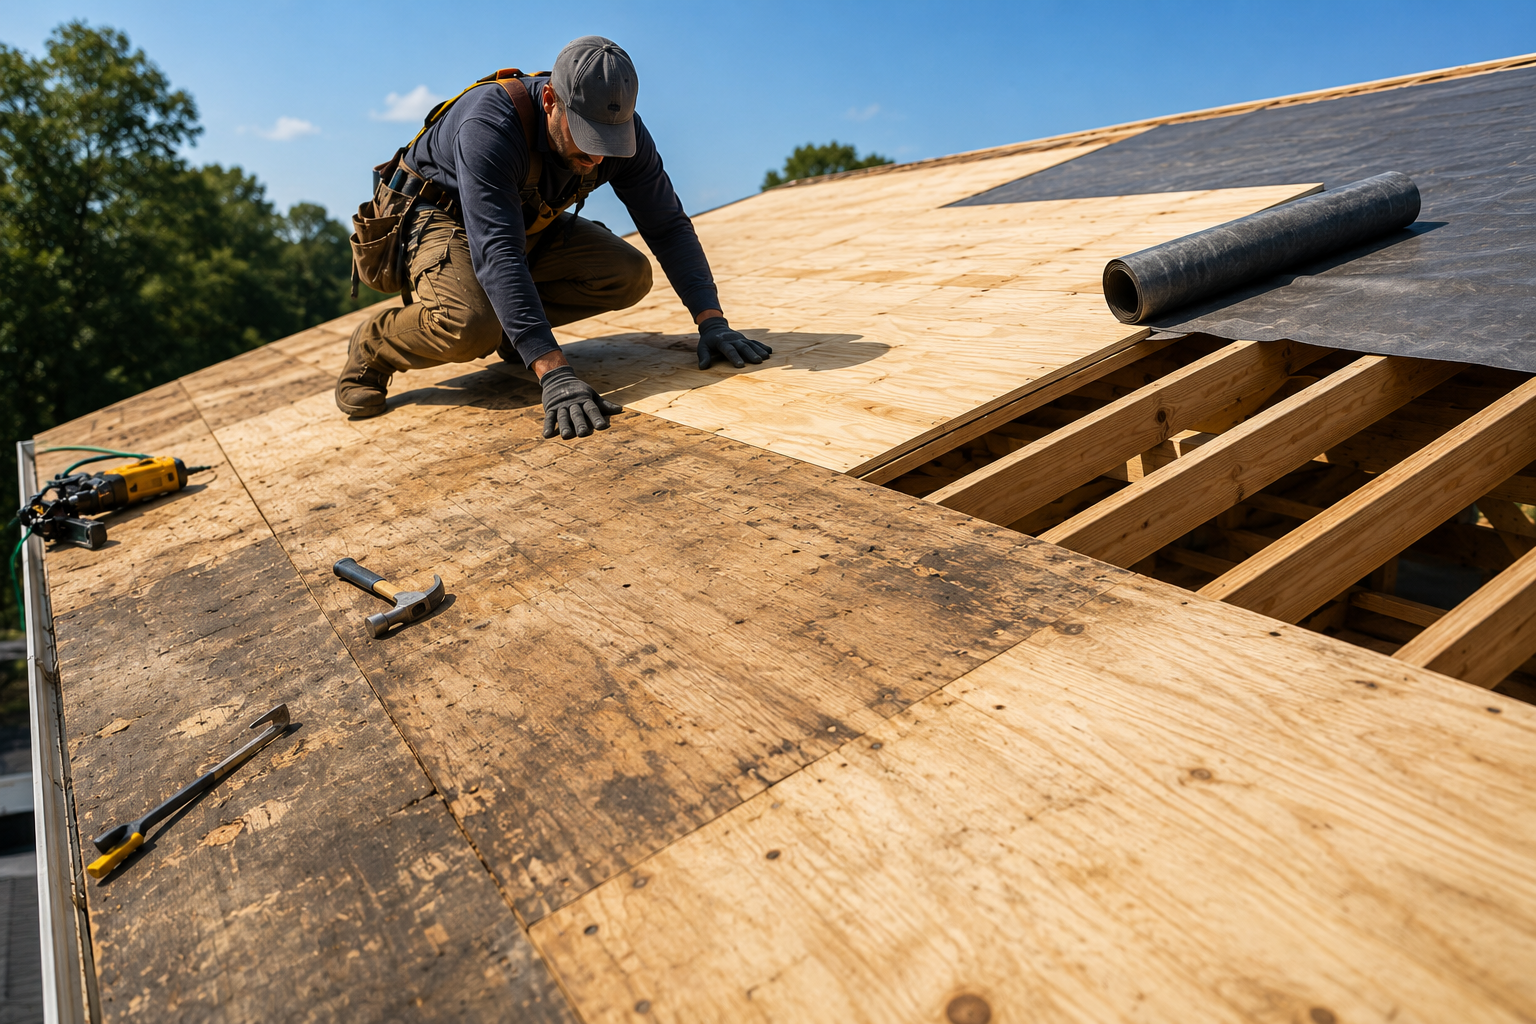
Deck prep starts with a structural inspection, then moves to slope confirmation and framing checks before any panel goes down. Skipping this is the single most common cause of early callbacks.
Inspect for Rot and Structural Damage
Check the existing deck for soft spots, delamination, and water staining before installing anything. Rot in even one 2-foot section means the whole sheet needs replacing; patching over compromised sheathing just causes fasteners to back out a few months later. If the roof currently has shingles or tile, remove it first. Covering damage doesn’t fix it.
Confirm Minimum Slope Requirements
Slope minimums vary by panel type, and installing below the rated minimum voids most manufacturer warranties.
- Exposed fastener panels (corrugated, PBR): 1:12 minimum, better performance at 3:12 (14 degrees) or steeper
- Snap lock standing seam: 3:12 minimum (14 degrees)
- Mechanically seamed standing seam: as low as 1:12 (4.8 degrees), depending on panel profile
Check Purlin or Rafter Spacing
Framing spacing has to match the panel’s rated span before installation starts. Most residential exposed fastener panels are rated for 24 to 36 inches (61 to 91 cm) of purlin spacing, though heavier gauge panels span further. Put a 26-gauge panel rated for 36-inch spacing over 48-inch purlins and it will sag.
What Underlayment Should You Use Under Metal Roofing?
The right underlayment depends on climate, panel type, and application, not personal preference. Go cheap on a residential standing seam job in a freeze-thaw climate and you’ll have condensation problems by the first winter.
Self-Adhering High-Temperature Underlayment
The standard choice for standing seam roofs and higher-end residential exposed fastener installations. It seals around fastener penetrations and holds up under the temperature swings metal surfaces create; a dark-colored standing seam roof in direct summer sun can reach surface temperatures above 150°F (66°C).
Synthetic Underlayment
A cost-effective option for agricultural and utility-exposed fastener applications, and for residential roofs in milder climates. Lighter and faster to install than felt, but it’s not rated as a standalone solution on low-slope or standing seam roofs.
Felt Paper
The lowest-cost underlayment (15-lb or 30-lb), used mostly on agricultural buildings and budget residential jobs. It tears easily during installation and degrades faster under sustained heat than synthetic does.
Standing Seam vs. Exposed Fastener: Which Installation Method Fits Your Project?
| Factor | Exposed Fastener | Standing Seam |
| Minimum slope | 1:12 | 3:12 (snap lock) / 1:12 (mechanically seamed) |
| Fastener visibility | Through the panel face | Concealed under clips |
| Typical lifespan | 30–45 years | 50–70 years |
| Install time (2,000 sq ft) | 3–4 days | 4–6 days |
| Best fit | Agricultural, budget residential | Premium residential, coastal, high-wind zone |
| Approx. installed cost | $7–$12 per sq ft | $12–$20 per sq ft |
Homeowners in hurricane-prone Gulf Coast counties generally need standing seam to meet local wind uplift codes. Exposed fastener panels rarely carry the wind ratings those jurisdictions require.
How Do You Install Exposed Fastener Metal Roofing Panels?
Panel Layout and Squaring
Start with a chalk line snapped square to the ridge, not with the first panel itself. Roofs are rarely perfectly square edge to edge, and skipping this step lets misalignment compound across the roof. By the time the crew reaches the far rake, panels sit visibly out of line with the eave.
Fastener Placement and Spacing
Drive fasteners through the flat between ribs on most panel profiles, spaced 12 to 24 inches (30 to 61 cm) along purlins or sheathing, depending on the wind zone. Tighten each fastener enough to compress the neoprene washer without mushrooming it. An overtightened fastener dimples the panel and breaks the seal early. Increase fastener density at rakes and eaves, where wind uplift loads run highest.
Panel Overlap and Sidelap
Overlap each panel by at least one full rib at the sidelap, then fasten through the overlap at every purlin course. This compresses the two ribs together and blocks wind-driven water from getting into the seam.
How Do You Install Standing Seam Metal Roofing Panels?
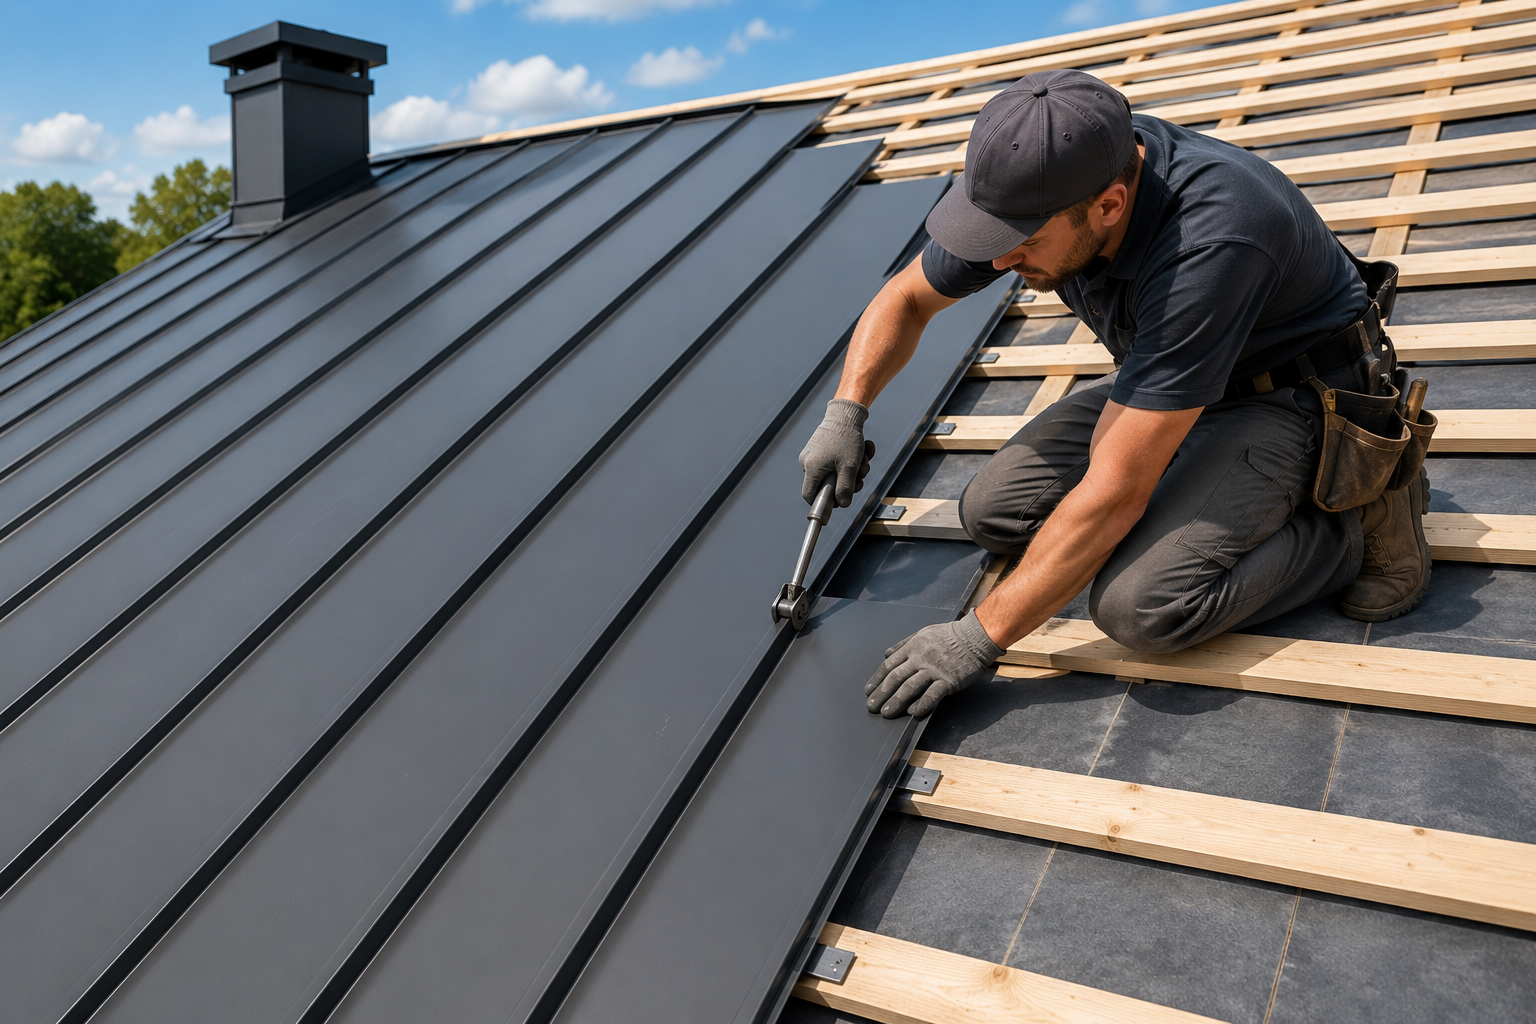
Clip System Installation
Clips slide onto the panel’s male seam leg and fasten to the substrate through a pre-punched hole in the clip foot, spaced 12 to 24 inches (30 to 61 cm) on center depending on wind zone. The clip lets the panel move lengthwise with thermal expansion while staying locked side to side.
Snap Lock Seaming
Position each incoming panel, then snap its female leg over the male leg of the previous panel. A properly aligned seam seats fully by hand. If a section needs mallet force to close, stop. Check the panel for bowing before continuing.
Mechanical Seaming
Run an electric seamer from eave to ridge along each seam once panels and clips are set. Keep it tracking true and moving at a consistent speed. A seamer that wanders leaves an uneven crimp that doesn’t seal fully.
What Is the Correct Trim and Flashing Installation Sequence?
Installing trim out of order creates joints that can’t lap properly, and that leads straight to leaks. Follow this sequence:
- Eave trim, installed before any panels
- Rake trim starter, set before the first panel
- Field panels, installed across the roof
- Rake trim cap, installed over the finished rake edge
- Ridge cap, the final piece, lapping over all field panels
- Hip and valley flashing, installed as panels reach those areas
Work skylights, pipe boots, and wall flashings into the panel sequence as the crew reaches them. Retrofitting flashing after the panels are done never performs as well as flashing that’s sequenced in from the start.
How Do You Handle Ventilation and Condensation Control?
Metal roofs need a vapor barrier on the warm side of the insulation, plus adequate airflow between the insulation and the panel, particularly on enclosed buildings. Warm interior air hitting the cold underside of a metal panel deposits moisture, and that moisture causes corrosion and wood rot over time. Ridge vents, soffit vents, and gable vents all work, though the right combination depends on attic design. Buildings housing livestock need extra attention here, since interior humidity stays elevated year-round and accelerates condensation buildup if ventilation is inadequate.
What Wind and Hail Ratings Matter for Metal Roofing Installation?
Wind Uplift Rating and Miami-Dade NOA (Notice of Acceptance)
Wind uplift ratings determine whether a panel system is even legal to install in high-wind jurisdictions. Products tested under ASTM E1592 (American Society for Testing and Materials) carry a rated uplift pressure in pounds per square foot. Panels in Florida’s Miami-Dade and Broward counties also need a Miami-Dade NOA, one of the strictest wind-testing approvals in the country. Install an unrated system in a coastal high-velocity hurricane zone, and you’re risking code rejection and insurance denial after storm damage.
UL 2218 Class 4 Impact Rating
A UL 2218 (Underwriters Laboratories) Class 4 impact rating matters directly for hail-prone regions and insurance costs. It’s the highest rating on the scale, meaning the panel resisted a 2-inch steel ball dropped from 20 feet without cracking. Insurers in hail-heavy states like Texas, Colorado, and Nebraska often offer premium discounts of 10% to 35% for Class 4-rated roofing.
Do You Need Snow Guards or Ice Dam Protection?
In regions with sustained snow load, yes. Snow guards prevent dangerous sheet-sliding off smooth metal panels, which shed snow faster than shingles because of their low surface friction, creating a hazard for pedestrians, parked vehicles, and lower roof sections below. Install snow guards in rows following the manufacturer’s spacing chart, typically concentrated near eaves and above entryways. Ice dam protection in Northeast, Midwest, and mountain-region climates also calls for self-adhering underlayment extending at least 24 inches (61 cm) past the interior wall line.
What Does Metal Roofing Installation Cost?
Installed cost runs from $7 to $20 per square foot, depending on panel type, region, and roof complexity:
- Exposed fastener panels: $7 to $12 per sq ft installed
- Standing seam panels: $12 to $20 per sq ft installed
- Premium finishes (copper, zinc): $20 to $35+ per sq ft installed
A 2,000-square-foot roof with standard standing seam panels runs roughly $14,000 to $24,000 installed, before tear-off costs or structural repairs get added in.
What Are the Most Common Metal Roofing Installation Mistakes?
| Mistake | Consequence |
| Installing below-minimum slope | Leak paths that worsen over time; voids the warranty |
| Overtightening fasteners | Mushroomed washer, dimpled panel, early seal failure |
| Skipping the side lap fastener | Wind-driven rain enters the seam |
| Wrong underlayment for the climate | Condensation, premature corrosion |
| The panel layout started off square | Visible misalignment that can’t be corrected mid-install |
| No condensation control | Moisture damage to insulation and framing |
| The trim was installed out of sequence | Exposed joints, leak paths at transitions |
Can You Install Metal Roofing Over Existing Shingles?
In most cases, yes, as long as the shingles show no significant moisture damage or delamination. A thermal break or vented batten system may be needed on enclosed buildings to manage condensation between the layers. Check local building codes first: some jurisdictions cap how many roofing layers a single structure can carry.
Should You Hire a Contractor or Install Metal Roofing Yourself?
Simple, low-slope agricultural buildings with exposed fastener panels are within reach for an experienced DIY installer. Standing seam systems, steep-slope residential roofs, and anything in a high-wind or high-hail jurisdiction call for a licensed contractor. The seaming equipment, safety gear, and code knowledge required go beyond what most homeowners have on hand, and material warranties often require professional installation anyway.
Safety Requirements for Metal Roofing Installation
OSHA (Occupational Safety and Health Administration) requires fall protection for any work performed 6 feet or higher above a lower level. Metal panel edges cause lacerations easily, so cut-resistant gloves and long sleeves are standard on a job site. Wet or dew-covered metal panels get extremely slick, so schedule steep-slope work for dry conditions whenever the forecast allows it.
Conclusion
Metal roofing performance comes down to five decisions made before a single fastener goes in: the correct slope for the panel type, matched underlayment for the climate, disciplined panel layout, fastener technique appropriate to the wind zone, and trim sequenced in the right order. Skip any one of these and the failure shows up after the first storm season, not on installation day. Follow the sequence here, confirm wind, hail, and slope ratings against local code before ordering panels, and you get a roof system built to reach its full 40- to 70-year service life.




