
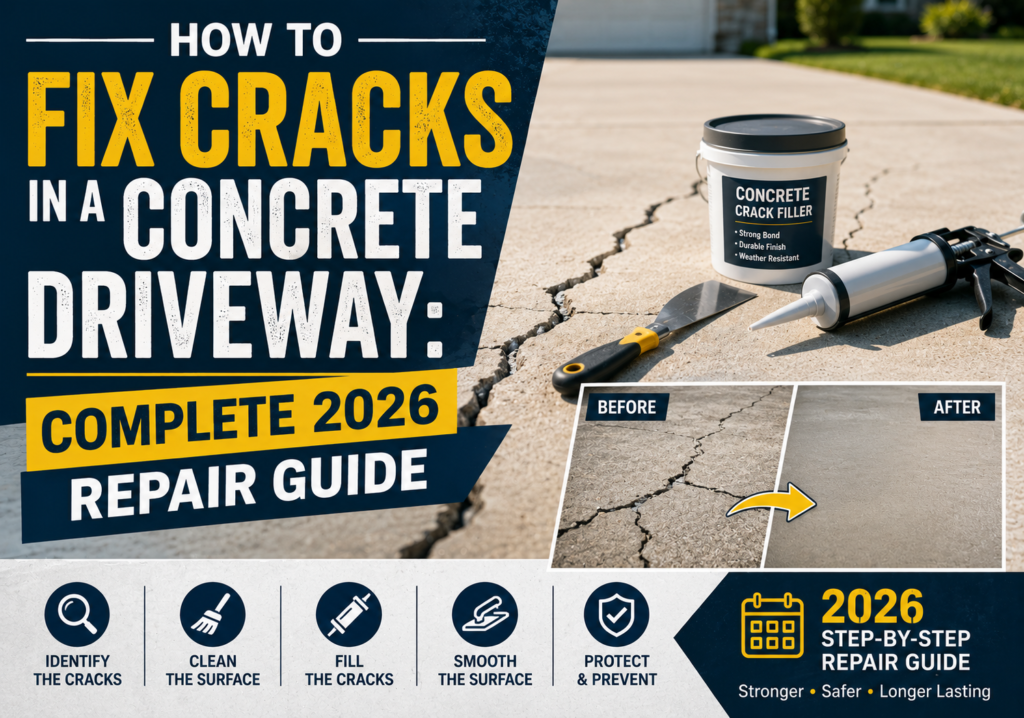
Clean the crack, let it dry completely, choose the right filler based on crack width, apply it, and seal the driveway within 48 hours. Cracks under 1/4 inch (6mm) are DIY-friendly. Cracks wider than 1/2 inch (12mm) or uneven slabs need a professional.
A cracked concrete driveway is not just an eyesore. Water gets into those cracks, freezes in winter, expands, and makes the damage 3 to 4 times worse within a single season. The earlier you fix a crack, the cheaper it stays.
This guide walks through 7 types of driveway cracks, 5 repair methods with exact product recommendations, a full step-by-step process, and clear signs that a DIY fix will not hold.
1. Why Concrete Driveways Crack: 6 Real Causes
Identifying the cause of a crack determines the repair method. Fixing the symptom without understanding the cause leads to repeat repairs within 1 to 2 years.
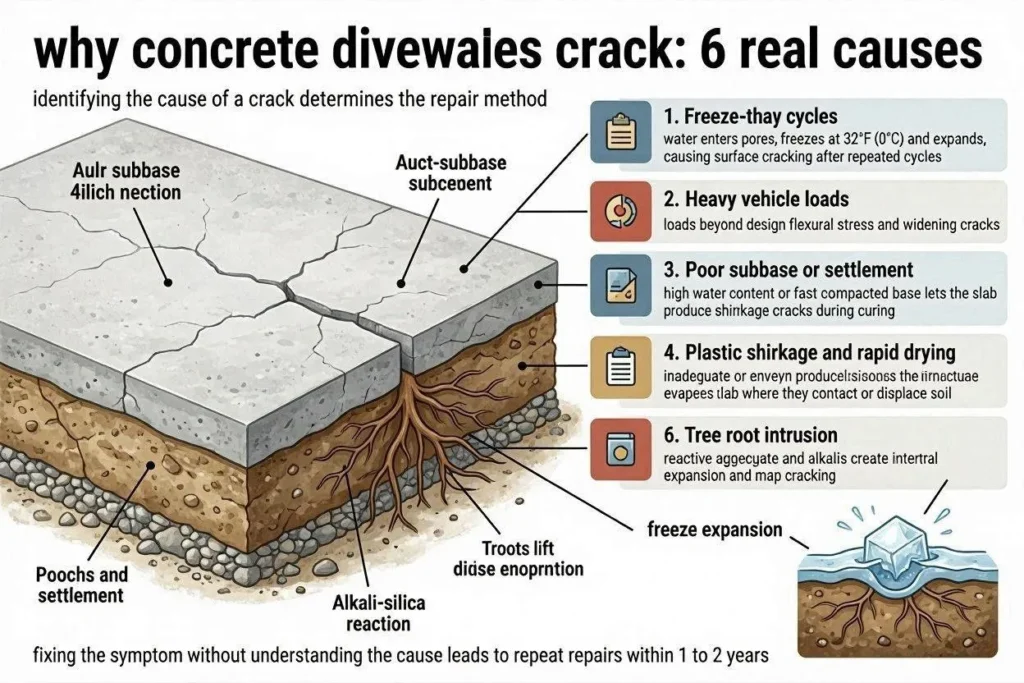 Freeze-thaw cycles
Water seeps into surface pores, freezes at 32°F (0°C), and expands 9% in volume. A driveway that goes through 20 or more freeze-thaw cycles per year develops surface cracks within 3 to 5 years if unsealed.
Heavy vehicle loads
Standard residential concrete driveways are designed for loads up to 8,000 lbs (3,629 kg). Delivery trucks, RVs, and dumpster placements regularly exceed this. Structural cracks form when the slab flexes beyond its tensile limit.
Tree root pressure
Roots growing under the slab generate 300 to 400 psi of upward pressure. This creates raised, uneven cracks that cannot be permanently fixed without addressing the root.
Poor base compaction
A concrete slab is only as stable as the soil beneath it. Poorly compacted gravel sub-base settles unevenly, leaving sections of the slab unsupported. Those sections crack under normal traffic.
Shrinkage during curing
Concrete shrinks 0.04 to 0.06% of its length as it cures. A 20-foot (6-metre) driveway can shrink up to 0.14 inches (3.5mm). Without properly spaced control joints, shrinkage stress causes cracks to appear within the first 30 days.
Chemical damage
De-icing salts containing calcium chloride or magnesium chloride attack concrete chemically. They pull moisture out of the surface, causing spalling and micro-cracking after 2 to 3 winters of use.
2. How to Identify the 7 Types of Concrete Driveway Cracks
The crack type tells you whether a DIY repair will last or whether professional intervention is needed before any filler goes in.
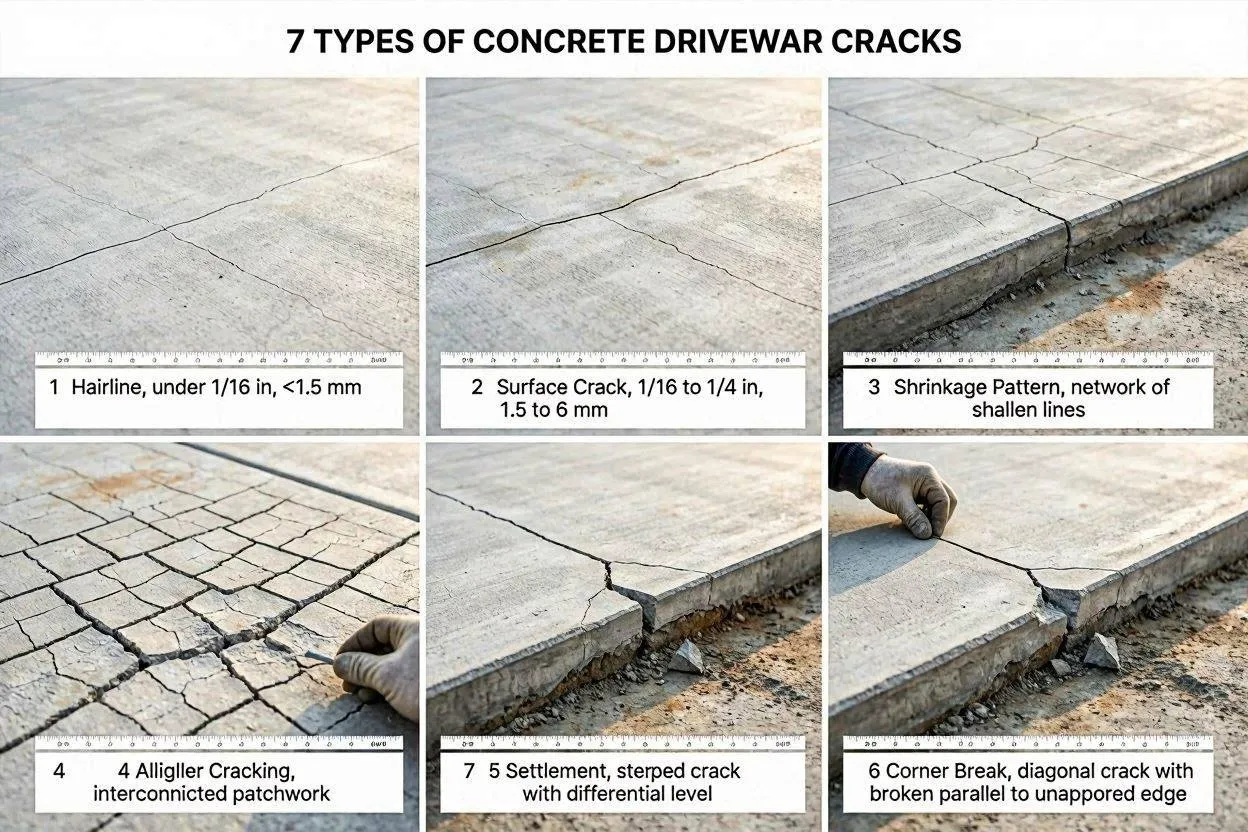
Hairline Cracks
Width: under 1/16 inch (1.5mm). These are surface-level shrinkage cracks. They do not affect structural integrity. A penetrating concrete sealer applied in two coats stops water infiltration and prevents hairline cracks from widening.
Surface Cracks
Width: 1/16 to 1/4 inch (1.5 to 6mm). These are the most common DIY-repairable cracks. A flexible polyurethane caulk or vinyl concrete patch compound handles these well. Water entry at this width causes accelerated freeze-thaw damage.
Structural Cracks
Width: over 1/4 inch (6mm), with displacement. When one side of the crack sits higher or lower than the other, the slab has moved. Filling the crack without leveling the slab is a temporary fix at best. Mudjacking or slab replacement is the correct solution.
Spiderweb / Map Cracking
Pattern: interconnected network of fine cracks across the surface. This is a sign of alkali-silica reaction (ASR) or surface scaling from chemical damage. Resurfacing with a concrete overlay addresses the appearance, but the underlying cause needs evaluation.
Heave Cracks
Pattern: raised section on one side. Tree roots or frost heave pushes sections upward. These cracks require root removal or frost-barrier installation before repair. Without addressing the root cause, any repair fails within one season.
Settlement Cracks
Pattern: one section drops lower than adjacent slabs. Soil erosion or washout under the slab causes this. Mudjacking or polyurethane foam injection lifts the slab back to level before crack filling.
Expansion Joint Failure
Location: at pre-cut joints between slabs. Old expansion joint material dries out, shrinks, and falls out over time. Gaps wider than 1/4 inch (6mm) allow water entry. Replacement with backer rod and self-leveling polyurethane sealant fixes this correctly.
3. Tools and Materials Needed: Complete List
Gather everything before starting. Stopping mid-repair to buy a missing item means the open crack collects dirt and the repair bond weakens.
Tools (cost: $40 to $80 / £32 to £65 if buying new):
- Wire brush or angle grinder with wire wheel attachment
- Cold chisel and hammer (for widening narrow cracks before filling)
- Pressure washer or stiff-bristle scrub brush with hose
- Shop vacuum for removing water and debris
- Caulk gun (standard or sausage-type for larger volumes)
- Putty knife or margin trowel for smoothing
- Safety glasses and work gloves
- Painter’s tape for clean edges
Materials by crack type:
| Crack Width | Best Product | Cost (USD) | Cost (GBP) |
| Under 1/16 inch (1.5mm) | Penetrating concrete sealer | $20 to $40/gallon | £16 to £32 |
| 1/16 to 1/4 inch (6mm) | Flexible polyurethane caulk | $8 to $15/tube | £6 to £12 |
| 1/4 to 1/2 inch (12mm) | Vinyl concrete patch compound | $15 to $30/qt | £12 to £24 |
| Over 1/2 inch (12mm) | Hydraulic cement or epoxy mortar | $20 to $45/bag | £16 to £36 |
| Expansion joints | Backer rod + self-leveling sealant | $12 to $25 | £10 to £20 |
4. How to Fix Cracks in a Concrete Driveway: 7-Step Process
Before You Start: Do not repair concrete if rain is forecast within 24 hours. Do not work below 40°F (4°C) or above 90°F (32°C). Extreme temperatures prevent proper curing.
Step 1: Clean the Crack Thoroughly
Remove all dirt, moss, weeds, and loose concrete. Use a cold chisel to knock out any crumbling edges. Run a wire brush the full length of the crack. Rinse with a pressure washer at 1,500 to 2,000 psi (103 to 138 bar) and vacuum out all remaining water.
Dry time: minimum 24 hours in normal conditions. 48 hours in humid weather above 70% relative humidity. This step determines whether the repair holds. Wet concrete prevents adhesion.
Step 2: Widen Narrow Cracks (for cracks under 1/4 inch)
Cracks narrower than 1/4 inch (6mm) hold repair material better when slightly widened. Use an angle grinder with a diamond blade or a cold chisel to create a V-shaped channel approximately 1/4 inch (6mm) wide and 1/4 inch deep. This gives the filler more surface area to bond against.
Step 3: Insert Foam Backer Rod (for cracks over 1/2 inch deep)
Foam backer rod prevents the filler from sinking too deep and wasting material. Choose backer rod 25% wider than the crack gap. Push it down so the top sits 1/4 to 1/2 inch (6 to 12mm) below the surface. This depth gives the sealant enough thickness to flex without tearing.
Step 4: Apply the Repair Material
For flexible caulk: Cut the nozzle at a 45-degree angle, slightly smaller than the crack width. Apply a steady bead deep into the crack. Fill in one pass without stopping. The finished surface should sit 1/8 inch (3mm) below the driveway surface to protect the bead from tire traffic.
For patch compound: Mix per manufacturer instructions. Apply bonding adhesive to the crack walls first and let it become tacky (5 to 10 minutes). Pack the compound in layers no thicker than 1/2 inch (12mm) at a time. Overfilling in one pass causes shrinkage cracking in the repair itself.
For epoxy injection: This method suits narrow but deep cracks where surface filling is not enough. Mix two-part epoxy per ASTM C881 specs. Inject from the lowest point upward to avoid air pockets. Epoxy-repaired cracks achieve 100% of the original concrete strength at the repair point.
Step 5: Smooth and Texture the Surface
Smooth the repair flush with the surrounding concrete using a putty knife or trowel. For a textured finish that blends with the existing surface, drag a stiff brush across the repair while it is still wet. Sprinkle fine sand over wet sealant to match aggregate texture.
Step 6: Cure the Repair
Keep foot traffic off the repair for a minimum of 24 hours. Keep vehicle traffic off for 72 hours. In temperatures below 50°F (10°C), cover the repair with plastic sheeting for 48 hours to retain heat and moisture during curing.
Do not rush this step. A repair that cures properly lasts 5 to 10 years. A rushed repair fails within 6 to 12 months.
Step 7: Seal the Entire Driveway
Apply a penetrating silane-siloxane sealer across the whole driveway within 48 hours of completing the repair. This locks in the repair, prevents water infiltration through the surrounding surface, and adds 3 to 5 years to the driveway lifespan.
Apply two coats with a garden roller or pump sprayer. Let the first coat absorb fully before applying the second (usually 2 to 4 hours between coats).
5. Best Products for Concrete Driveway Crack Repair in 2026
These 5 products cover the full range of crack types. All are available at Home Depot, Lowe’s, or B&Q in the UK.
| Product | Best For | Price (USD) | Price (GBP) | Coverage |
| Sikaflex Self-Leveling Sealant | Horizontal cracks, expansion joints | $12 to $18/tube | £9 to £14 | 30 to 40 linear ft |
| Quikrete Polyurethane Concrete Crack Sealant | Surface cracks 1/16 to 1/2 inch | $10 to $16/tube | £8 to £13 | 25 to 35 linear ft |
| Quikrete Vinyl Concrete Patcher | Wide cracks and spalled areas | $18 to $28/qt | £14 to £22 | Up to 3 sq ft at 1/2 inch depth |
| Loctite PL Premium Polyurethane Sealant | Expansion joints, any width | $9 to $14/tube | £7 to £11 | 20 to 30 linear ft |
| Rust-Oleum EpoxyShield Driveway Sealer | Full surface sealing post-repair | $35 to $55/gallon | £28 to £44 | Up to 400 sq ft |
6. DIY vs. Professional Repair: When to Call a Pro
DIY concrete crack repair saves $200 to $800 (£160 to £640) on average. However, 4 situations require a professional to avoid wasting money on a repair that fails.
Call a Professional When:
- Crack width exceeds 1/2 inch (12mm) with vertical displacement between slabs
- Multiple cracks form a spiderweb pattern across more than 20% of the surface
- The slab has sunk, heaved, or tilted more than 1/2 inch (12mm) from level
- Cracks reopen within 6 months of a previous DIY repair
A professional assessment for concrete driveway repair costs $75 to $150 (£60 to £120). Full crack repair by a contractor runs $3 to $8 per linear foot (£2.40 to £6.40). Full driveway resurfacing costs $3 to $7 per square foot (£2.40 to £5.60). Replacement costs $4,000 to $12,000 (£3,200 to £9,600) depending on size.
Rainy Roofers Tip: If your driveway shows structural cracking alongside roof drainage issues, water management around the property is likely the root cause. Proper gutter and downspout placement keeps water away from the driveway slab edge, which prevents 60 to 70% of driveway edge cracking.
7. How to Prevent Driveway Cracks: 5 Proven Methods
Preventing cracks costs 80% less than repairing them. These 5 methods protect a concrete driveway for 20 to 30 years.
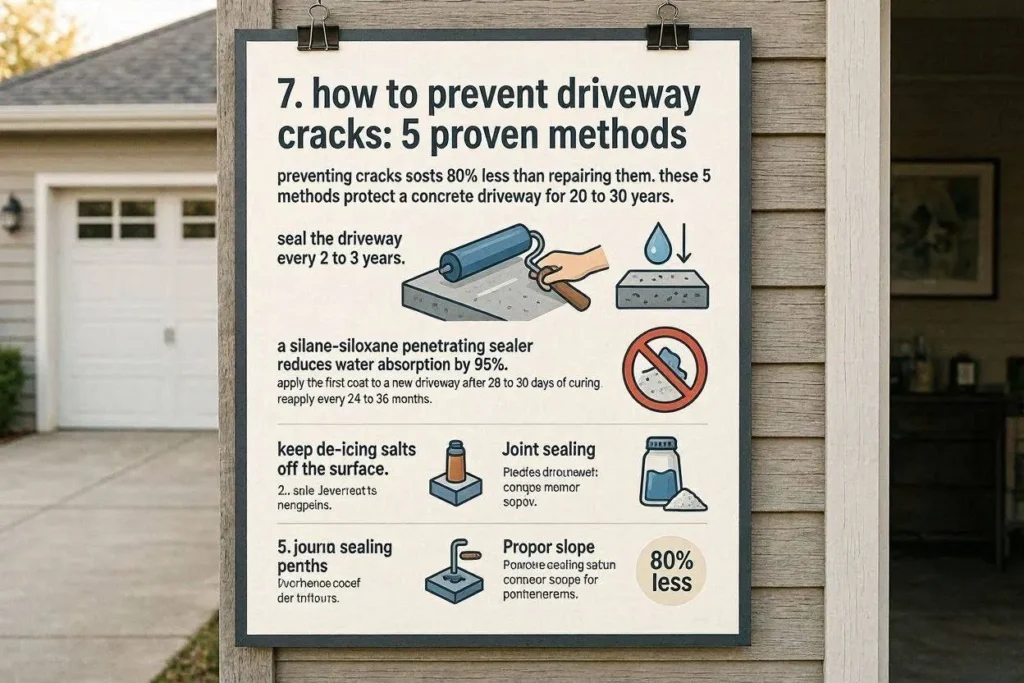
Seal the driveway every 2 to 3 years.
A silane-siloxane penetrating sealer reduces water absorption by 95%. Apply the first coat to a new driveway after 28 to 30 days of curing. Reapply every 24 to 36 months.
Keep de-icing salts off the surface.
Sodium chloride (rock salt) and calcium chloride both degrade concrete. Use sand for traction instead. If salt must be used, rinse the driveway with water once temperatures rise above freezing.
Redirect water away from the driveway.
Water pooling at the slab edge is one of the top 3 causes of concrete cracking. Ensure gutters and downspouts discharge at least 6 feet (1.8 metres) from the driveway. Check that the driveway slopes 1/8 inch per foot (10mm per metre) away from the house.
Avoid parking heavy vehicles repeatedly in the same spot.
A concrete slab rated for 8,000 lbs (3,629 kg) handles normal cars without issue. Parking a loaded trailer or commercial vehicle in the same location repeatedly compresses the sub-base unevenly and creates pressure cracks within 1 to 3 years.
Fill cracks immediately when they first appear.
A hairline crack costs $10 to $20 (£8 to £16) to seal. The same crack left for one winter becomes a 1/4-inch gap costing $50 to $150 (£40 to £120) to repair properly. Water entry in the first winter doubles the crack width on average.
Related Resources from Rainy Roofers
Improper water drainage around your property causes more concrete damage than weather alone. Read our guide on roof drainage and downspout placement to understand how water management protects your driveway, foundation, and landscaping year-round.
If standing water appears near your driveway after rain, the issue may be connected to gutter system performance. A blocked or undersized gutter system overflows directly onto the driveway slab edge, accelerating crack formation along the perimeter.
For homeowners dealing with both roofing and driveway issues, the Rainy Roofers complete property drainage assessment covers the full water pathway from roof to ground level.
Conclusion
Concrete cracks are not a structural failure waiting to happen. Most are surface issues that cost under $50 (£40) to fix correctly. The 3 things that determine whether a repair holds are: a completely dry, clean surface; the right product for the crack width; and a penetrating sealer applied to the whole driveway after repair.
Catching cracks early makes the difference between a $15 tube of caulk and a $6,000 driveway replacement. Inspect your driveway twice a year, in early spring after winter freeze-thaw cycles and in late autumn before the first frost. Fill anything you find immediately.
If water management around your property is contributing to driveway damage, roof drainage, gutters, and downspout placement all play a direct role. Getting those systems right protects your driveway, your foundation, and your landscaping at the same time.




